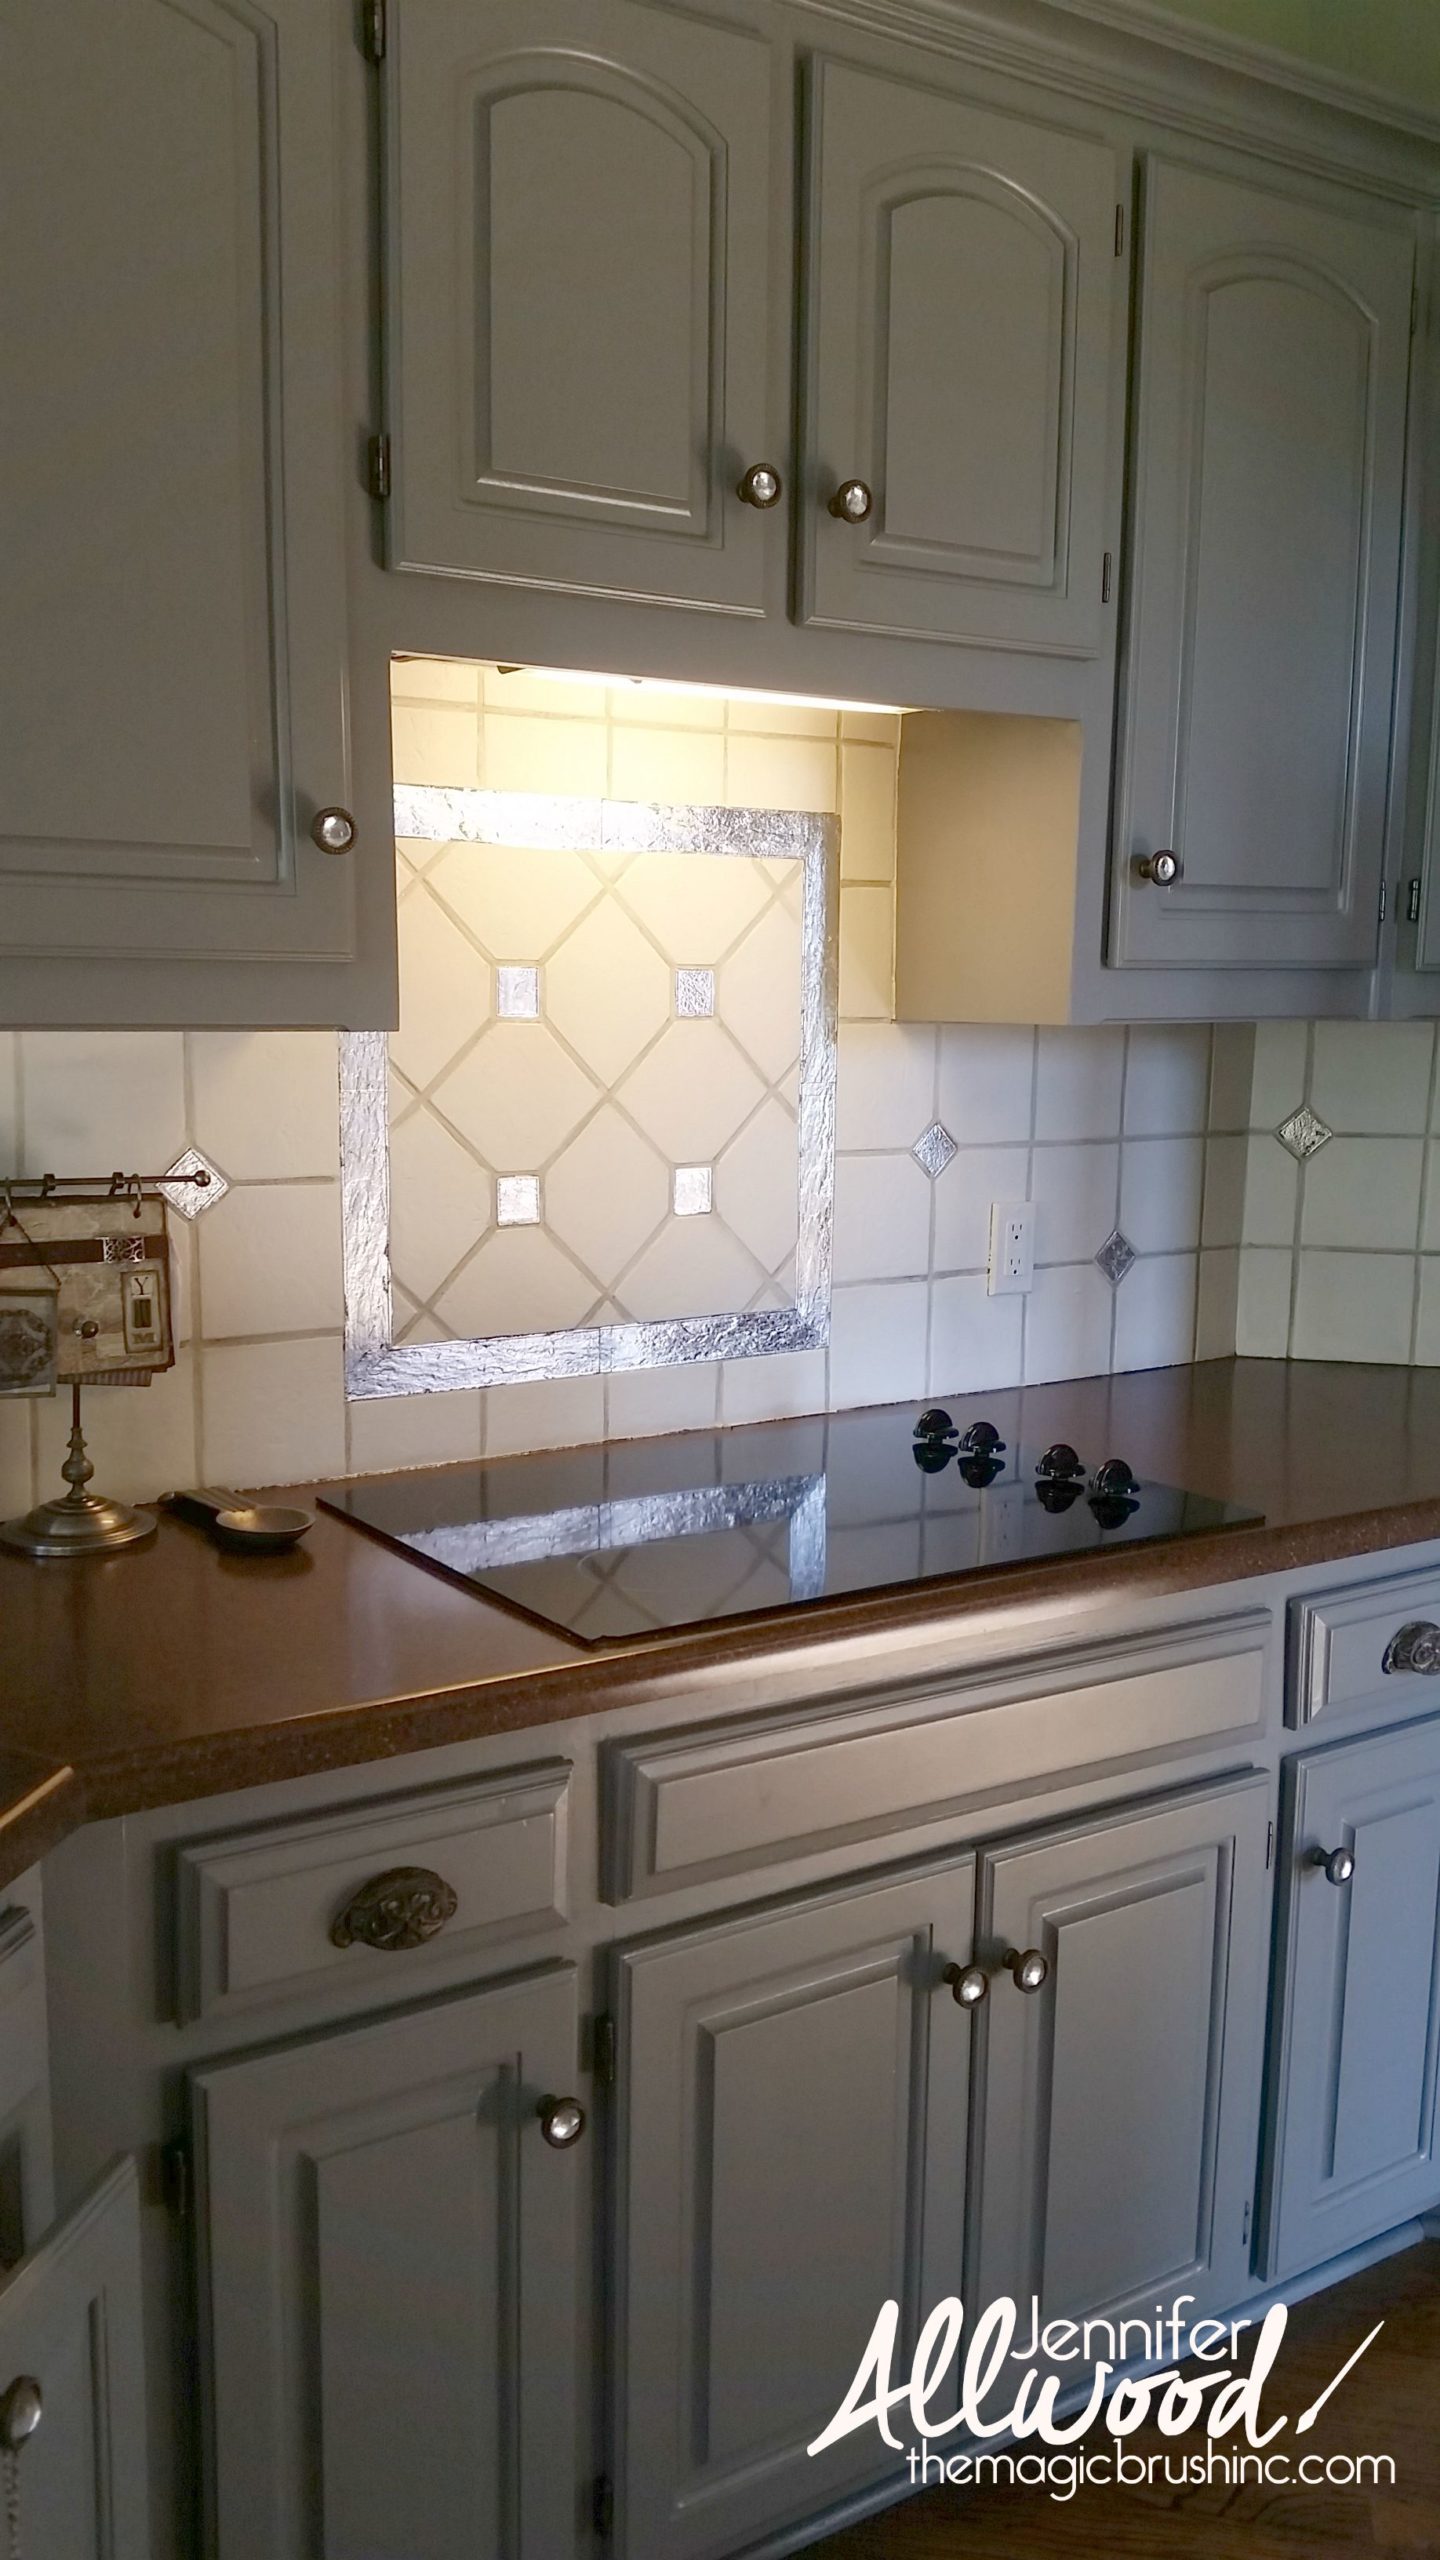
I am in love with our newly painted kitchen cabinets. But the tile and the countertops are like a total buzz kill for me. So.much.brown. I have plans to switch them both out for more contemporary colors and finishes, but until then…. I painted my tile!
How to Paint Kitchen Tile
This is a super easy process but I will say that my tile was very POROUS and that makes a huge difference in the technique and products that you need to use if you attempt this project. Before you paint kitchen tile, the tile had to be cleaned first. And by “cleaned”, I mean “I chipped off some dried food with my fingernail and I went for it”. But you should definitely clean yours first. Do as I say and not as I do. A degreaser like Krud Klutter or TSP would be perfect to clean it. Zinsser’s Oil Based primer was my product of choice because I knew it would stick to the old tile. The smell was annoying, but it was worth it to not scratch off the next day.
I started this project at 10:30 at night. And filmed this video for you:
Clearly, the oil fumes affected my singing ability, but I was reallllly excited. And it’s a little scary that almost 18,000 of you watched me sing in that video already. Yikes.
So after priming, I used this Advance paint from Benjamin Moore to paint over the primer. Advance paint is the bomb. And it was tinted to Sherwin Williams “Alabaster”….. a warm white.
It looked like this when it was done. Clean. Bright. Fresh. New. I loved it.
And since I loved it and I love you, I made another video. I didn’t sing on this one, I’m sparing your ears.
So even tho’ I loved it, I wanted more to love. Go big or go home, right? So I glazed the grout with a gray glaze. I just used some clear glaze mixed with my cabinet color “Cityscape”. I thinned it out with water and applied with a small, angled brush. This process took maybe an hour to do.
This video shows how easy it is to paint grout. Thinned out glaze…. easy breezy.
And after the grout was done, I loved it. But again, I wanted just a little MORRRRRRRRRRRRRRE. So I decided to add silver leaf to my decorative tile pieces. To do that, I added Wunda Size. I let that tack up and I pressed on imitation silver leaf squares over it.

This was a messy process, but worth it. And I got to vacuum my countertops which made me feel very domestic and allowed me to prove with a selfie that I know how to turn on an appliance.
And isn’t that pretty?
NOOOOOOW I love it!!!! This is gonna do just fine until we switch out the countertops and the tile. It’s funny that since the countertops are a lateral surface, they just don’t show up much and don’t bother me nearly as badly now that the gold and brown tile is g.o.n.e.
So here is one more before/after of my painted kitchen tile. If your tile is porous, this is a great fix! An easy, drastic update: paint kitchen tile!!
I would love to hear if you’ve painted your tile. And as always, this project will be on my Pinterest page for you to repin! Please share my tips on how to paint kitchen tile!
If you need help picking out new paint colors, get my free video of my favorite wall colors. I also have 10 quick & easy home updates you can do before dinner! These easy improvements will make your home feel fresh and updated! And just put you in a happy place!
Happy painting,
Jennifer
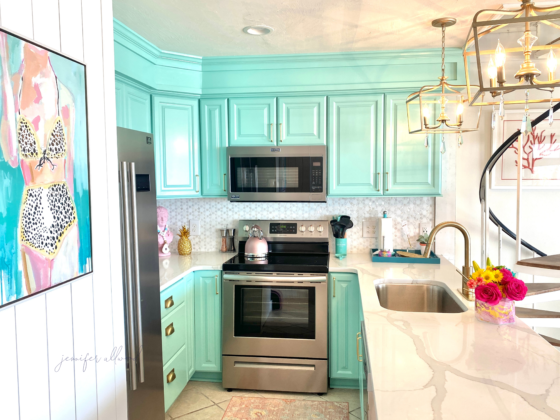
Update: My gray color scheme continues with: new gray patterned stairs, my new carrera marble backsplash and new Silestone countertops! It’s been a gorgeous change and I am just so happy with it! I hope it gives you inspiration!



8 comments
Effective post. I learn about new challenges from different blogs every day. It’s always stimulating to share content from other writers and learn a little different from them.
We’ve been stumbling around the internet and found your blog along the way.
We love your work! What a great corner of the internet 🙂