
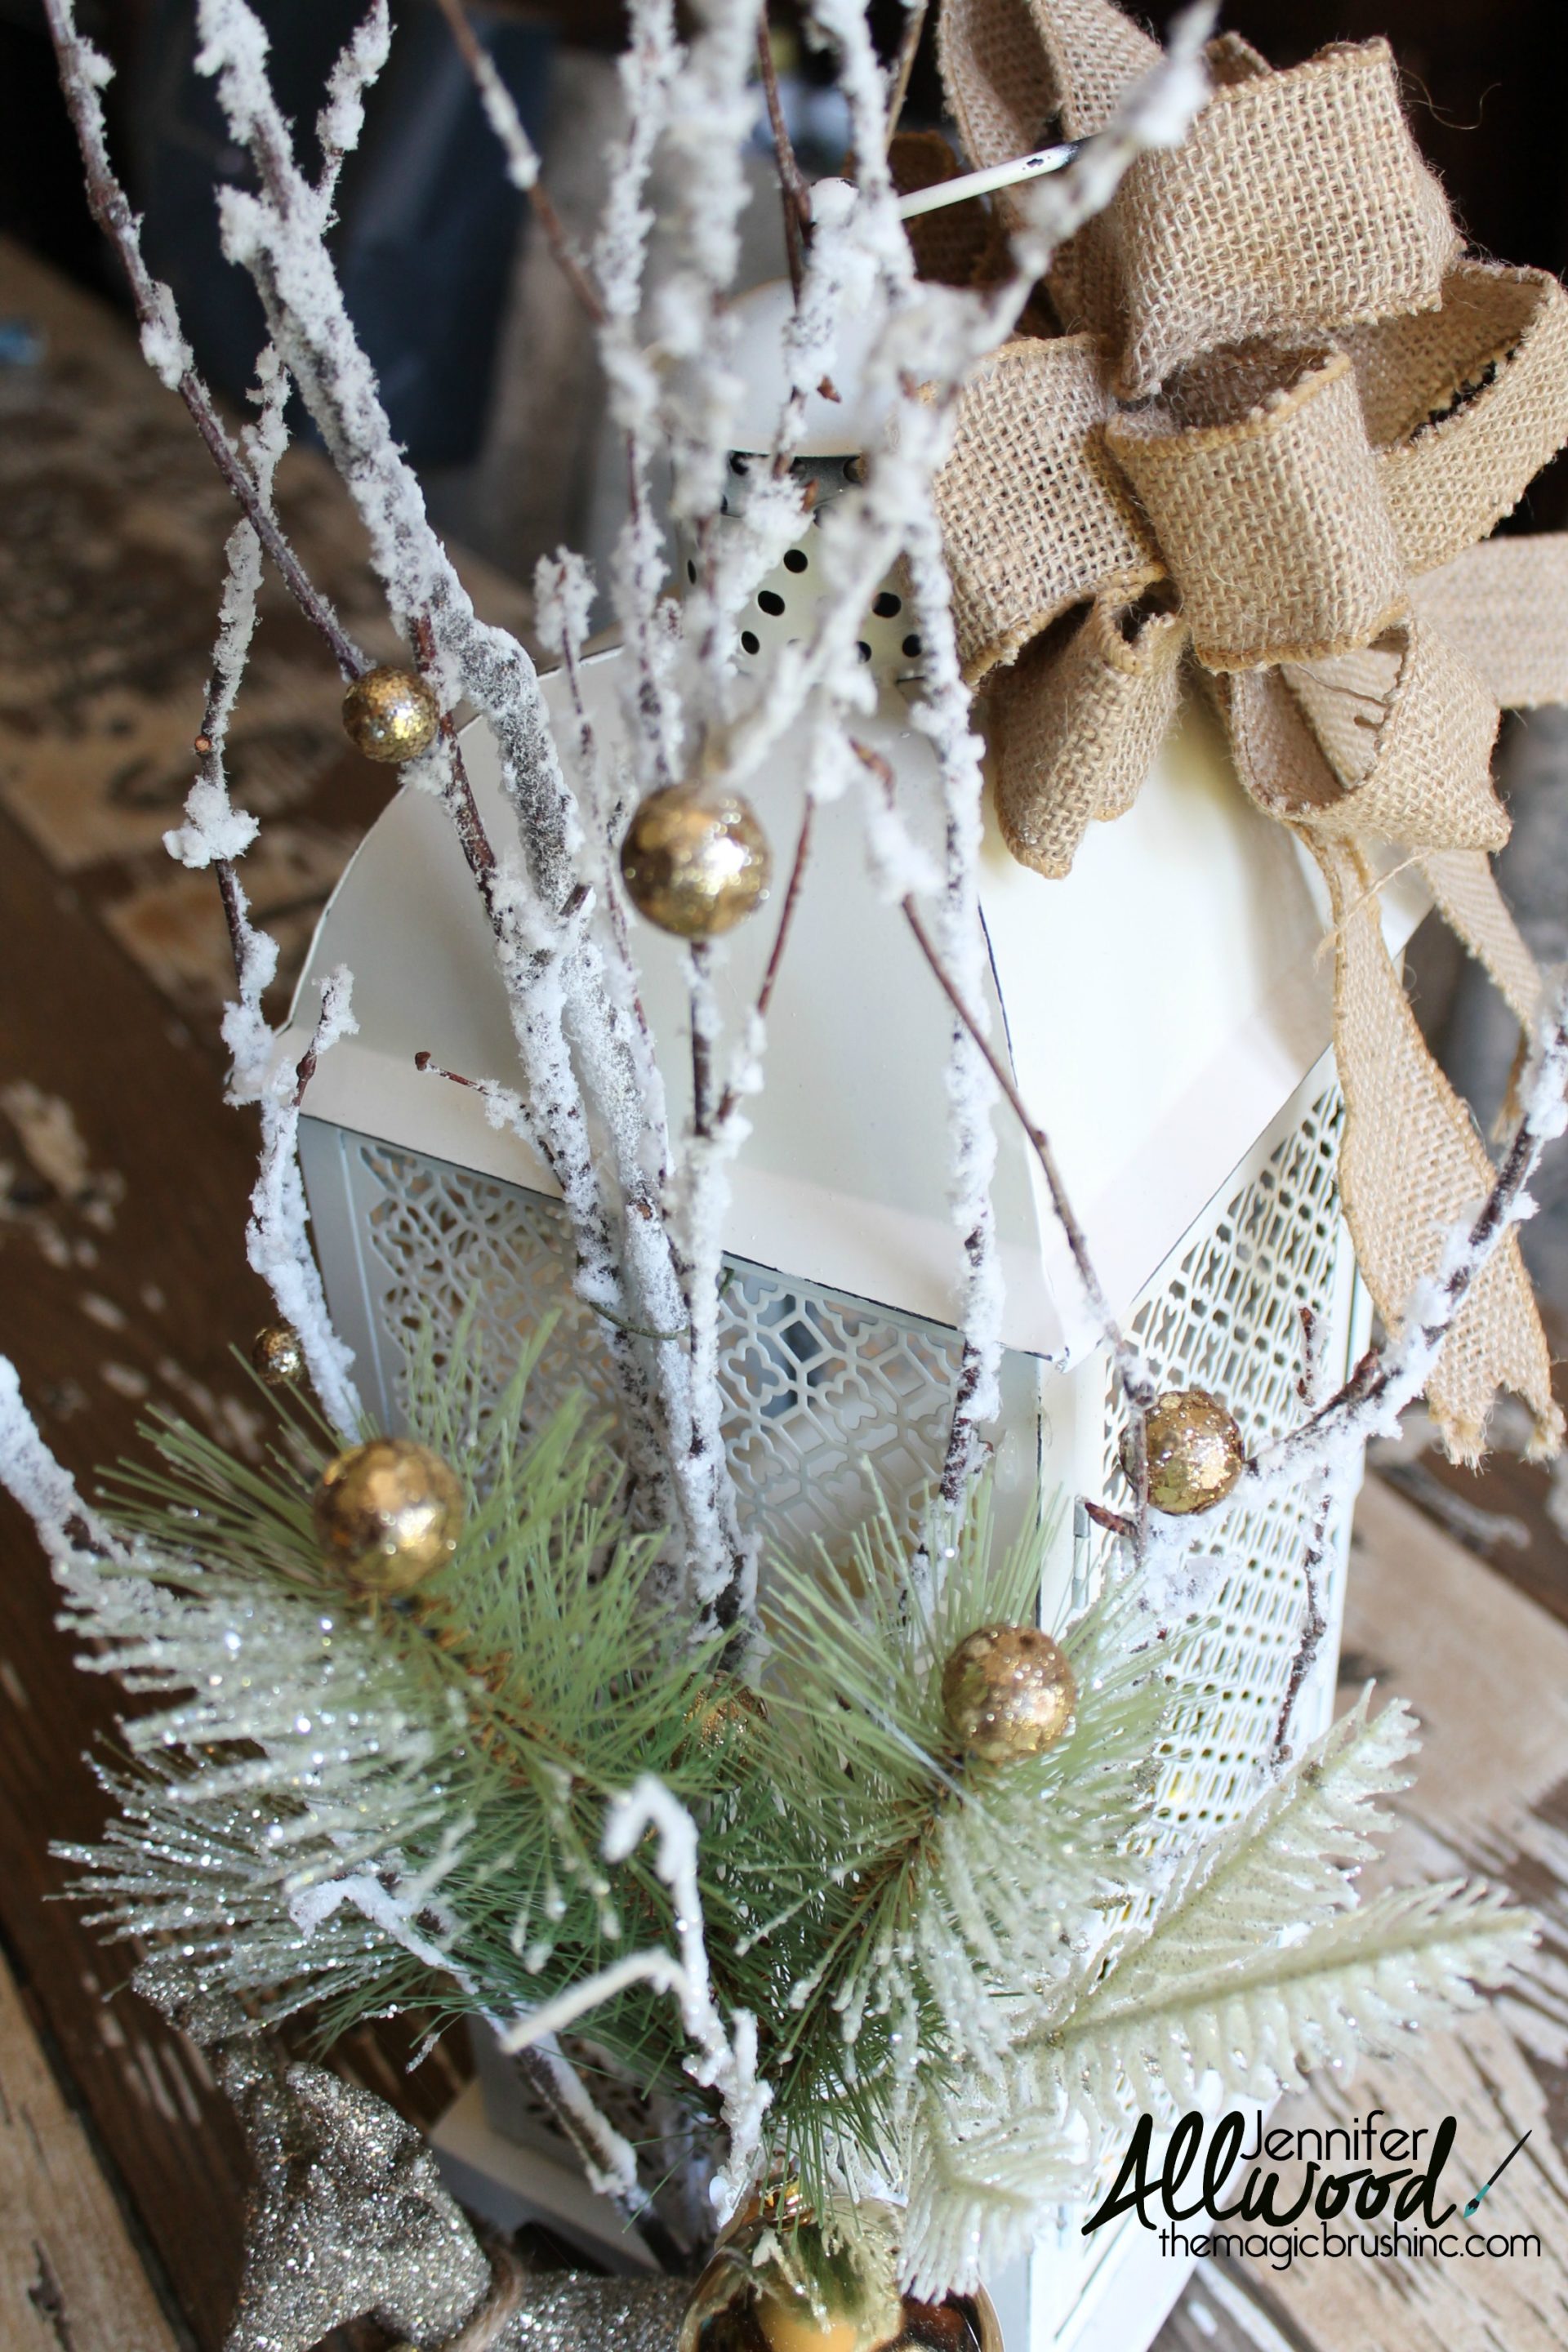
I recently decorated this lantern for a fundraising auction. It was for Christmas, but take out the reindeer and the Christmas balls and it’s a gorgeous winter decoration. Imagine 2 of them on your fireplace mantel! And if you go to a craft store now, you can find a Christmas lantern on clearance and decorate it for winter! Lantern decorating is a fun way to take something that is cute and make it gorgeous!!! You can buy this one on sale from Hobby Lobby.
This post contains affiliate links for products I use and love. Any purchase helps to fund my decorating and painting blog! Thank you!

This is what the lantern looked like before.

That battery operated candle does NOT come out, so I wrapped it in tin foil and spray painted the entire thing in the color “Heirloom White”. This is my go to color for a warm white spray paint. And listen, this step should take 1 minute. Let it dry. Come back and do another coat. ThisLantern decorating step is quick and easy!
After it dried, I used a sanding sponge and just ran it over the edges so it looked distressed. You’ll see a pic of that down in this post.
Then I went shopping for “sticks” to add to the side of my lantern. I did this fun video for you in my beloved “Hobbily Lobbily”…
https://www.facebook.com/themagicbrushinc/videos/10154213322593747/?theater
400 comments later, I went with the sticks that looked like they had snow on them.

I literally rubber banded a few of the branches with a Christmas pick and then used floral wire to attach it to the side of the lantern.

See how I wired that? Your lantern must have a hole of some kind in order to do this. And here you can see my sanding on the edges of the lantern.

Next, I used these Styrofoam gold balls from Hobby Lobby to literally fill the inside of the lantern about 1/2 way up. It just looked fun to me. If you go now, you’ll be able to find these clearanced out after Christmas!

See how cute that is? Just another little detail that makes a project prettier.

I also hot glued a few of the styrofoam balls to the branches and floral pick.
I hot glued a sparkly reindeer to the sticks. And tied some jute around his neck.

And then I added a HUGE, pre-made bow to the top of the lantern. Listen, these are $2.99 at Hobby Lobby. With a 40% off coupon they are less than $2. You can’t make them that pretty for that cheap. Buy them pre-made. Seriously. You don’t have to DIY everything!

Here is the before and after. Isn’t the decorated one fun? Isn’t lantern decorating fun?!
You could use your lanterns for fall, winter, Easter, 4th of July….. any holiday or season. Just take off the wired-on decor and change it out!
And if you get to a craft store quick, you will be able to find a Christmas lantern on clearance that you can decorate for winter!
Lantern Decorating is Easy peasy!
xoxo,
Jen
Be sure to check out my FREE video giving you my top paint colors. I hope it helps you make some big paint decisions!
If you’d like more DIY centerpiece projects look at my July 4th balls (you could use any colors you wanted!) and my Thanksgiving table arrangement using pumpkins and hedgeapples.




4 comments
I loved your examples of decorative lanterns and how you made them. They are so cute and would be a perfect addition to my new home’s fall decor. However, not only am I horrible at crafts but I simply don’t have time to make this myself. Thanks for the inspiration!
I love your pearly white redesigned lantern! It gives off the perfect feel for the Christmas season with its pure white color and the lovely decors that comes with it. Additionally, I can just imagine the chimes of the bells ringing when the wind touches them. I full heartedly would love to have a lantern as beautiful as yours. The thing is that I’m not very creative and would most likely mess things up. Therefore, I hope that there would be some lanterns online that I could get that is similar to yours. Thanks!