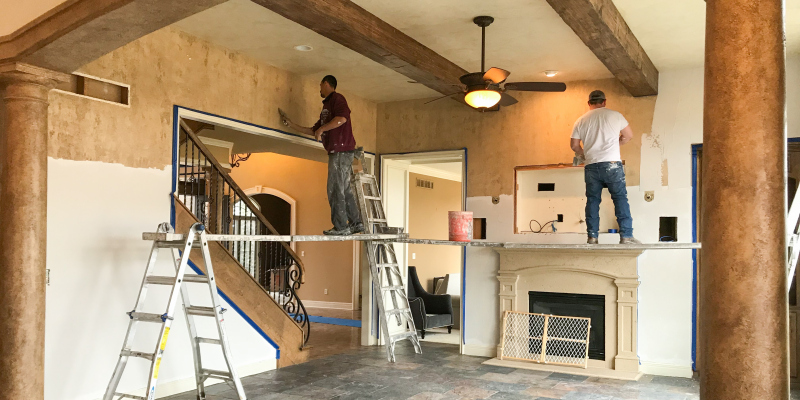
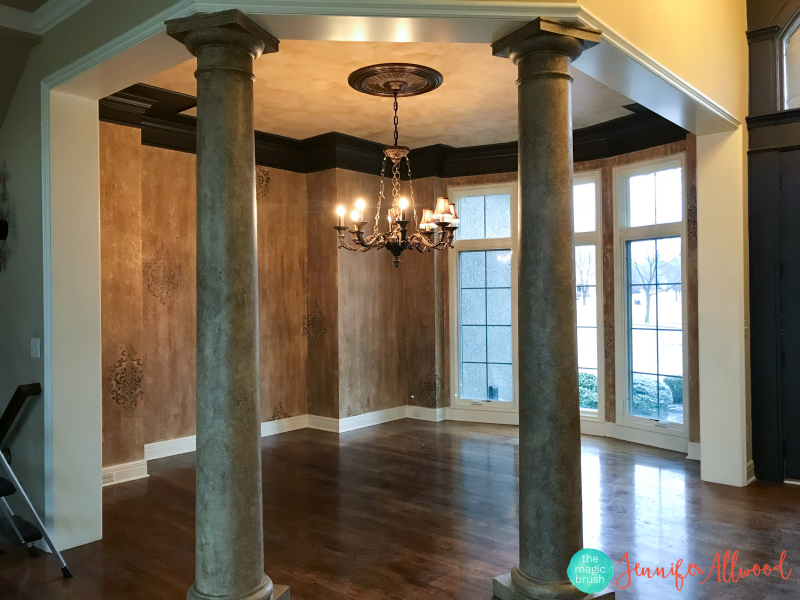
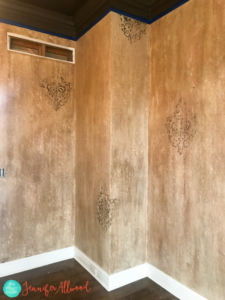
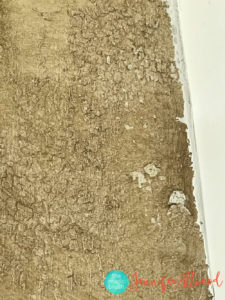
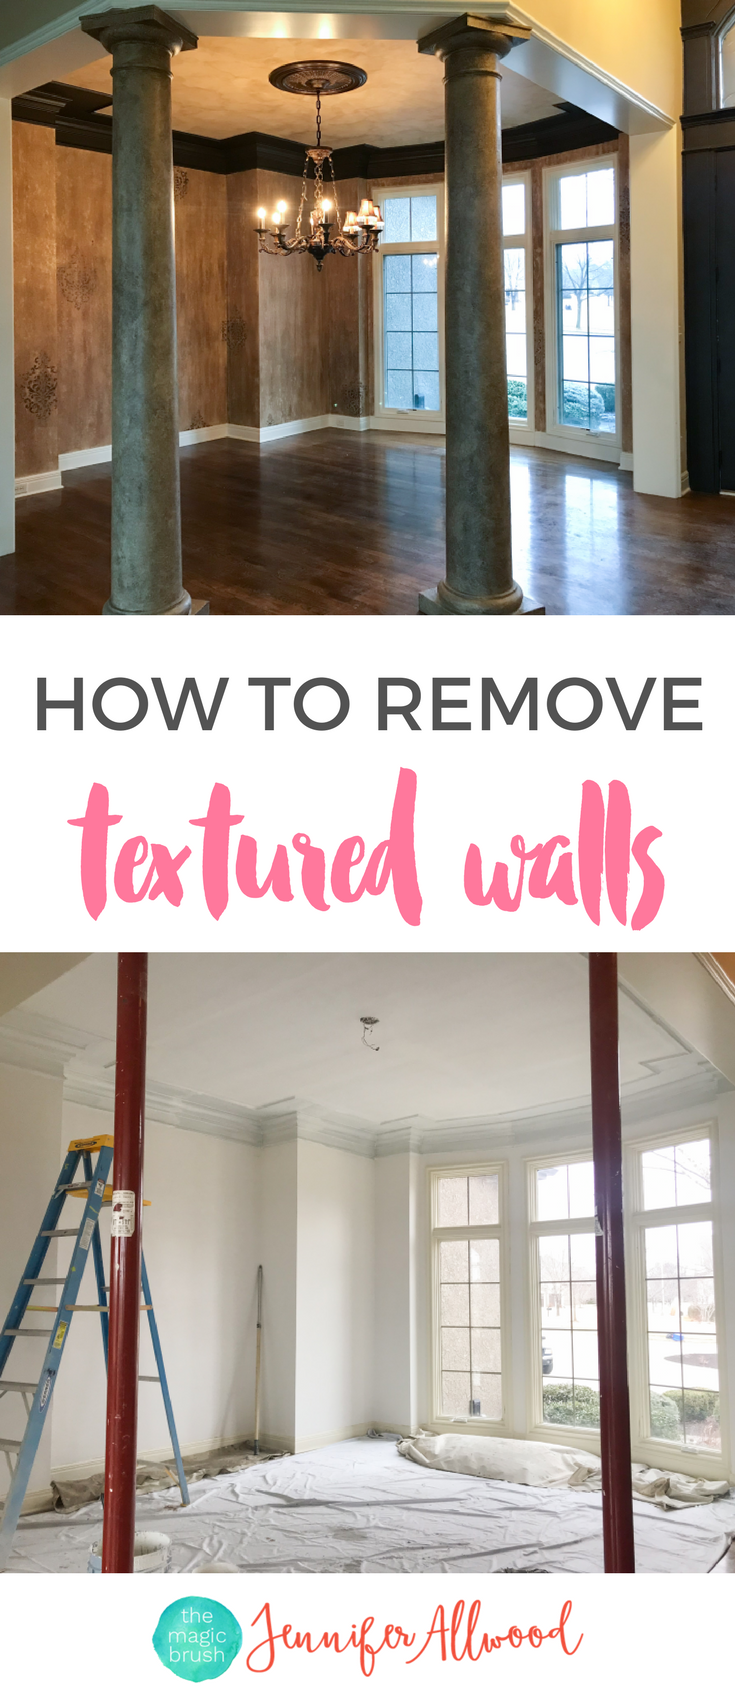
As many of you know, we’re in the process of remodeling our new house and just went through the process of removing the very heavy faux finishes that were throughout our home.
This post may contain affiliate links for the products I use and recommend. I am not paid to promote these products. If you purchase using my affiliate links, I could make a small commission at no charge to you. Read my disclosure.
The funny thing is, my team of women at The Magic Brush was the one who fauxed these walls in the first place! Trust me the irony is not lost on me! We were paid 9 years ago to texture these walls for the original owner and now I am paying someone to smooth them out! lol.
I have received sooooooo many Instagram DM’s asking me how to get rid of the texture in your walls. So I want to help. You have SEVERAL options!
- Let’s say you just want to change the color of your walls but you don’t hate the texture, then just paint over it! We did this in our old house! The majority of the time this is the simplest solution unless you’ve got some weird type of texture that you absolutely hate. With this method I would suggest priming your walls before repainting though, especially if you don’t know what the old texture was. Kilz primer works well for this type of job.
- If there’s no doubt that the texture has to go….. and the texture is pretty thin or cheap and easily picked off…. then you could try sanding it down. We’ve never done this however. I would suggest doing a test area first, just to be sure this method is an option for your project. Also consider using a sander that captures the dust as you sand since you’ll definitely be producing dust!!!
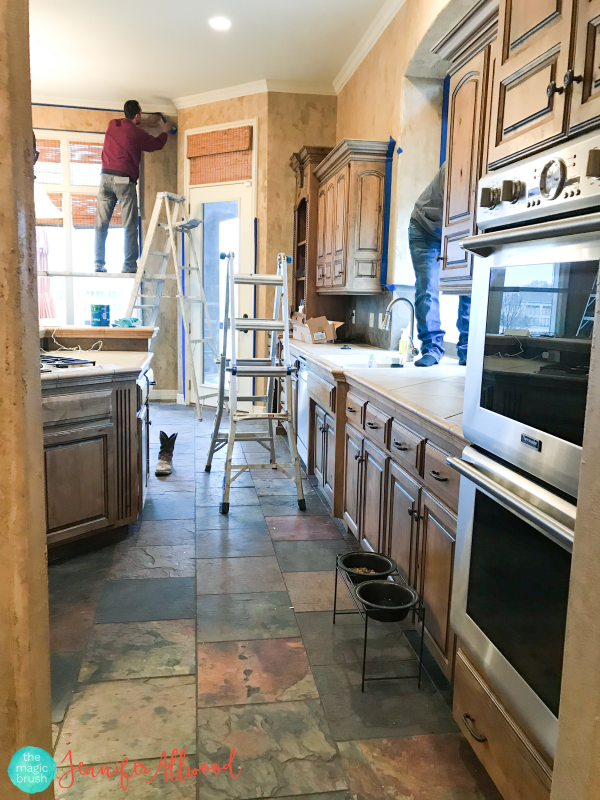
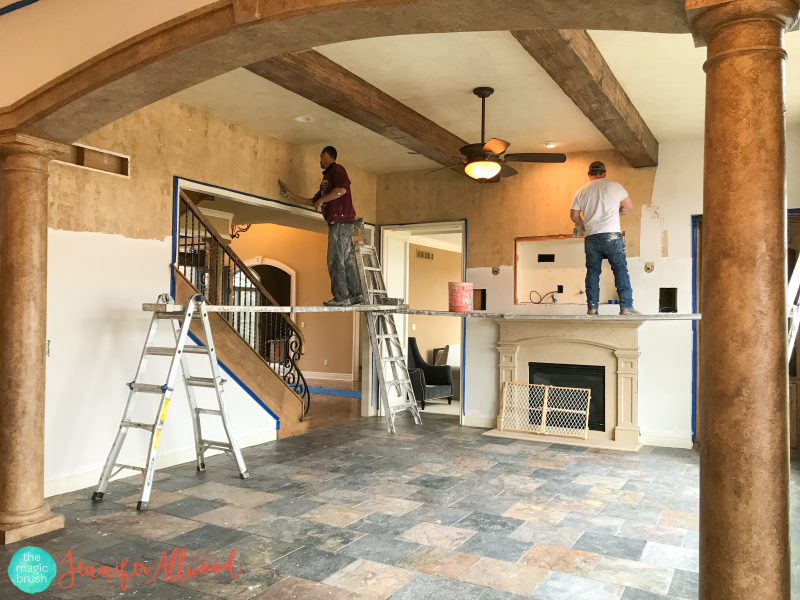
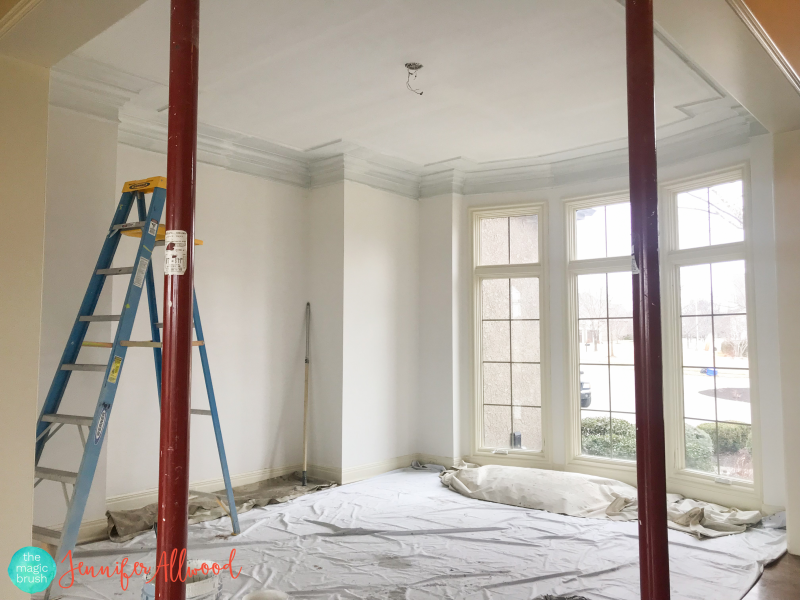
- This next method is the one we did recently in our brand new house; we hired someone to skim coat the walls. They troweled on one coat of heavy joint compound. Then let it dry. Then skimmed another coat the next day and a 3rd coat on the final day. This was no easy task!!!
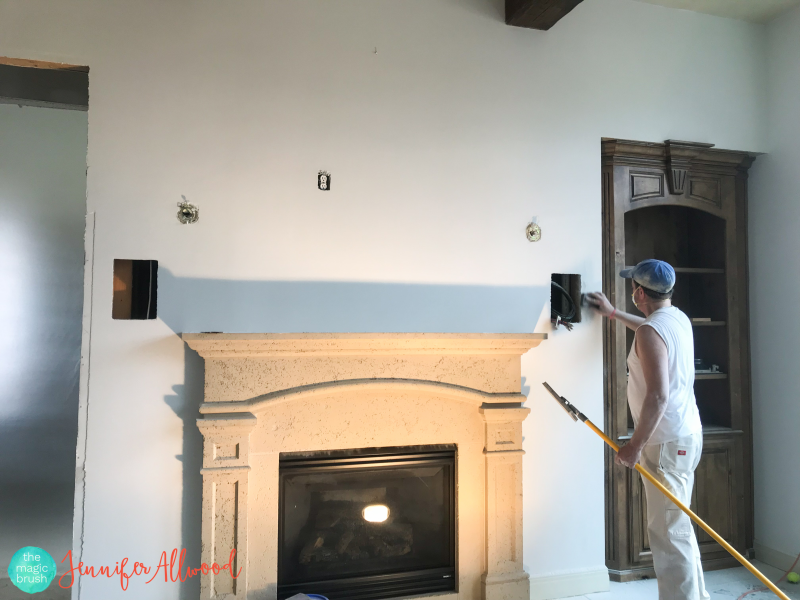
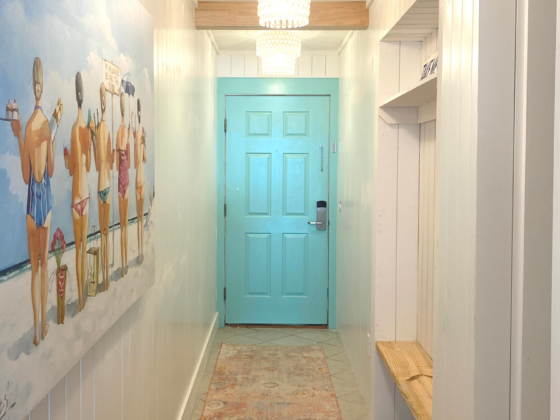
Once completely dry, the draywallers sanded the walls and boy are they SMOOOOOOOTH. Smooth like butter. Or a baby’s bum. Or my new walls.
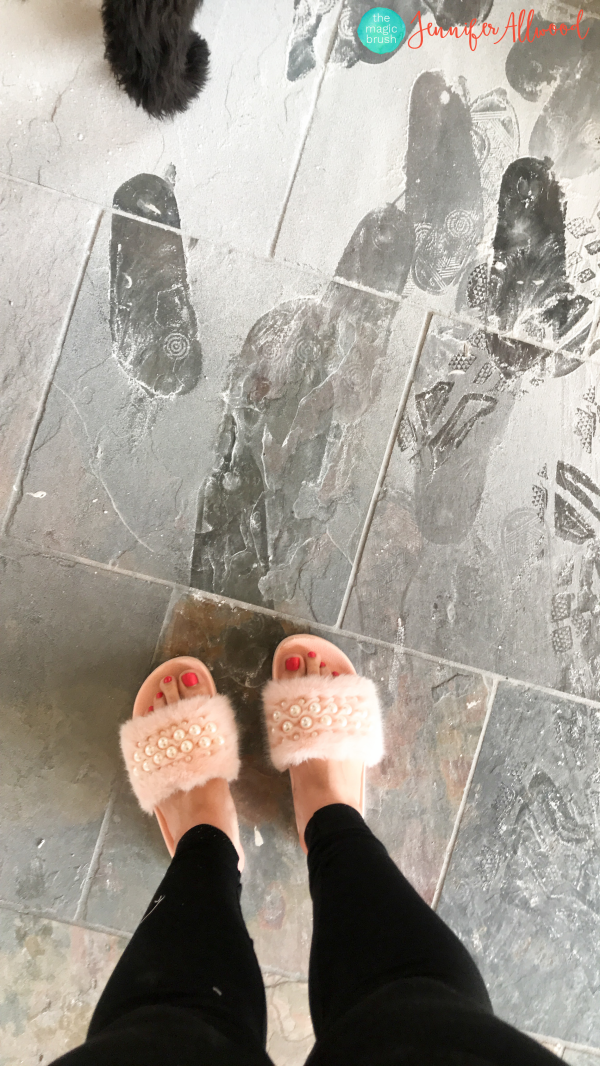
It worked beautifully!!! However, be prepared that this is a VERY, VERY, VERY messy process.
I hope this gives you some ideas to tackle any outdated faux finished walls you may be tired of.
If you want to subscribe to get my DIY emails on all the new home renovations we are doing — sign up here.
XOXO,
Jen
Do you have a fear in picking out interior paint colors?? Get my 50 Favorite Wall Colors here— FREE! Print out my list and take them to your Sherwin Williams store to see them in person.
Find more fun crafts on my DIY Projects board.
Please share my textured wall removal pin!

4 comments
Usually I do not read post on blogs, but I would like to say that this write-up very forced me to try and do it! Your writing style has been surprised me. Great work admin.Keep update more blog.
Oh my – that looks like a lot of work! We have a sparkly sanded finish in our front entry – we resorted to it after trying to get velvet wallpaper of the walls which had not been primed before being papered … 100 years ago! So … should I try a light sanding? Or prime and live with it … hmmm! Thanks for the tips!