
So last week my friend Samantha and I hosted our first ever “decor swap” party. It was a ton of fun and we learned a lot from it! I’m going to share with you what we did and what we would do different NEXT TIME so that YOU can get some ideas for you and your friends for a decor swap!
Here is how it worked: a few weeks ago we sent out an evite to the group of girls we wanted to come to our decor swap party. Know that the more people come, the more fun it will be. We had invited about 15 ladies I think and we had 9 come. It wasn’t quite enough to make it spectacular, so I would invite more ladies next time to our decor swap!
We told the ladies to bring items from their house that were still in great condition. Things that they didn’t want to take to the Goodwill or sell on a garage sale and things that were still “in fashion” just maybe no longer in their color scheme, etc.
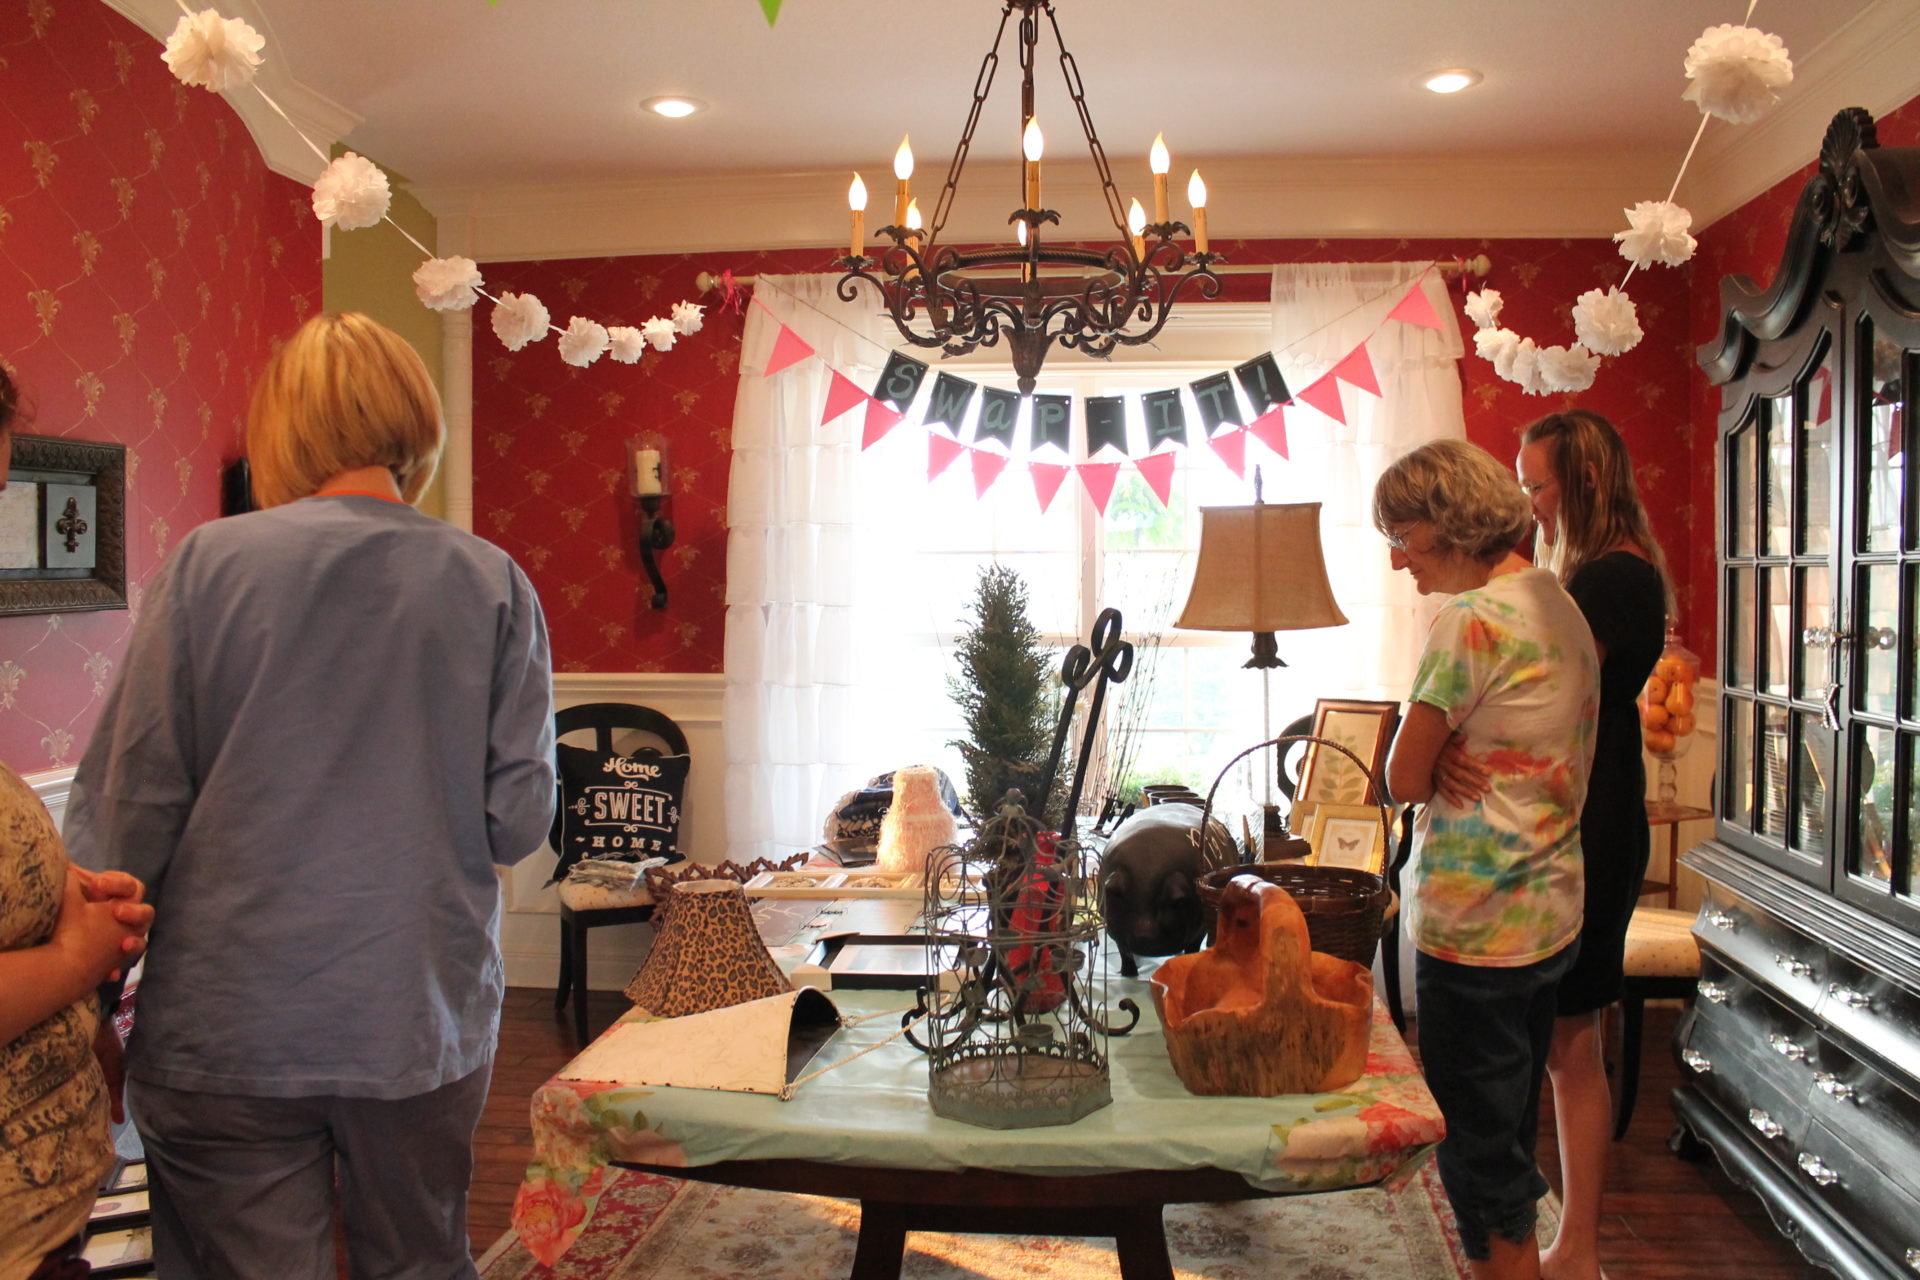
This was the pile of goodies that I took. In retrospect, I should have put a minimum value amount on the items because there were a few items that were absolutely AMAZING and they were all probably worth at least $20 each. My cheetah lampshade…. not worth $20 so no one wanted it. Does that make sense?
We allowed everyone to bring as many items as they wanted and that would also be the number of items that they would get to go home with.
We told them the items had to fit in the back of their car. This alleviated someone bringing things like furniture that may be too big for some people to take home!

It should come as no surprise to you that I had a blast decorating for the decor swap party. We decided that we would let each person draw a numbered pin when they got to the party and that would determine who got to “swap” first.

Ava helped me glitter all the clips…..

It was a fine line between art and mess. #hotmess #keepinitreal

I numbered the backs of the pins and we clipped them all onto a floral arrangement so the ladies could draw from it to see who got to choose first.
That worked out well.

I also made a last-minute “decor swap party” banner even tho’ my friend Samantha had already purchased a few. But, you know I will never turn down an opportunity to glitter something, right?

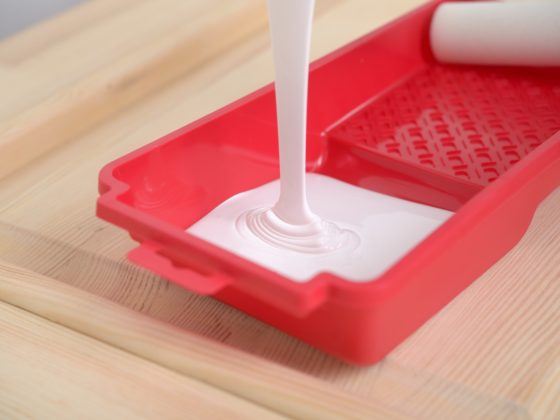
I stenciled letters with Mod Podge glue and dumped glitter on the glue!
WARNING: stuff DOES bleed thru burlap, so if you are on your beloved farm table….. put something under the banner! 😉
I had a short Facebook video showing glittering the banner! Watch HERE or below:

2nd WARNING: if you decide to glitter a banner 2 hours before the party, you may have issues with it drying on time. And you may be forced to hang it outside for a little added drying help. This will cause neighbors to ask questions. And kids to complain that they can’t use the front door.
I literally got NO good pictures of the decor swap because I was so busy chatting with friends and snacking that I forgot to take many. But Samantha had it decorated amazing as usual!
We seriously had a great time, but we would do a few things different next time.
If you are considering a decor swap party, here is what I would do:
- Send out an evite to your friends and family. Send it to ALOT of people. The more people = the more fun I think. I wish we had at least double the amount of people and fewer, more expensive decor items.
- Put a minimum amount of value on the items and give item suggestions on what to bring (our “hot” items were a chalkboard pig, a HUGE chalkboard, a few brand new pillows). Also let them know they can buy something NEW to bring to the swap if they don’t have anything lying around their home (one of the pillows was brand new).
- Put a size restriction on the invite so that no one brings a sofa. Lol. It has to fit in a backseat to get home.
- Have everyone bring a snack to munch on.
- Put everything in a room together so that the person “shopping” can do it without everyone watching/influencing/making them feel bad for picking the “good stuff”. lol.
- Make sure it is obvious WHAT things in the room are to be swapped and what things in the room are the HOSTESS’s ACTUAL DECOR. Lol. I wanted to steal a few of Samantha’s chairs from the room but they were not a part of the game.
- We would run it more like a white elephant gift and allow “steals”. You will have to figure out how to do that, but once all the “great items” were picked, it wasn’t as much fun. STEALING would be a must for next time!
- If your guests bring more than one item, they get to pick more than one. Have everyone go thru the “line” first, then start back thru the lineup with only those people who brought a second item and so on.
- Make sure the hostess brings a few extra things to that the last person to “swap” doesn’t get stuck with the last thing on the table. It’s nice for them to have some options.
- Make sure there is plenty of food and drink so that everyone not “shopping” at any given time has something to do besides watch who is “shopping”.
And if decor isn’t your thing, do a swap with Christmas ornaments. Or fall decor. Or jewelry. Or candles. The point is RELATIONSHIP. Face-to-face relationship and to spend time together. WHAT you swap really isn’t important!
Ok friends, I wanna hear if you have been to a swap, hosted a swap or may put one on your calendar? Let me know!
Happy swapping,
Jen
PS. this article will be on my Pinterest account at so you can keep all my tips!
If you loved idea for a decor swap party, you need to plan a “Girls Night In” crafting party! I hosted one making vintage book wreaths with glitter. They turned our gorgeous and it was such a fun night. You could also do any number of DIY projects for a crafting party – moss monogram or front door decor. Crafting parties are two for one! You get your time with your friends and you get a project done! So craft on!




3 comments
hi. This is such a great idea! My friend and I have a barn full of projects to complete. This would be a great way to share with friends. Thanks for the great inspiration!