You know how when you’re a blogger you are supposed to take pictures in the middle of projects so that you can do decent tutorials?
Yeah well I forgot all the pictures on this one! UGGGGGGGGGGGGGGGGGGGGGG.
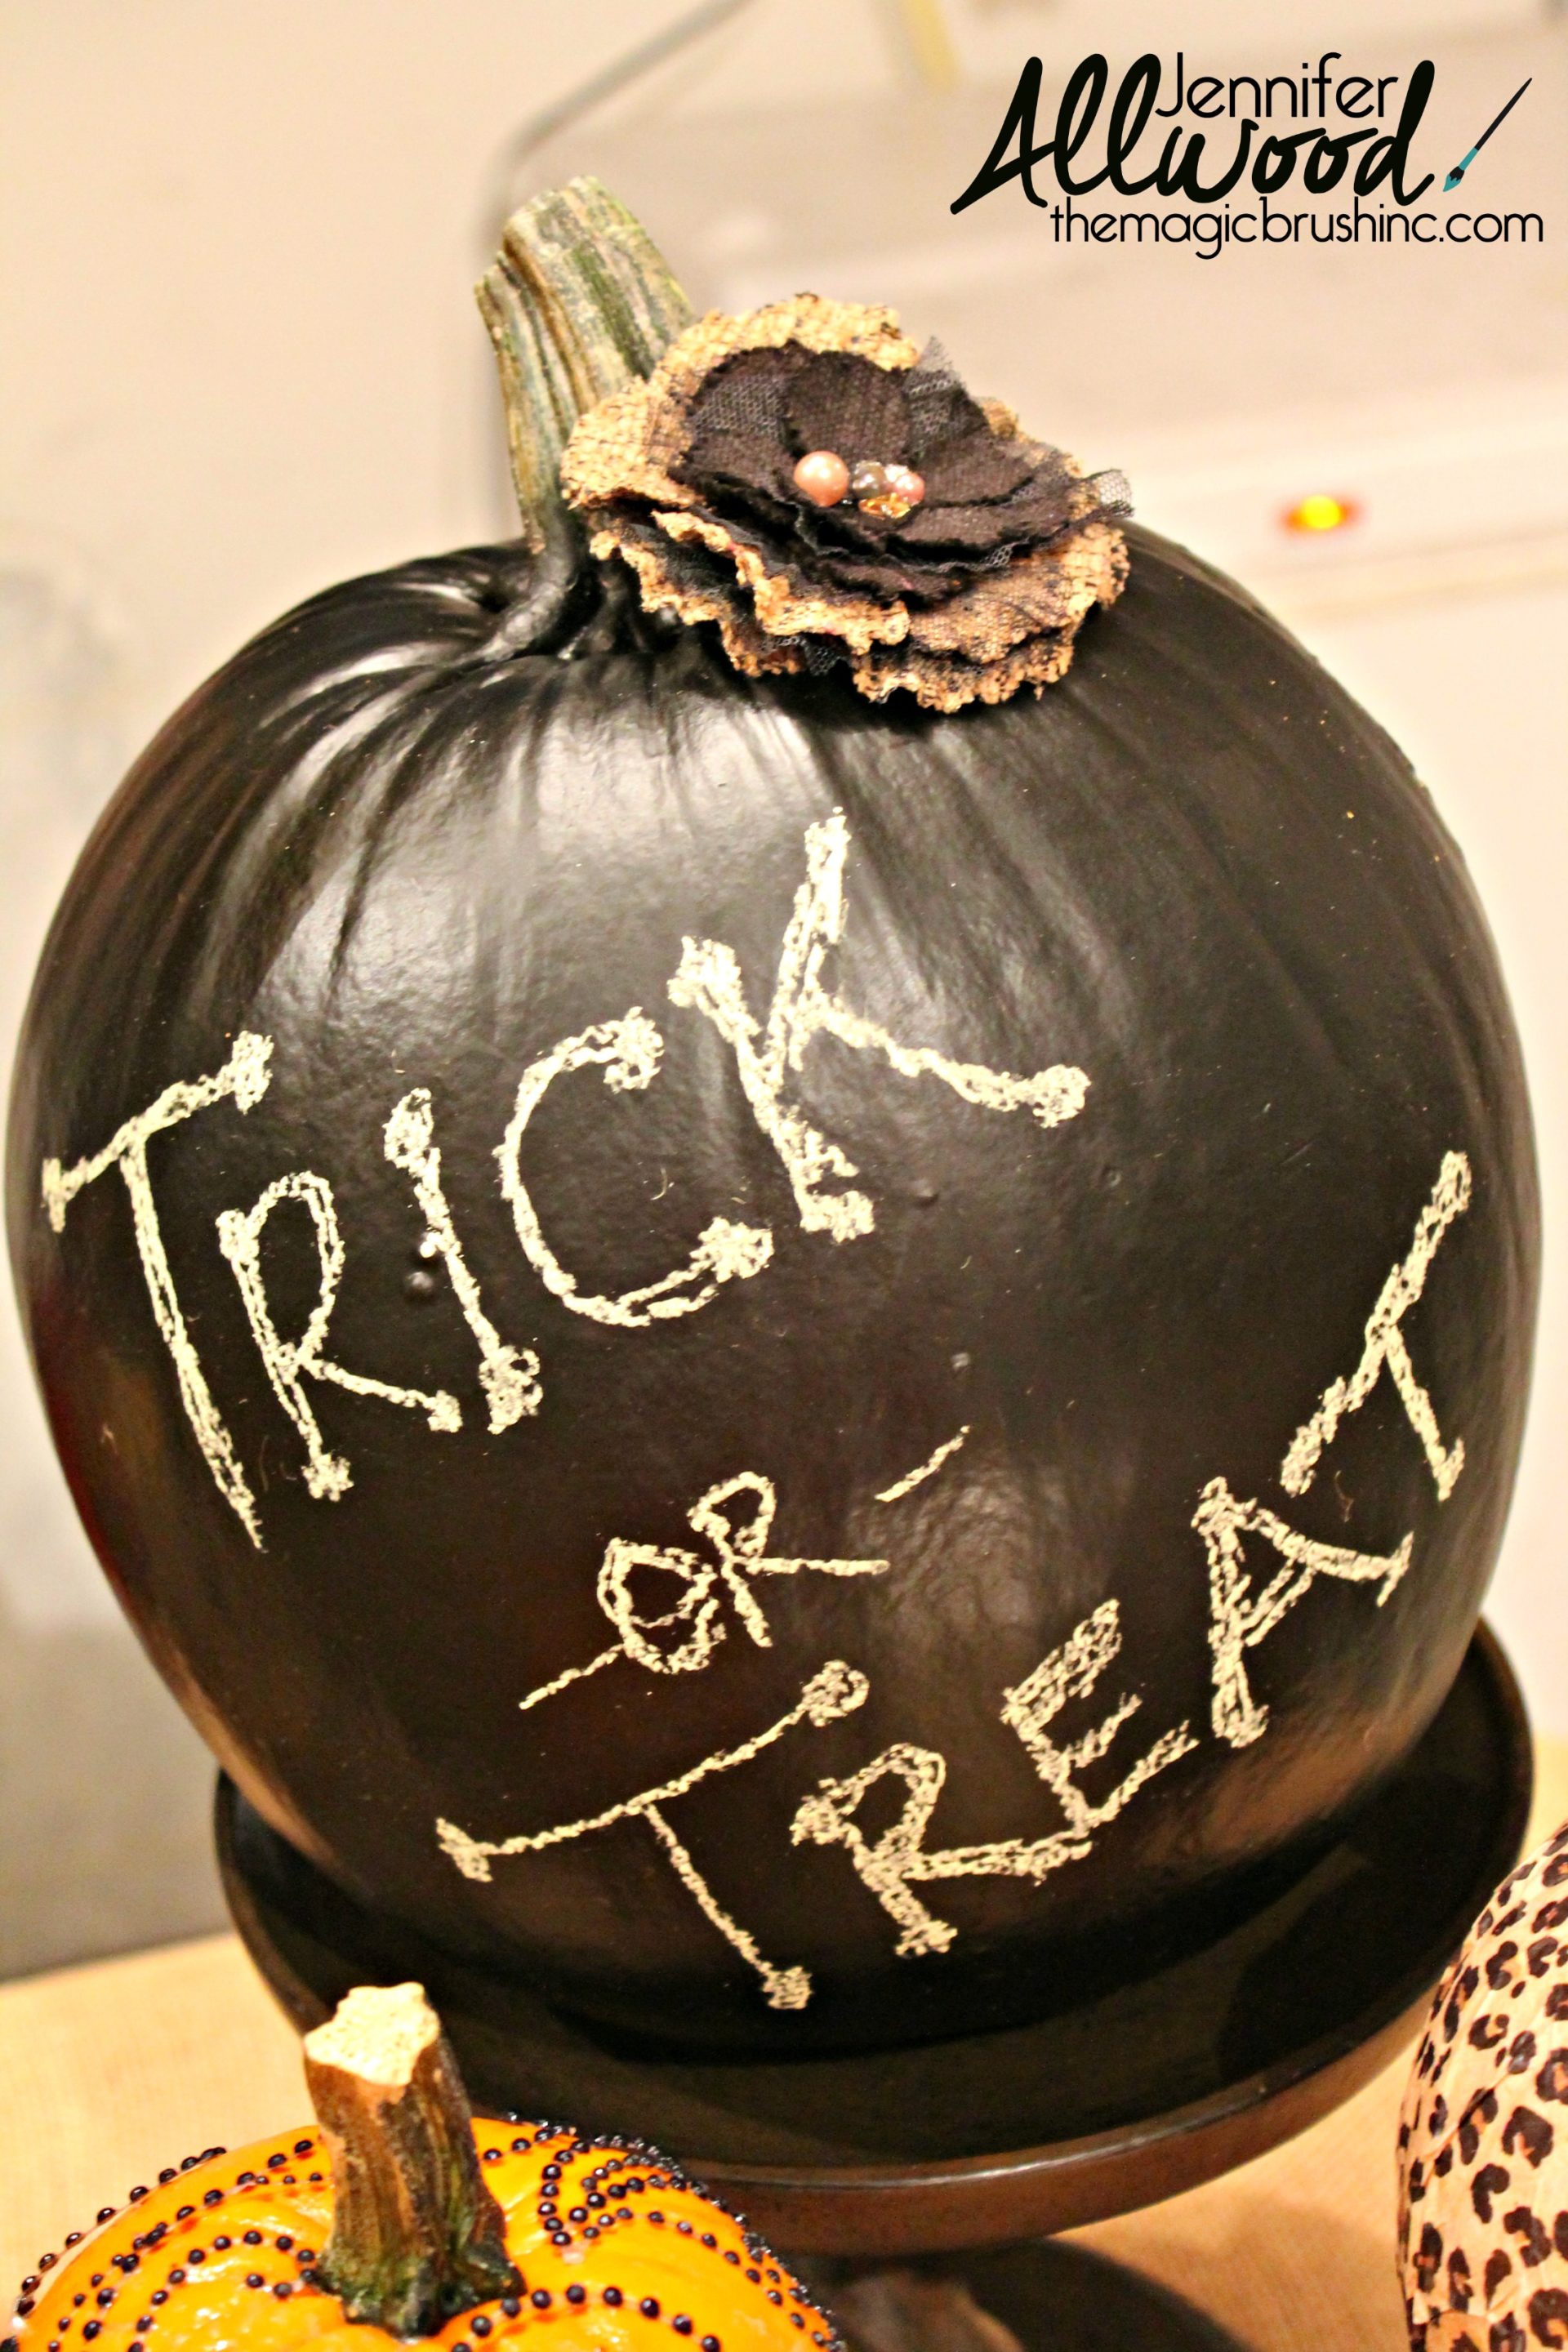
Here is what I can tell you. Chalkboard pumpkins are easy breezy to make.
But I would suggest you use FAKE pumpkins unlike myself. The paint is just tender on real pumpkins. To help with that, I always suggest SANDING a real pumpkin to take some of that waxy finish off. Yes I know, sanding a vegetable seems weird but it will help for the chalkboard paint to not scratch off with chalk.
I also suggest PRIMING your pumpkins. Using a DARK GRAY primer under black chalkboard paint is easiest and makes the chalkboard paint cover better!
This post does contain affiliate links which helps feed my addiction to projecting!
My second tip is to always prime and paint the BUTT of the pumpkin FIRST.
Whether brushing or spraying a pumpkin, turn it upside down in a container first and do the bottom first.
You can use a spray can of chalkboard paint like THIS.
Or you can use my favorite chalkboard paint — Black Bean paint! You can use it on your pumpkin, your chalkboards AND your furniture! And while you’re perusing HTP, be sure to get one of these oval tapered paint brushes – they are great for chalk-type paints!
And that is seriously all you do for a chalkboard pumpkin!
I took this entire display with my chalkboard pumpkin onto my local television station for a pumpkin tutorial.
I have the directions to make these glittered chevron pumpkin HERE.
And if you are as obsessed with pumpkins as I am …. you can See my slideshow of my all-time favorite pumpkin decorating ideas! I also have tons of chalkboard paint home decor ideas too!
Happy pumpkining!
Jennifer



3 comments