Our son, Easton, loves to go thrifting so for his 17th birthday we went to The Goodwill together to shop around. I was actually looking for a chair that I could recover in fur for our master bathroom and I found one for $15!


I went to Joanne’s and purchased faux fur. And the lady there showed me how to ‘cut’ faux fur—which I was super grateful for because I didn’t know! You don’t actually cut it—you snip it and rip it! Right…who would have thought!
Now in full disclosure, I did recover a bench in my office with fur (see that DIY project here) but that was waaaay easier because it was all straight lines and one large piece and all I had to use was a staple gun. This chair was not that simple.
So…..I decided I needed to do this project on election night because apparently elections make me want to do crafts and be creative. It calms me I guess. (During the 2016 election, Jason and I made orange tassel banners, see that here!)
I needed to make templates of the different shapes (back, seat, and armrests) and the only thing large enough that I had in the house was gift wrap. So I just went with it and made the templates and it worked just fine!

Other DIYers would probably have completely removed the fabric, used glue, sewed pieces together and done it the ‘proper’ way…but that’s not my style and frankly I just don’t have the time for in-depth, professional projects. So I just used a staple gun, scissors, a butter knife, and a knife.


So I literally cut pieces out based on the templates and stapled it to the chair. The good thing about fur is because it’s so thick you can easily hide the staples and imperfections. And the truth is the chair is more for looks than it is for practicality, so I’m not worried about it holding up.

Many people suggested that on the back of the chair I remove the existing trim (which I did) and put up the fur and put new trim around it (which I didn’t do.) It’s good enough for how much we plan to actually use it and it looks pretty.


I finished this project in one night and then the next day I used Gold Leaf Rub n Buff on the wood to add glam. Find the Rub n Buff at Hobby Lobby or here on Amazon.


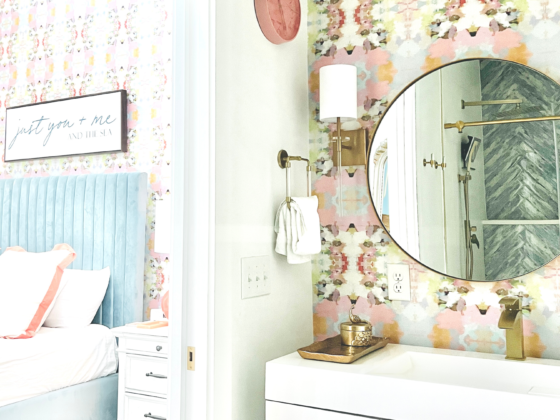
It’s now in our master bathroom and complete. It probably took a total 1.5 hours. Bada bing bada boom!
Xoxo,
Jen
*Pinterest lovers: Save this to your DIY Project board!


