
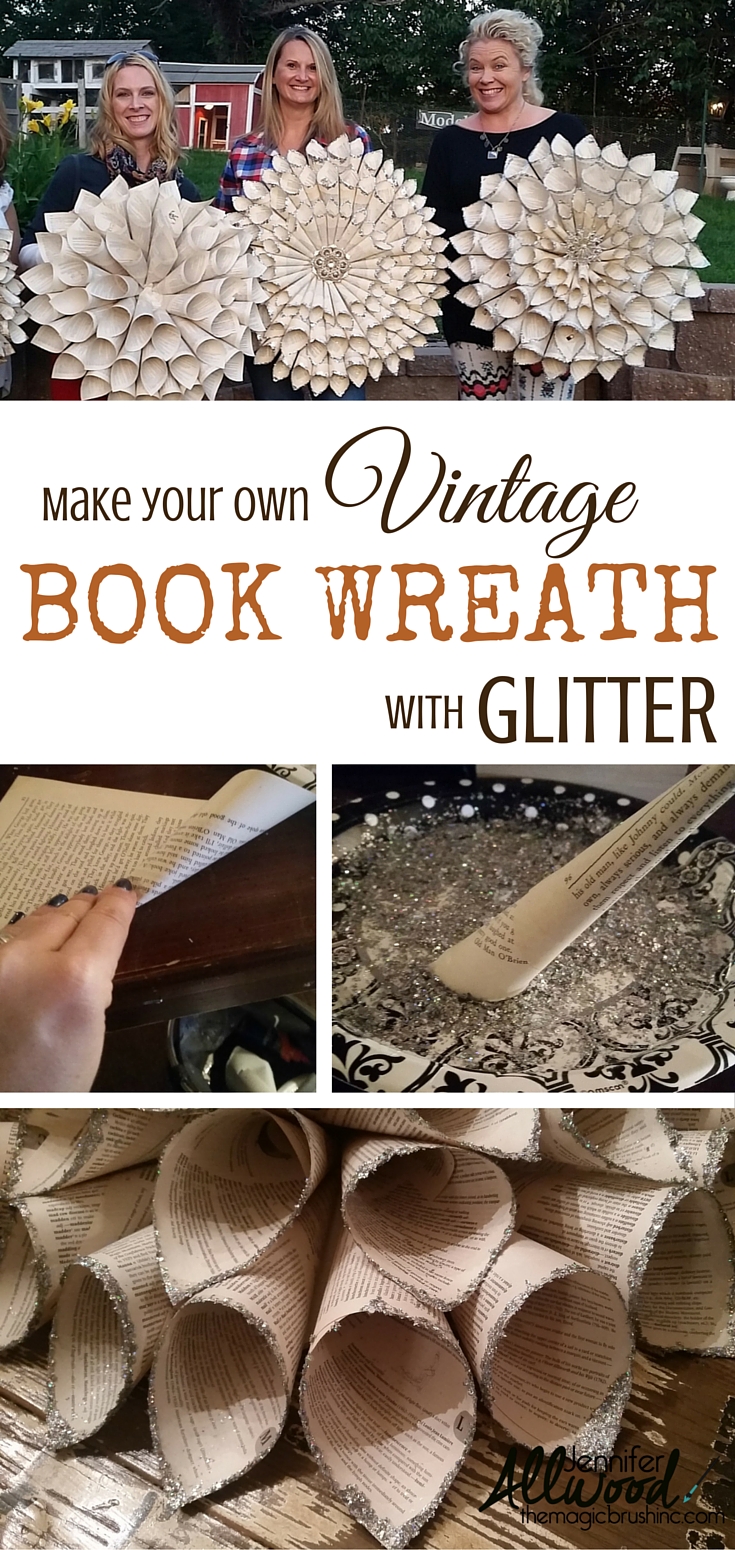
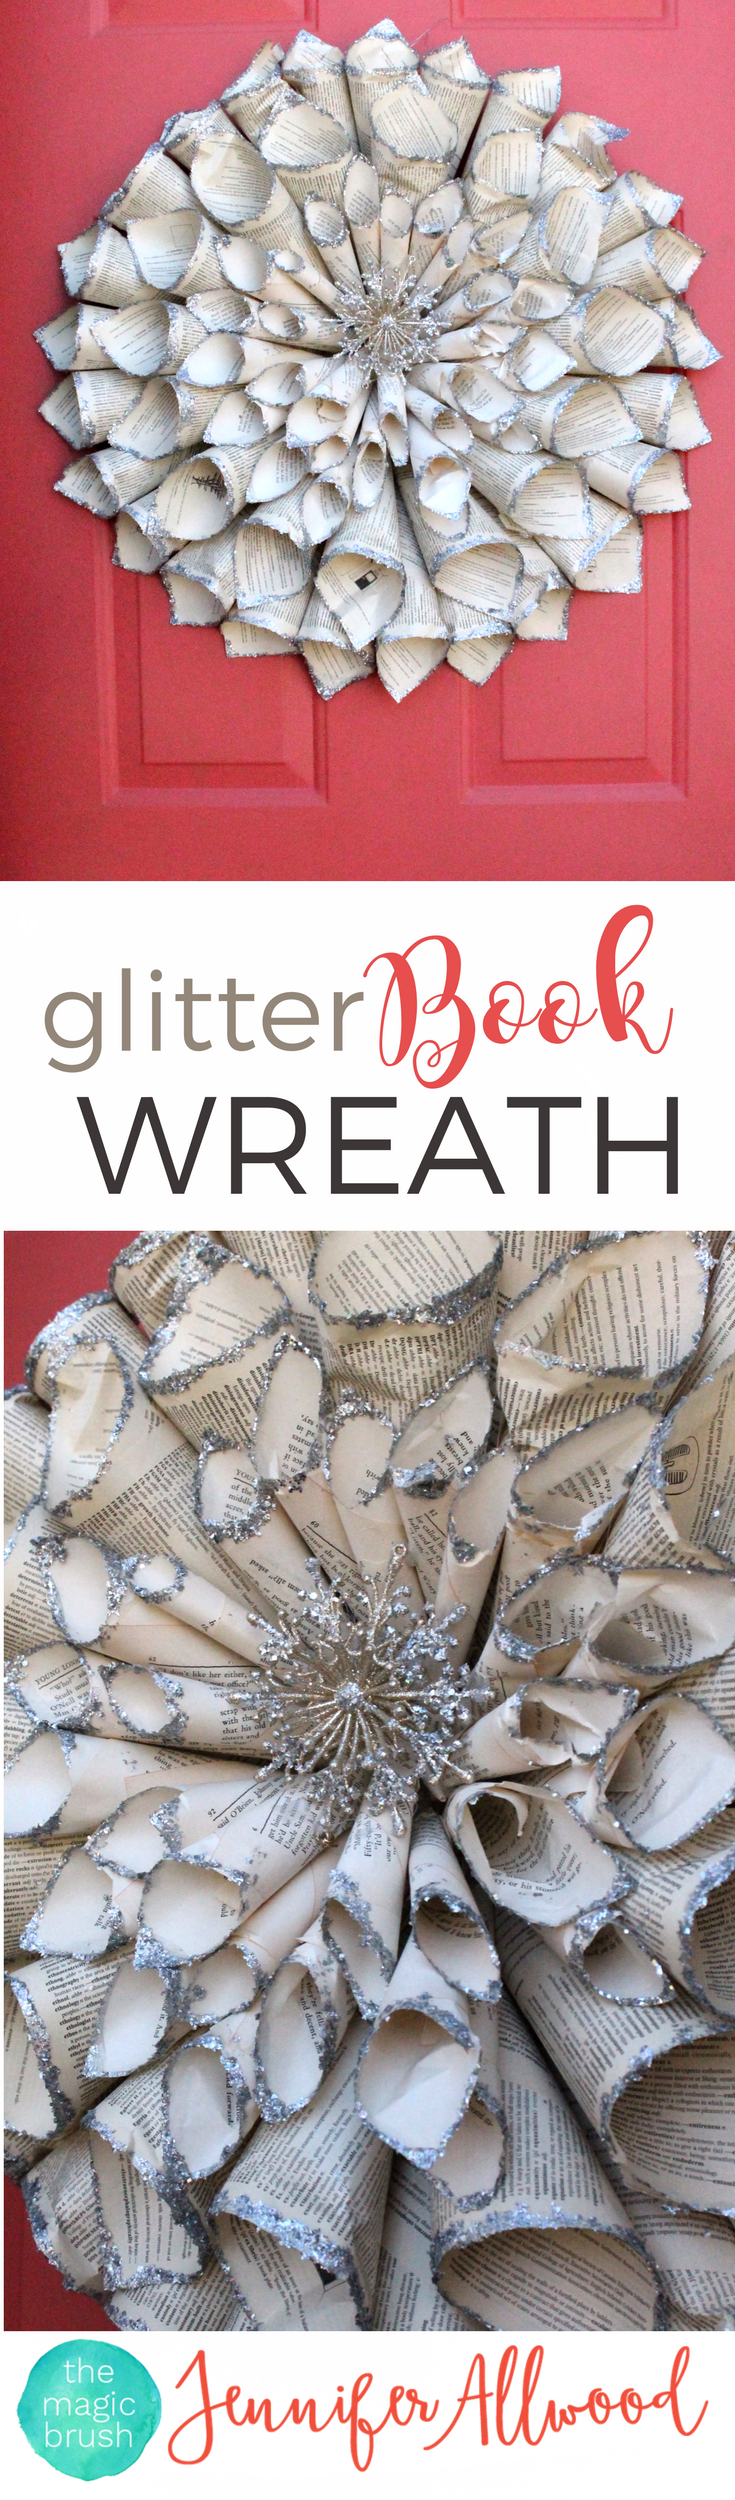
Last weekend a few of my girlfriends and I gathered to make a vintage book wreath. I had seen several on Pinterest and was itching to try it!

Seriously friends…. this project is a lot of bang for your buck so to speak. It’s not a ton of money or time and it’s BIG!!!!!! I like BIG! So, I totally, totally recommend a girl’s craft night to do this! I made 2 vintage book wreaths in about 5 hours and it was worth every second!
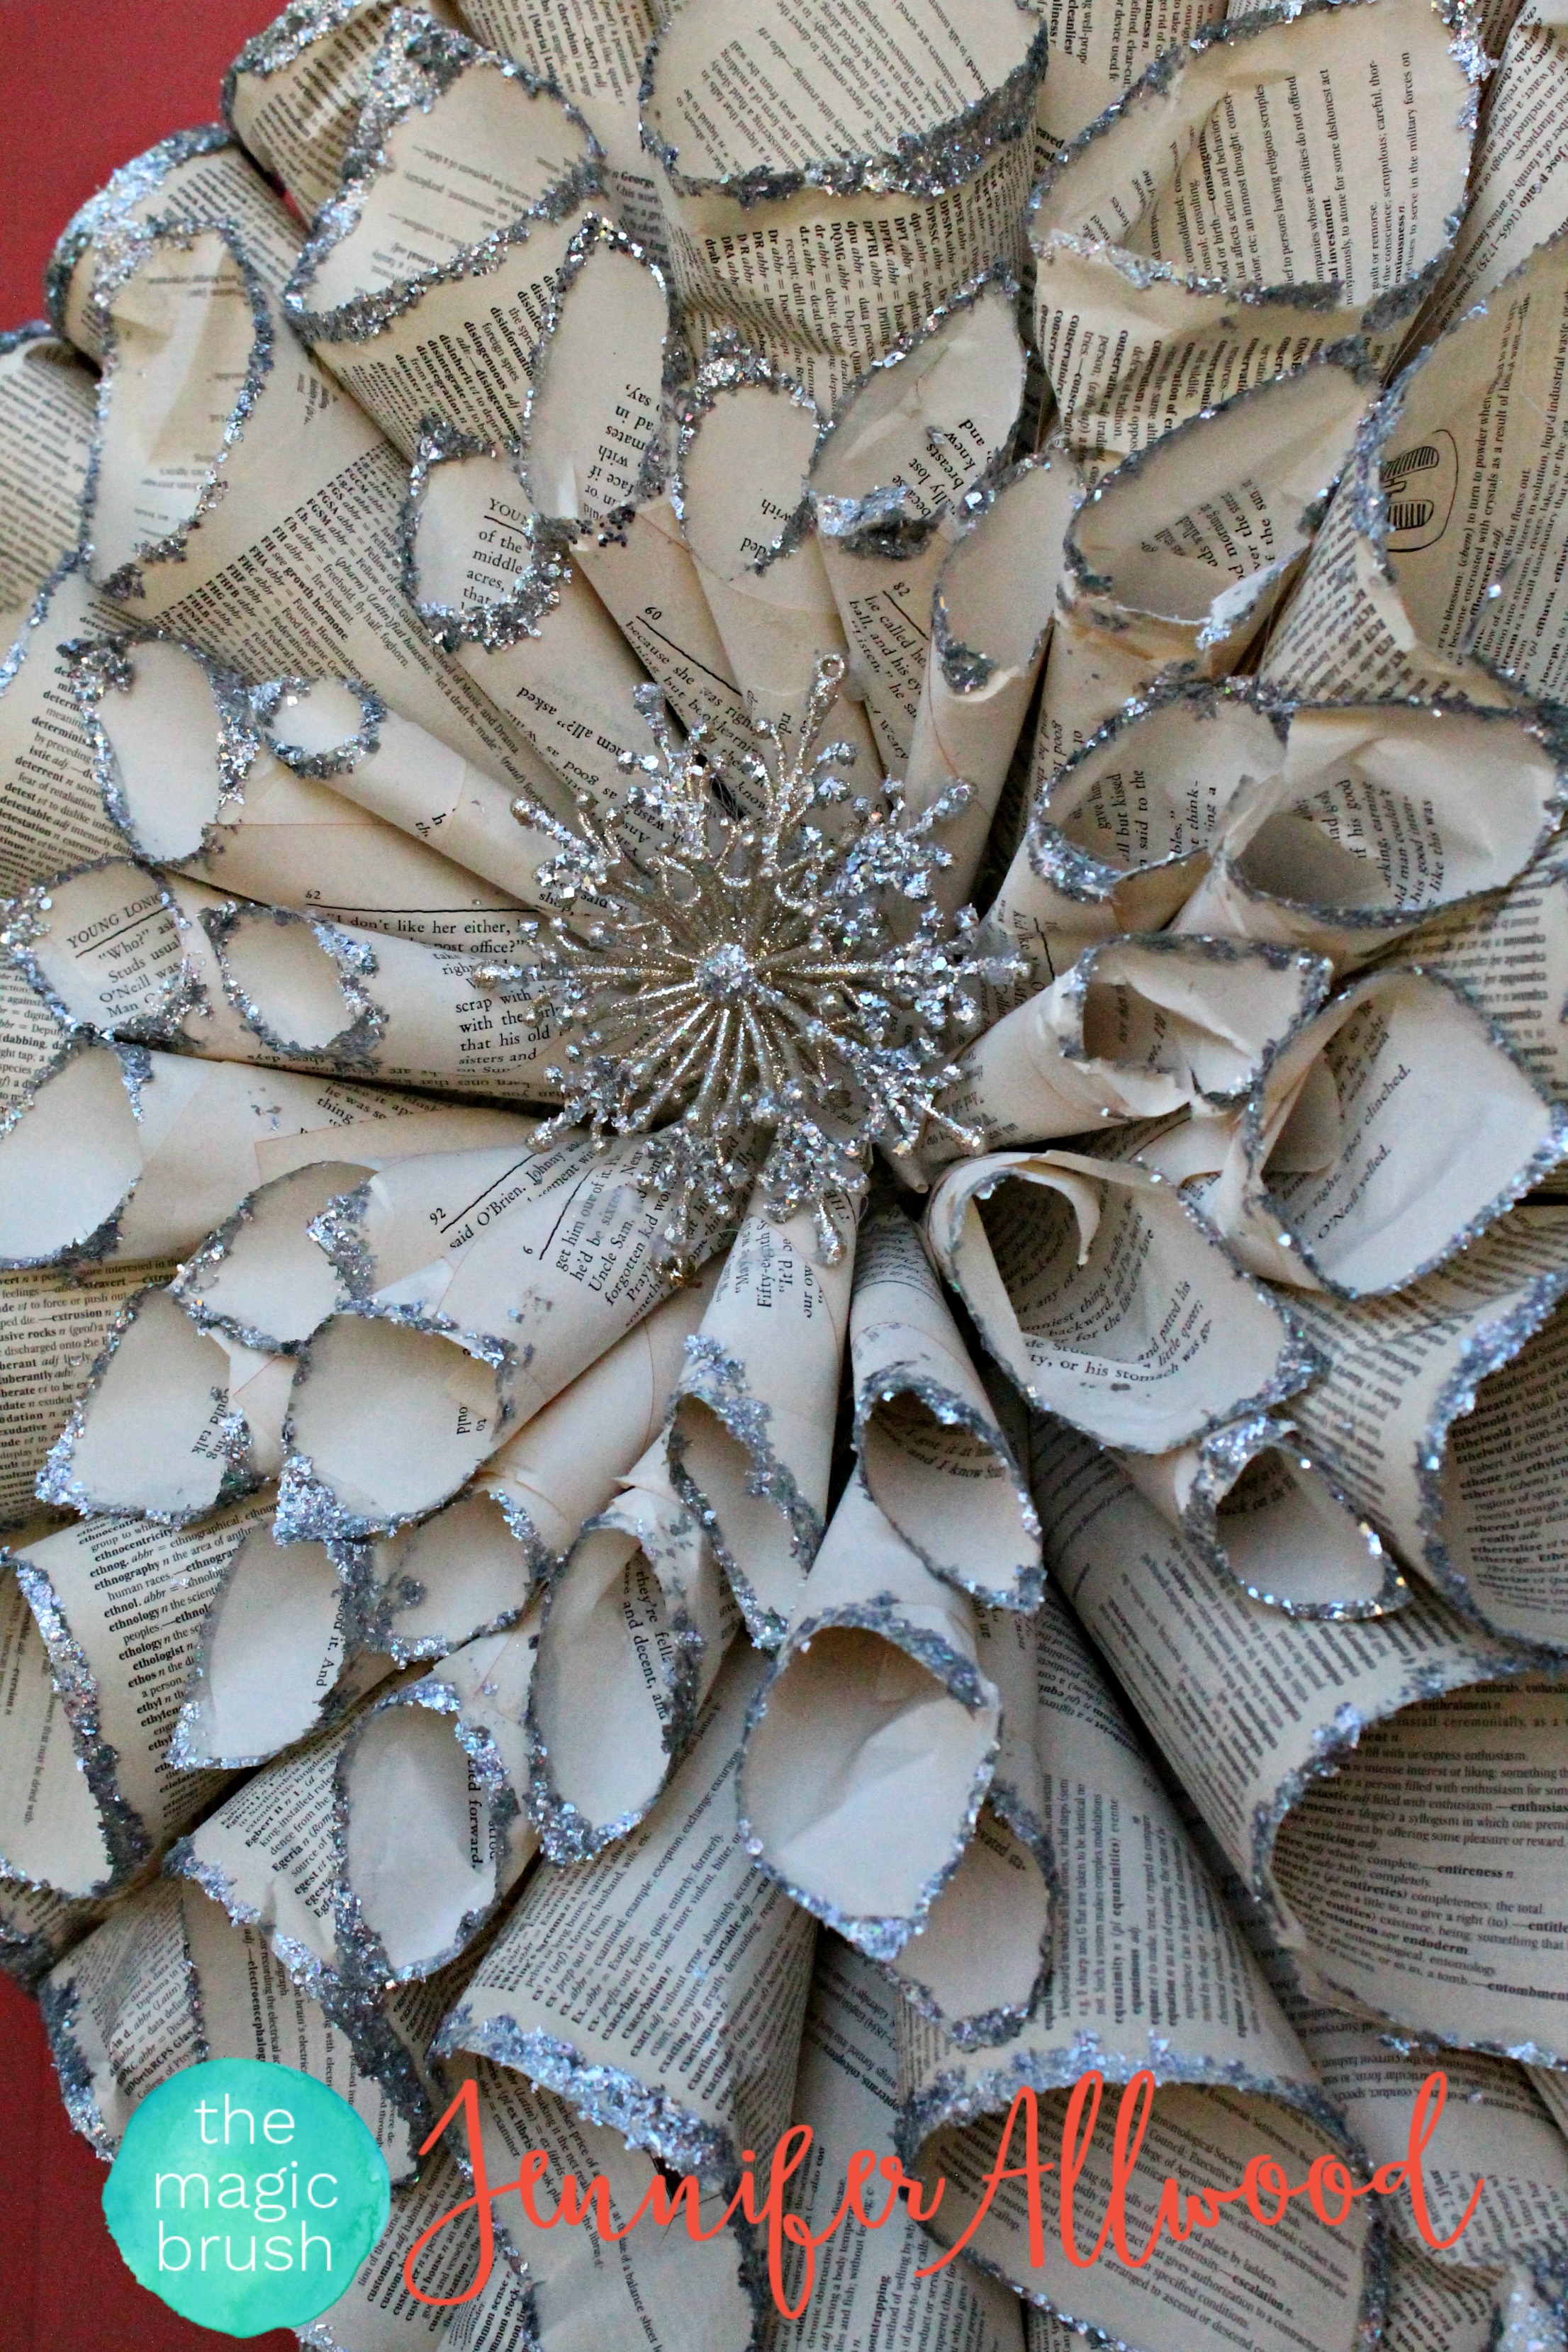
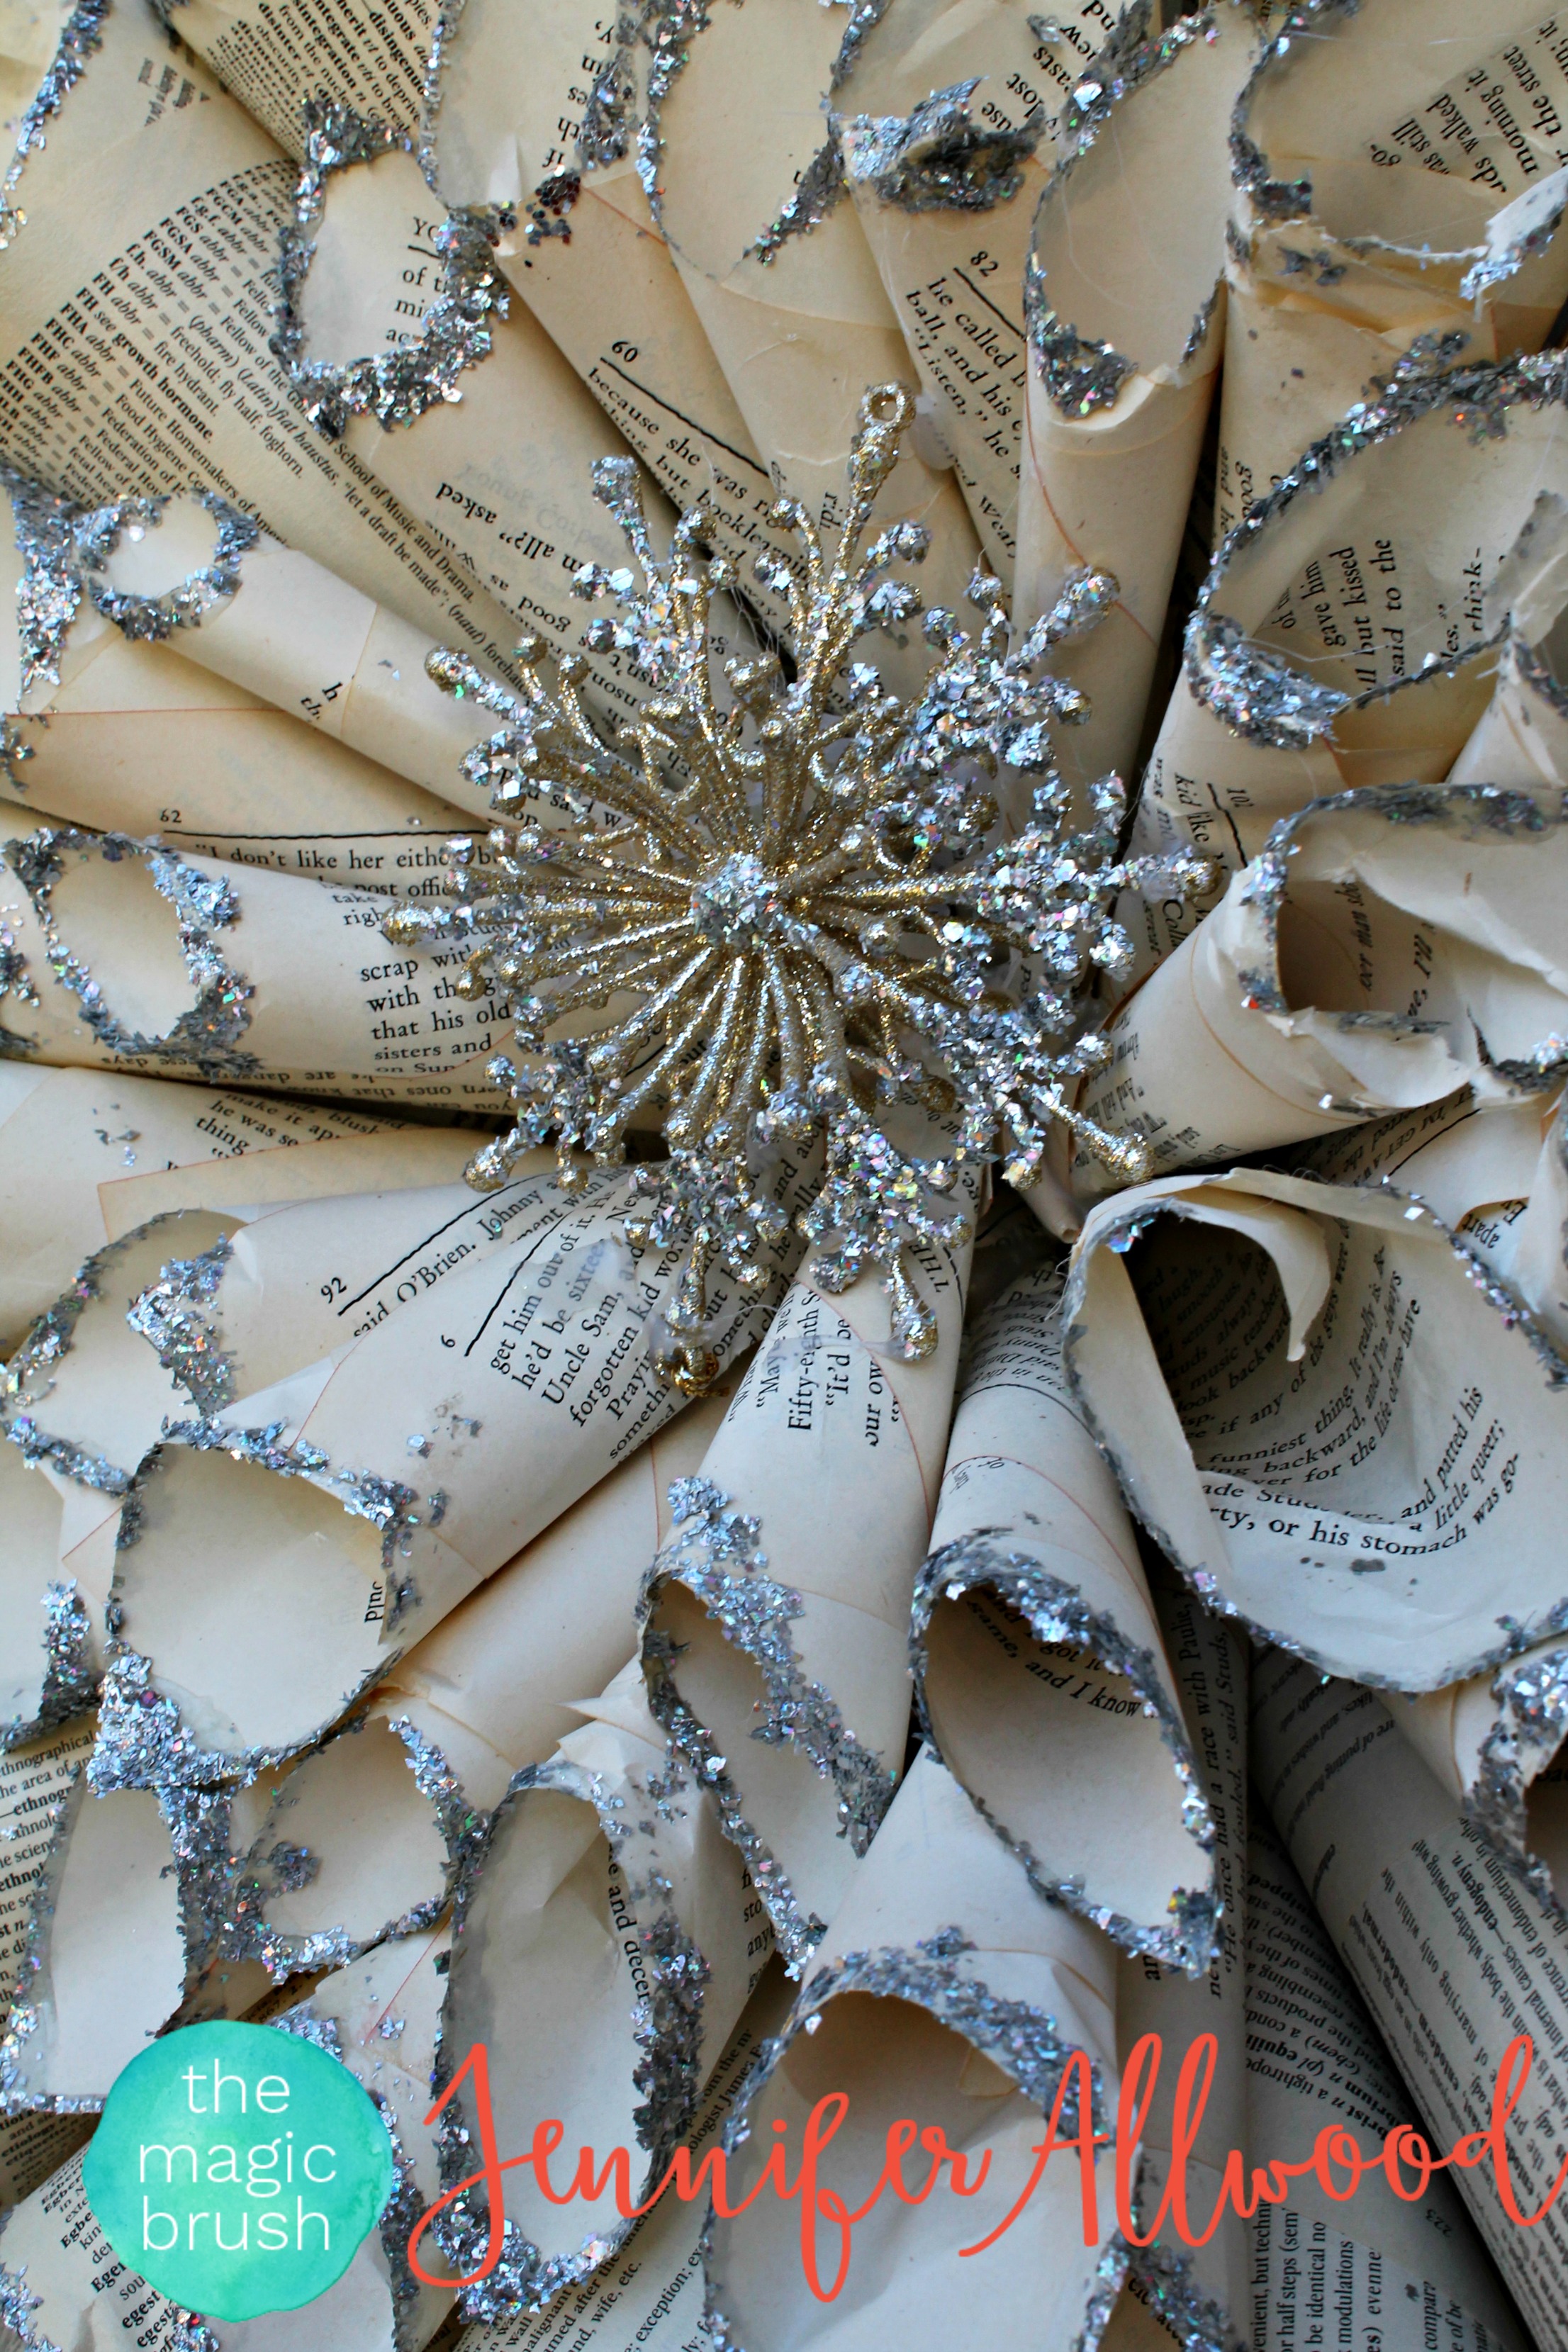
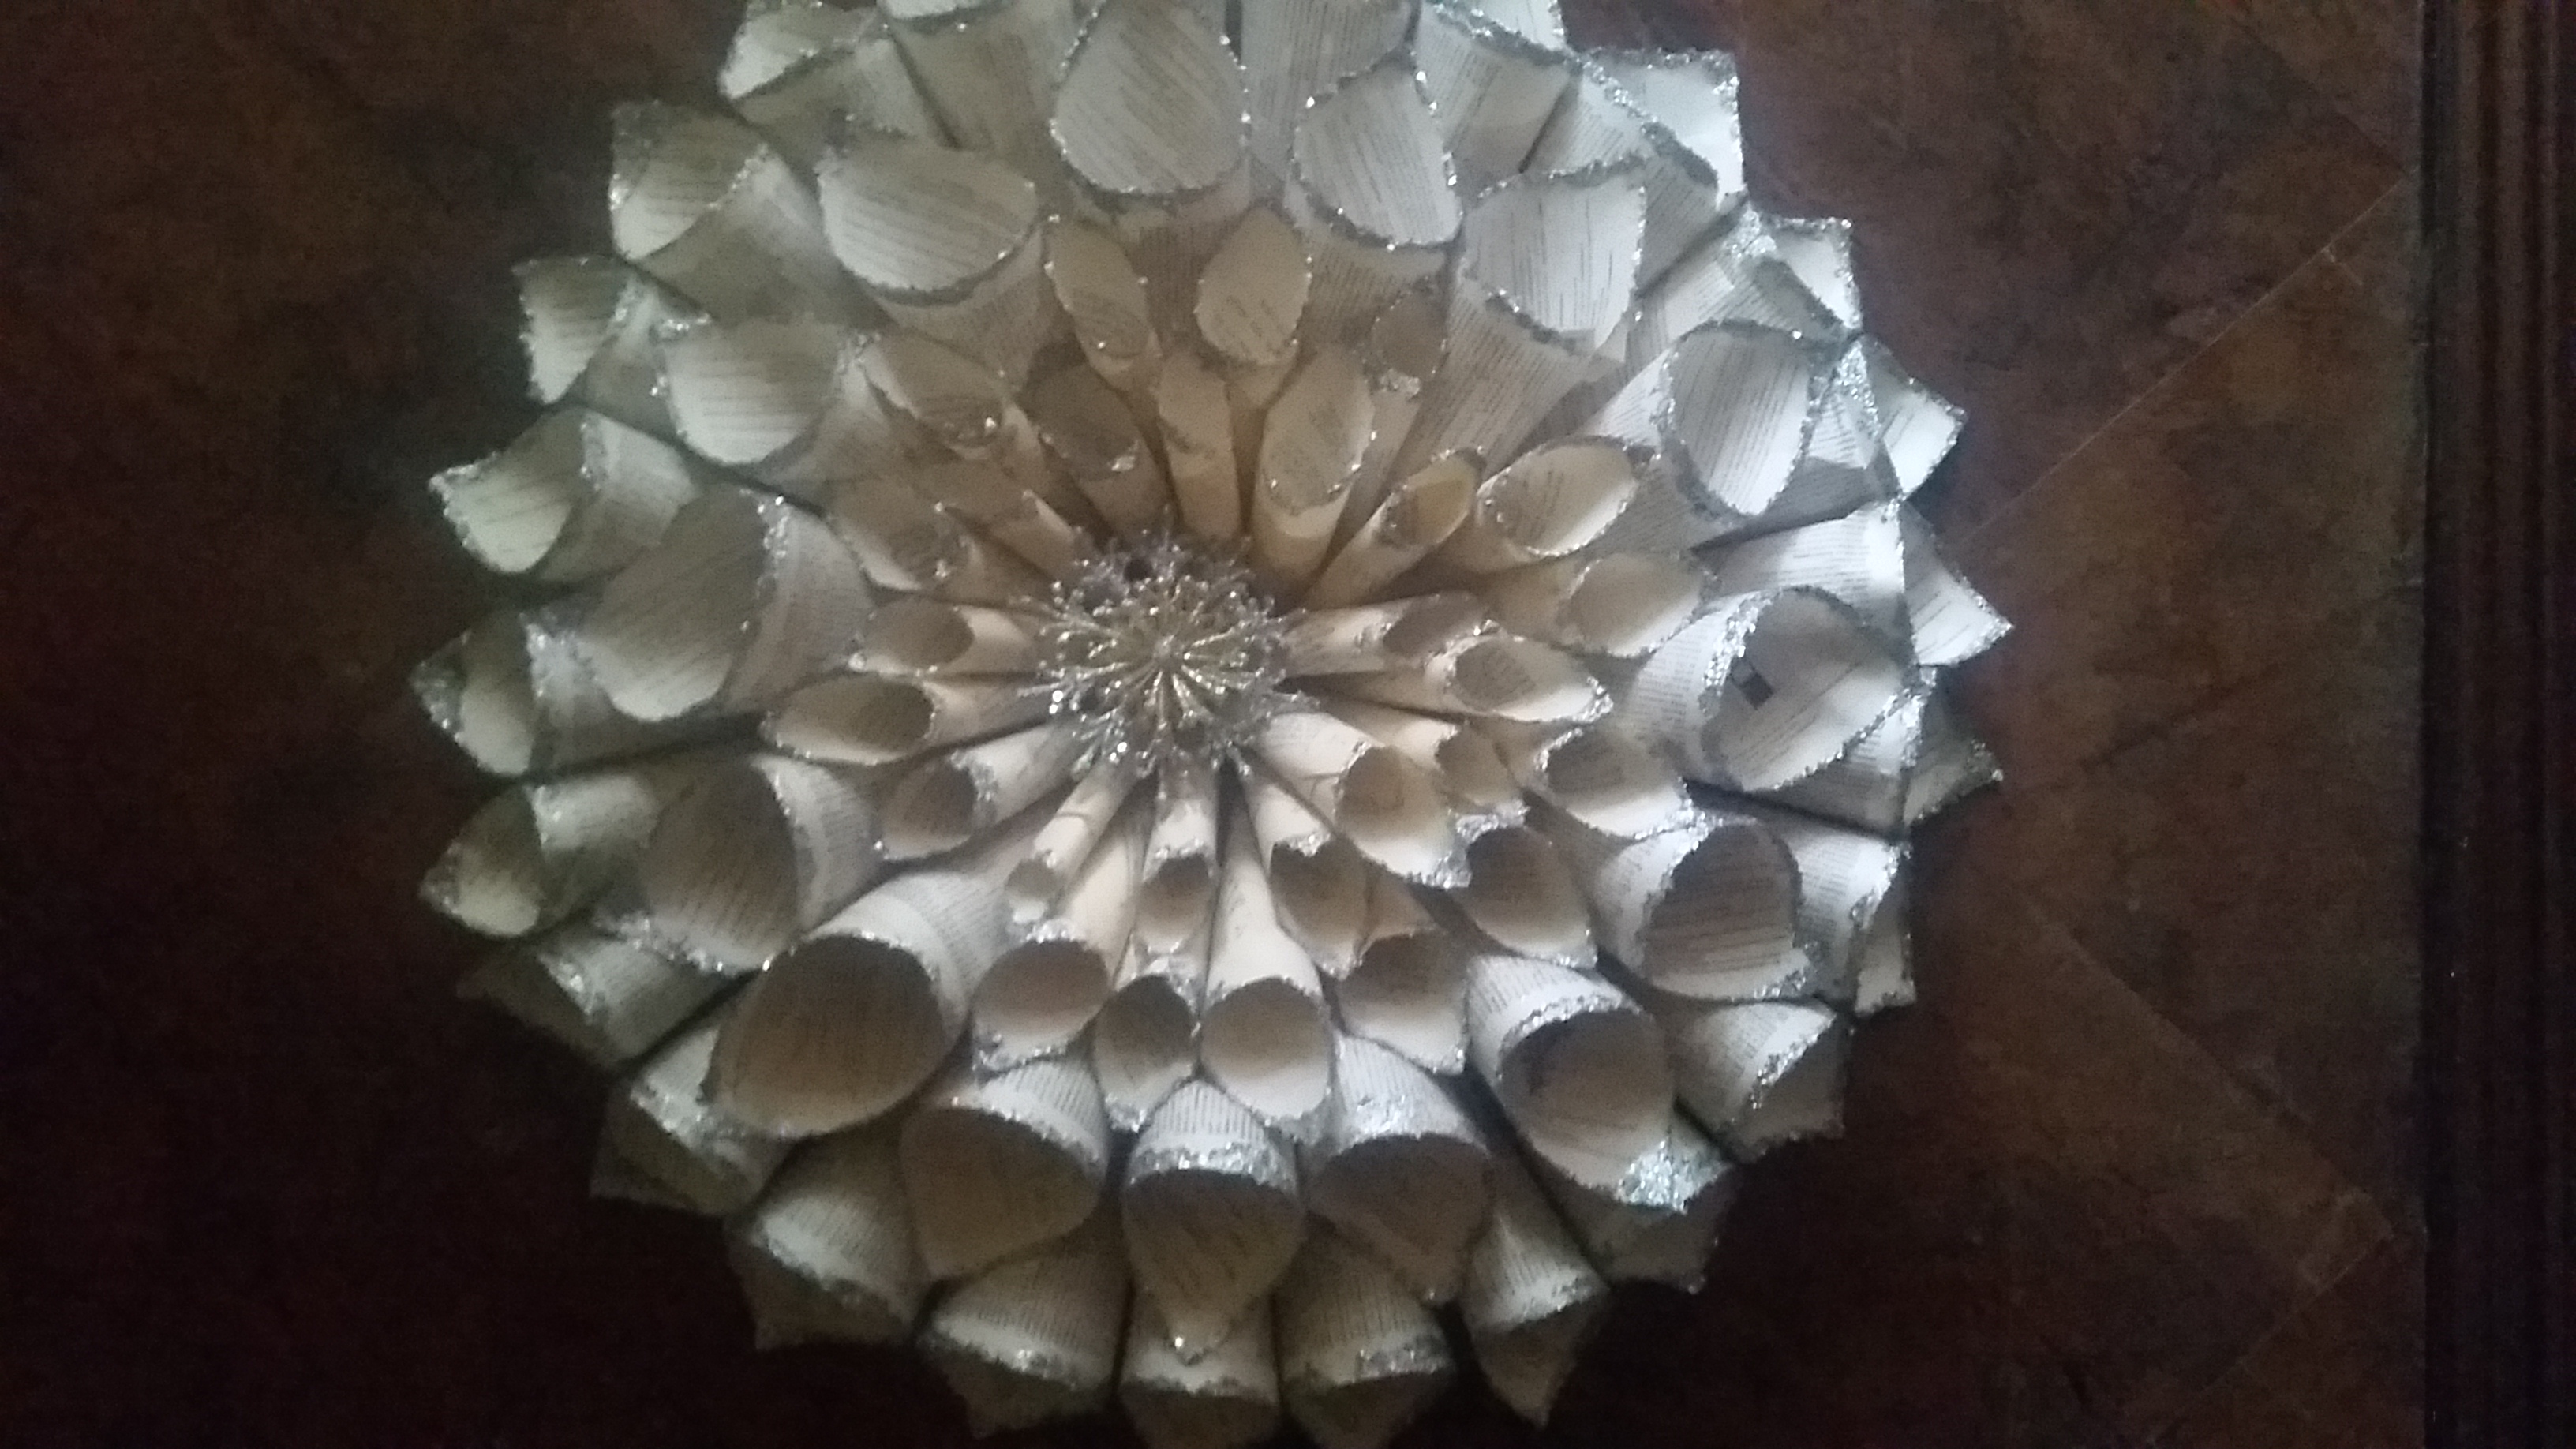
Here’s a lovely closeup of all the pretty glitter in my vintage book wreath.

How to Make a Vintage Book Wreath
We started with an old book that my friend Samantha purchased at a thrift store. The pages weren’t white-white which is exactly what we were wanting! Another idea would be to use old sheet music or use one with white-white pages for a “snow” themed vintage book wreath. Love. You can also order a vintage book bundle from Etsy.
We watched a YouTube video and tried to get an “exact plan” on how to do “the roll” of the pages perfectly. But I’m what you call an “impatient crafter” or “lazy crafter” if you will. I want to get from point A to point B quickly, so I got in a “rolling” rhythm quickly. In retrospect, the tightness of the roll totally determines the look. I kind of wish that I had rolled mine slightly tighter so the cones were skinnier. But, it’s all good. So start rolling page. And roll more pages. And more. And then more after that. You have to roll ALOT of pages, an estimated 120 per wreath (did anyone just pass out?)
We used a craft glue stick to glue the bottom corner over. You could hot glue too, but hot glue guns and I tend to scuffle a bit, so a glue stick was my glue of choice!

You probably SHOULD wait until that glue is all set and lovely and whatever, but again….the impatient crafter in me took over and I didn’t wait long before I was ITCHHHHHHHHING to glitter the tips. I dumped Mod Podge on a paper plate and dipped the edges in the glue. It will go on thicker and thinner in spots and that’s ok. Remember perfection is for calculus, not crafts.

After glueing your tips, immediately dip in another plate with your glitter. I used silver glitter for my wreath because in addition to be an “impatient crafter” I am also a forgetful one and forgot my GOLD glitter. Ug. I borrowed Samantha’s silver glitter which turned out amazing, but my plan had been to use the gold and I think GOLD on VINTAGE pages would look dynamite. Food for thought. I’d use this gold glitter next time. And for more adventurous “colorful” people, check out this amazing glitter set with tons of color options.

I wanted to show you a closeup of the glitter. See….perfectly imperfect. Just get it done =)

So after rolling, gluing closed, glueing again for glitter and glittering all 1,286,548 cones…..it’s time to lay out your wreath. We used a piece of white foamboard from Hobby Lobby. They come in like rectangle sheets approx. 8.5 x 11, already that size and 2 pieces in a pack. It’s important that you lay out the outside ring of cones and stack the next layer a bit to be sure you like how big/small it is before you start glueing them on. Also, this is a great time to be sure your circle-making skills are up to par. We don’t want any egg-shaped wreaths being made for the holidays, but let’s rethink that idea come Easter, ok? Ha! After determining the ring looks like you want, start one by one picking up the cones and hot glueing them to the foamboard. (note in this picture that we had seen someone suggest to staple the tips and then glue the tips down, but we got lazy and couldn’t see the point in the staple, so eventually skipped it!)

After the outer, bottom ring is done, start the inner circle and hot gluing those on to the top of the bottom ring. I got that 2nd layer and done and saw that my friend Ricki had used a SMALLER book for her inner, inner circle to make smaller cones and I loved that idea, so was totally a copy-cat. But NOTE: we wanted our wreaths to be all one color, so we had to be sure the smaller book pages were the same color as the bigger book pages. It could look kind of cool however if you used a ring of colored pages for the middle??? An idea for someone!
These cones for the inner ring were substantially smaller and fun to stack on! They were like the little mini ice cream cones at Baskin Robbins. Ha!
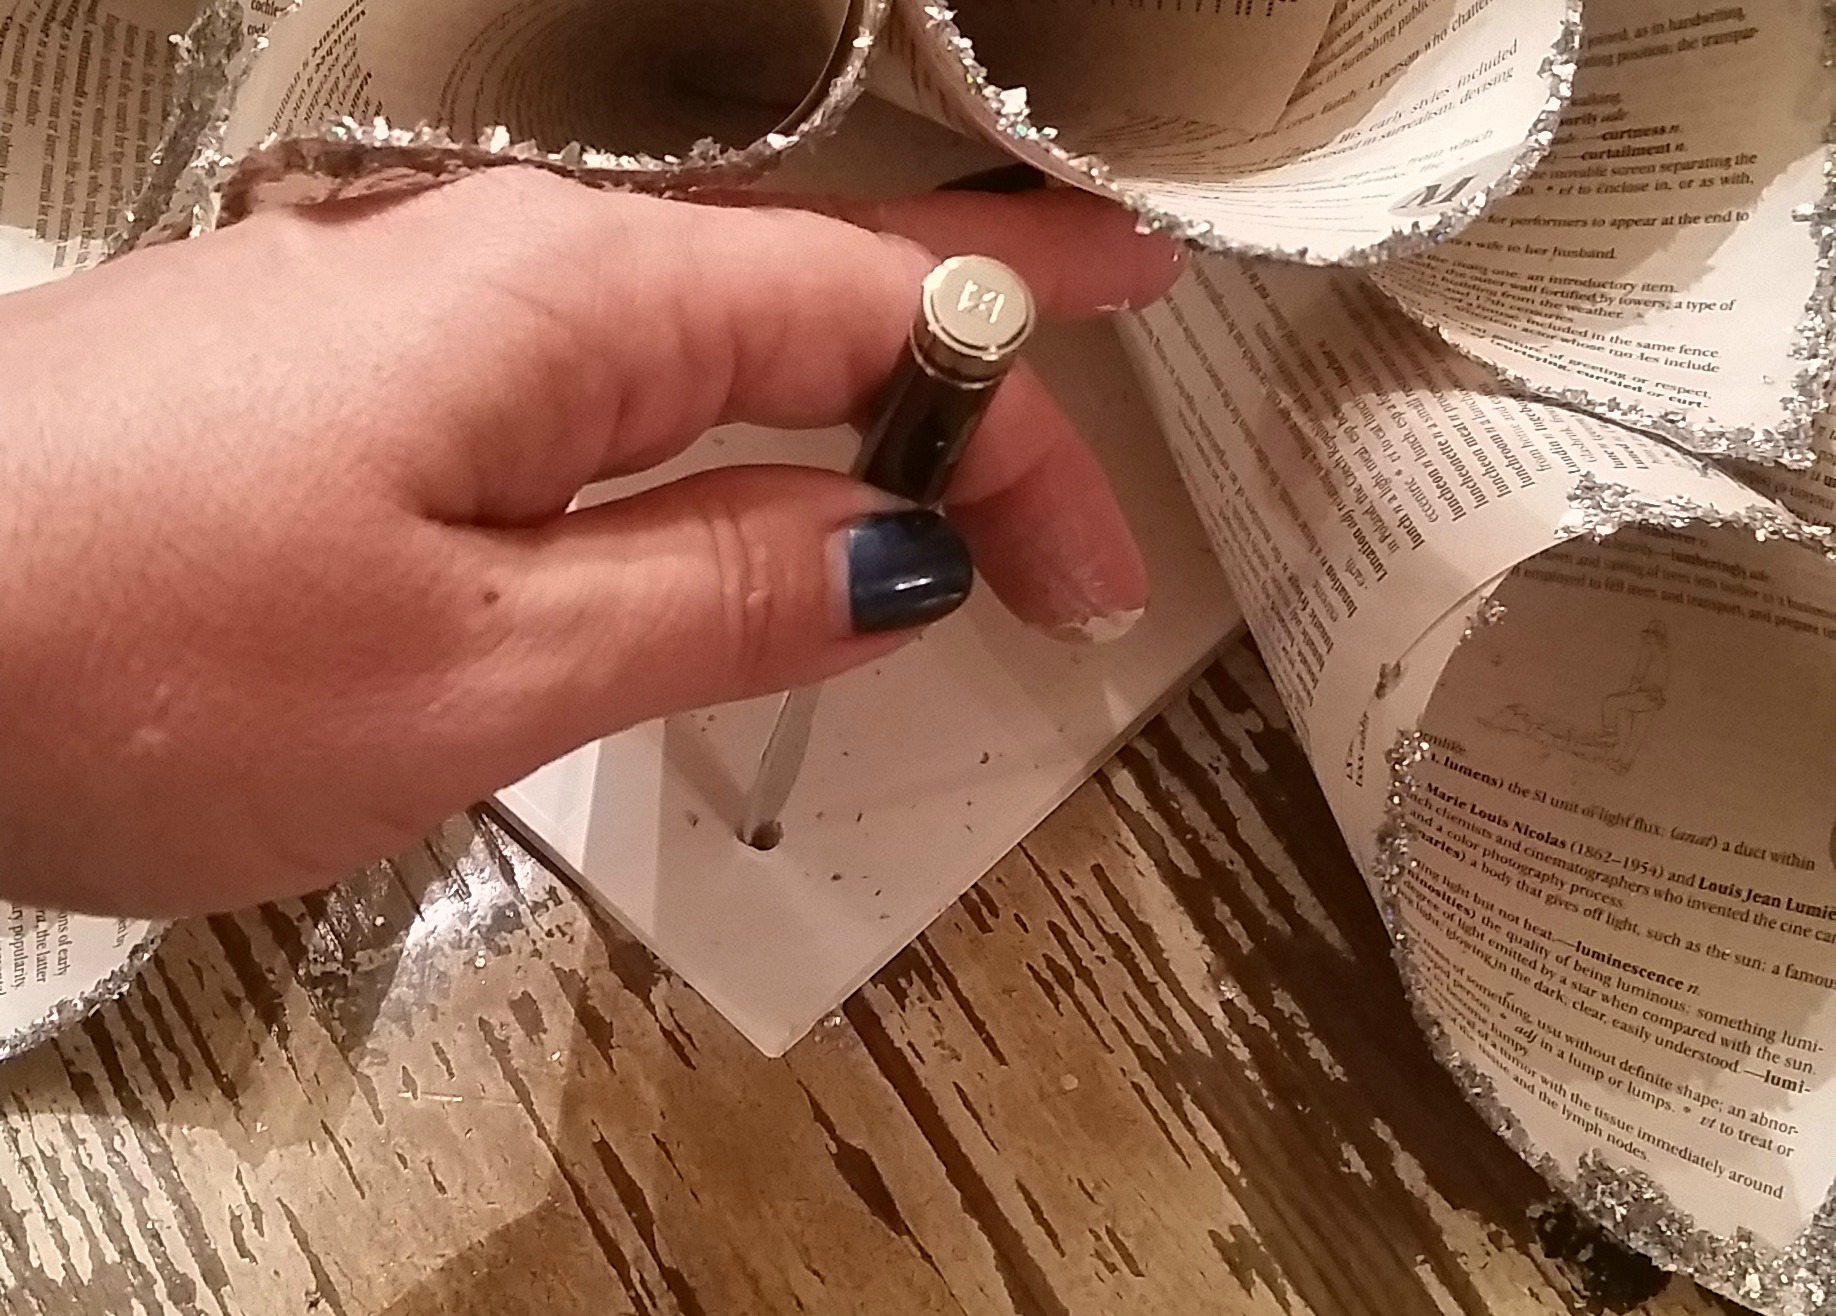
When all finished, I remembered that I should have put a hole in the foamboard to hang it from. Oopsy daisy. Ha! THIS is the reality of crafting! So, I used a letter opener to poke thru the foamboard and ran just thru it so I can hang it on a wreath hanger. Thank you for pretending not to notice my nails that need painted and the fact that I’m crafting on my beloved farmtable. Oh man.

You can see the hole by my thumb, but I forgot the pic of the jute. Ug.
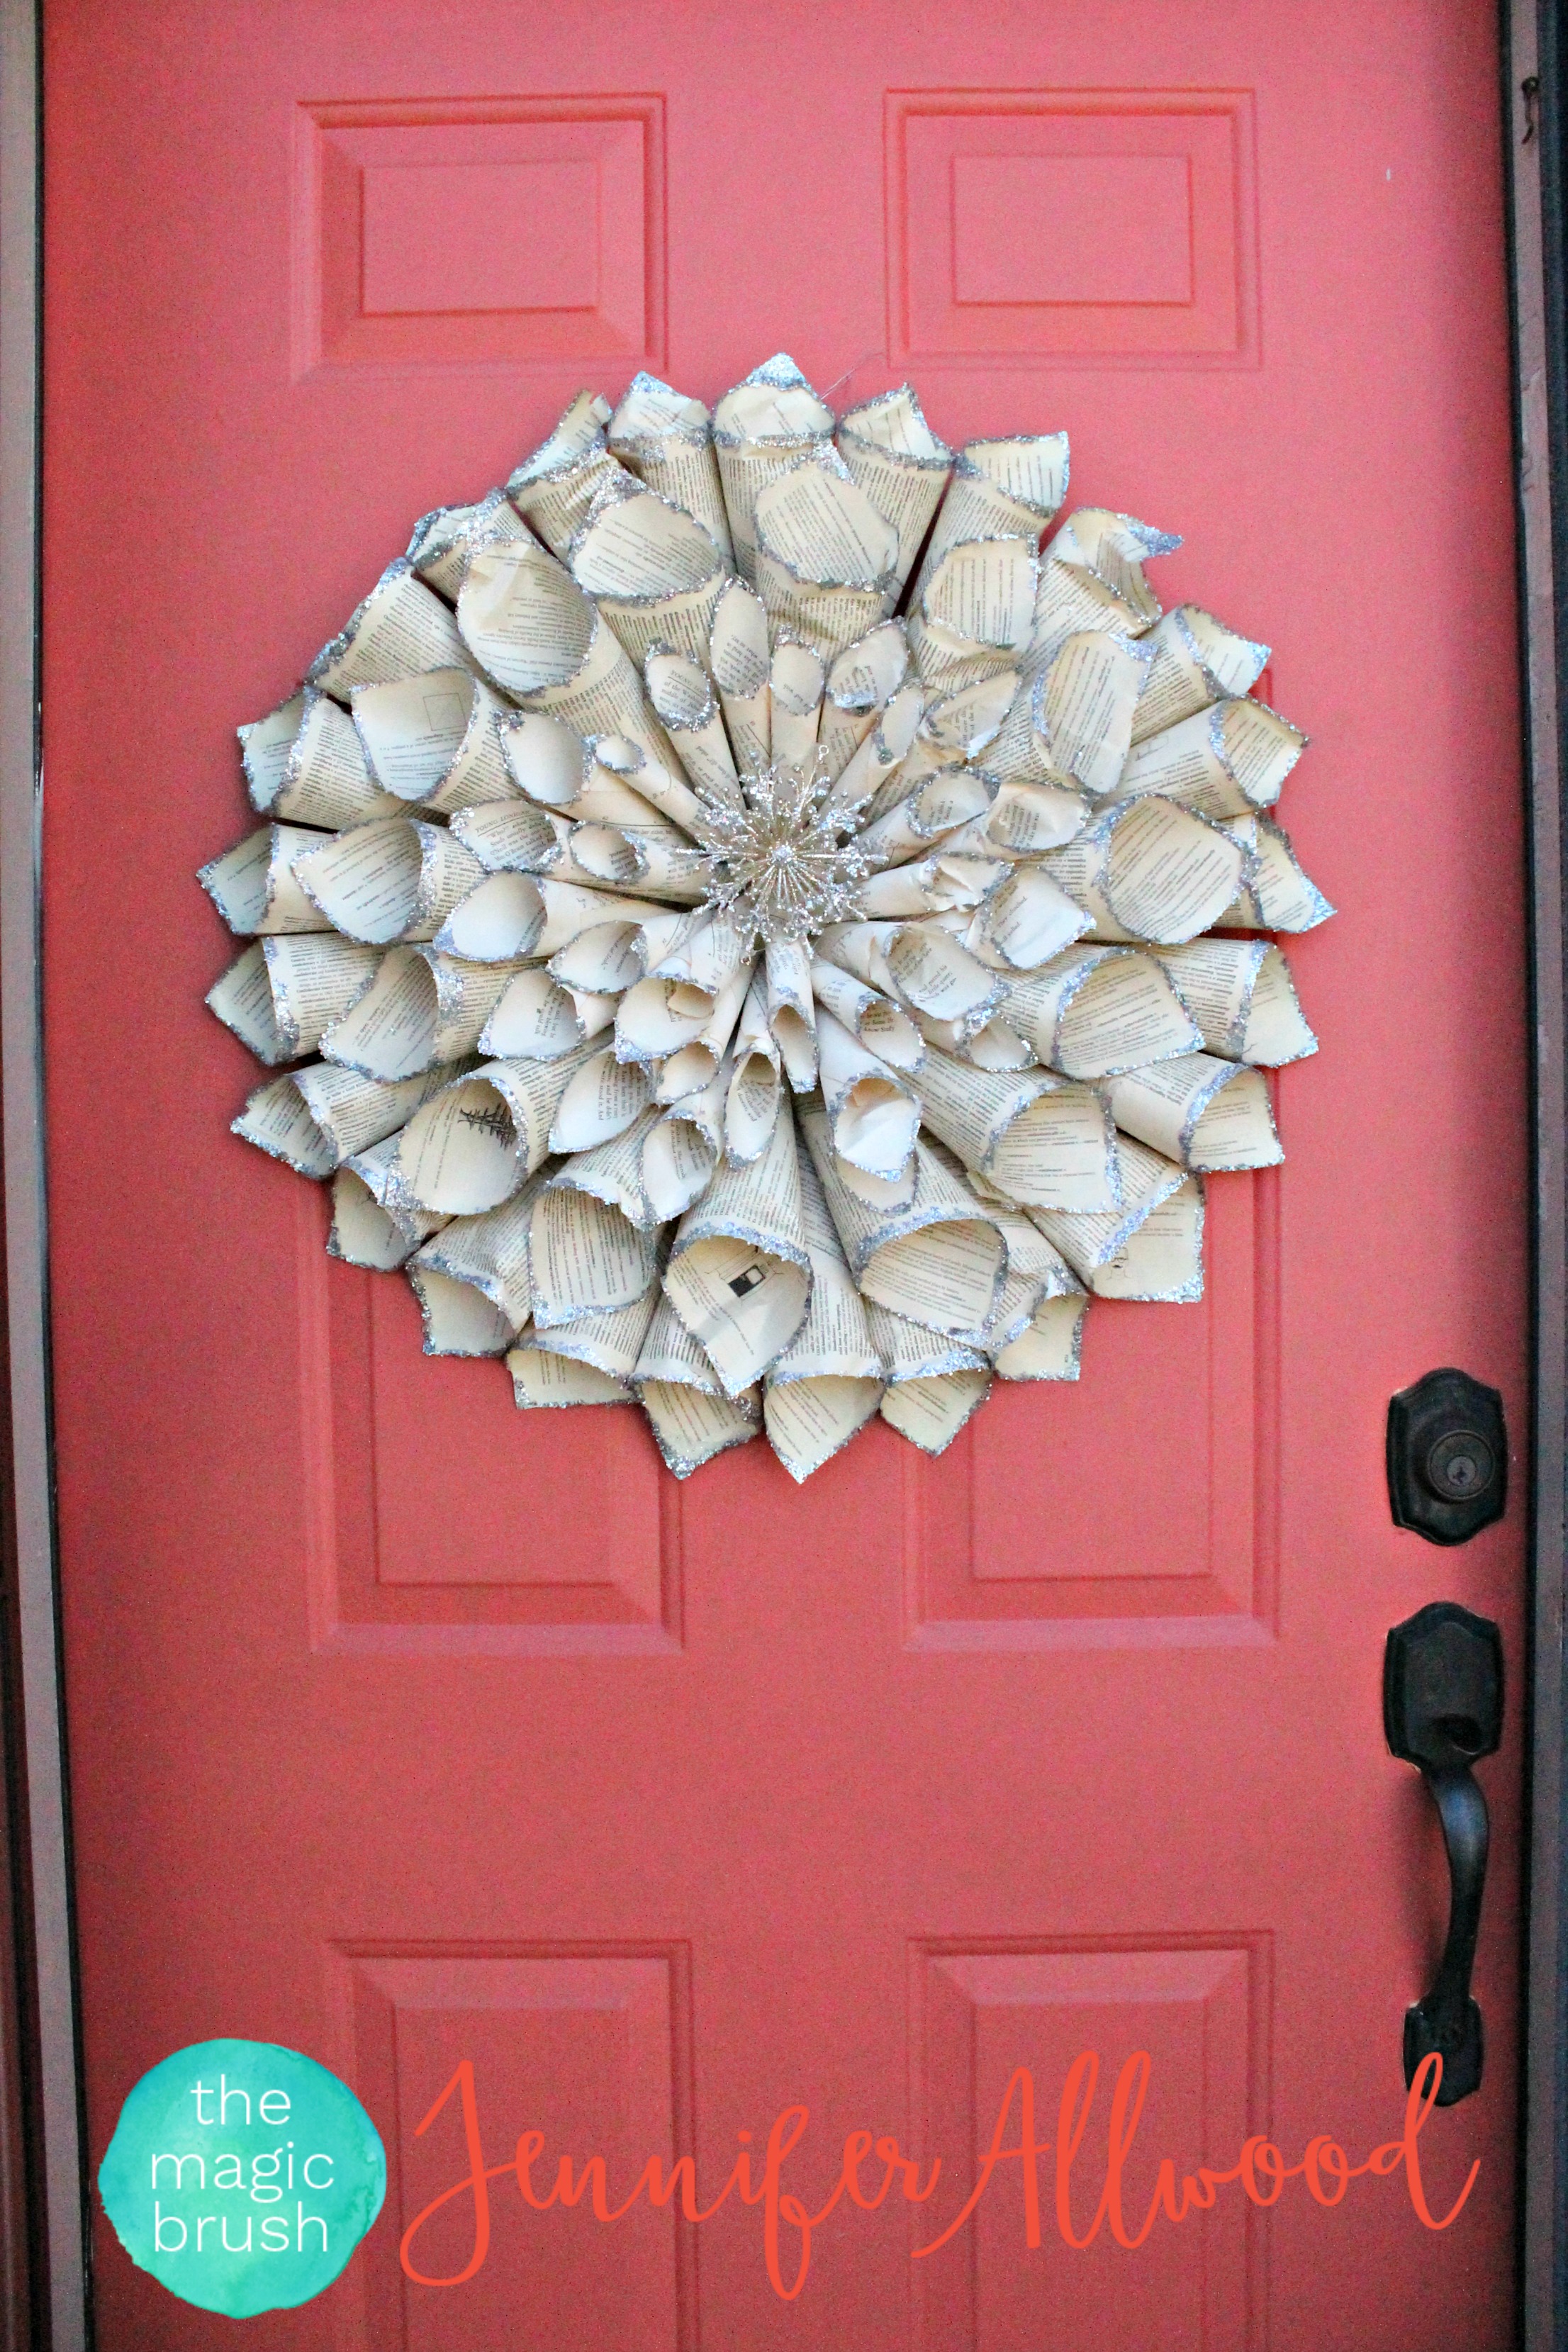
You can also add a little bling to the middle of your vintage book wreath.
I hot glued a Hobby Lobby Christmas ornament to the middle of my vintage book wreath and called that baby d-u-n…..done! You could also use a picture in the middle. Or a piece of Velcro and Velcro a fall thing to the middle and then a Christmas thing down the road. You could use a monogram or a chalkboard. The possibilities are endless with vintage book wreaths!

And I am seriously IN LOVE with this project.

Plus it was so fun to see how different each of ours turned out! You can see me on the end. Next to me is Ricky who did her cones “tighter” so they look long and lean….every woman’s dream. Micayla didn’t put anything on the middle yet and she opted out of the glitter action. Consequently, we are no longer friends. Ha. JK. But seriously, how can one opt out on glitter???? And on the other end was our crafting host Samantha who wrapped her cones tighter yet and “inked” the edges of the cones instead of glittering. Each vintage book wreath is so pretty!

Then one of my FB fans named Wendy Nelson messaged me this pic of the crafting party they had. Seriousssssssssssss pretty stuff going on here too! Aren’t those amazing book wreaths???
So, grab a group of girls and get your craft on together making vintage book wreaths. It’s so, so much fun to do this sort of thing as great girl time.
If you’ve enjoyed this post, please share for me! And send me your pics. I wanna see what you make!
Much love,
Jen
(ps… I have an idea…..someone needs to make a vintage book wreath with a comic book!!!!! IMAGINE the fun colors!)
If you liked this post, you will love learning how to make a back-to-school teacher gifts and how to make pallet flags . Both projects make great craft parties with friends!
If you are interested in getting my future projects sent right to your inbox, go to www.themagicbrushinc.com/
Disclosure: This post contains affiliate links of products I use and love! I’d never recommend anything else!


24 comments
Looks fabulous! I like yours and another one like yours on there – both look like Dahlias. I’m going to do angel wings and I sell sheet music on my Etsy site that I will use.
Thanks for the tutorial!
Blessings,
Kimberly
http://www.ThisFabulousLife.Etsy.com
LOVE how they look! When you start rolling your first pages, do you glue the bottom point, or just pinch to keep them closed? OR, do you roll your pages and glue each one into a circle as you go? Sorry to sound dense, but I’d hate to roll & roll & roll, and discover that I mucked it up! Thanks for sharing your wisdom…
yes glue the bottom point right away Elizabeth! xoxo
This is so cool. I love how big and bold they are. Would look great on my front door! Great job and you all look great!
What a fun idea! I love that one of your FB fans did the same thing. I need to use up some book pages!
I love your book page wreaths. I made one but did not put glitter on the tips. I love how that looks. May have to make another one. Thank you. Cathy
LOVE IT!! I need to make one asap!!
Do I need a particular size book? Is there a better size than others? and the fact that pages are rectangular is good, correct?
Thanks
Loved these and have never tried them. I think I will get the girls together and make for Christmas time. Thanks for the tutorial.
p.s. i got a chuckle out of the group picture with your final results…and was zoomimg in on the wreaths…and happened to spy what looks like a toilet in the yard! LOL.
I used Wilton cardboard cake boards very cheap to use and can purchase them with coupons at craft stores 10 in pacs they come in all sizes. 12 inch makes a nice size wreath. I also painted the edges of my book pages with gold paint before I cut the book up gave it a vintage look came out quite nice with gold ornaments in the middle.
I’ve made several. I love them.
These used to be made out of cards for the old computers, same thing. Roll em up and staple, then put on circle, then spray paint the color you want. The old punched computer cards are no longer in use.
Those are really lovely wreaths. I have been dreaming about making one for a couple of years and you just motivated me to get it done. Happy Fall, Kippi
Beautiful wreath. It reminds me of the beautiful door stops we made with Readers Digest in Vacation Bible School in the ’70s! I think the book cover could be a cool middle piece. you could scan it in onto your computer and shrink the size printed off and decoupage it onto or glue it onto a piece of cardboard. Then velcro it on like you said or glue it.
Why I commented was your D-U-N done! I say that all the time! I’ve not heard that from others! I’m d u n done! No matter what I’m doing, if I’m happy to be Finnish or frustrated I can’t eat the rest of it, or I can’t figure it out, or…
😉