
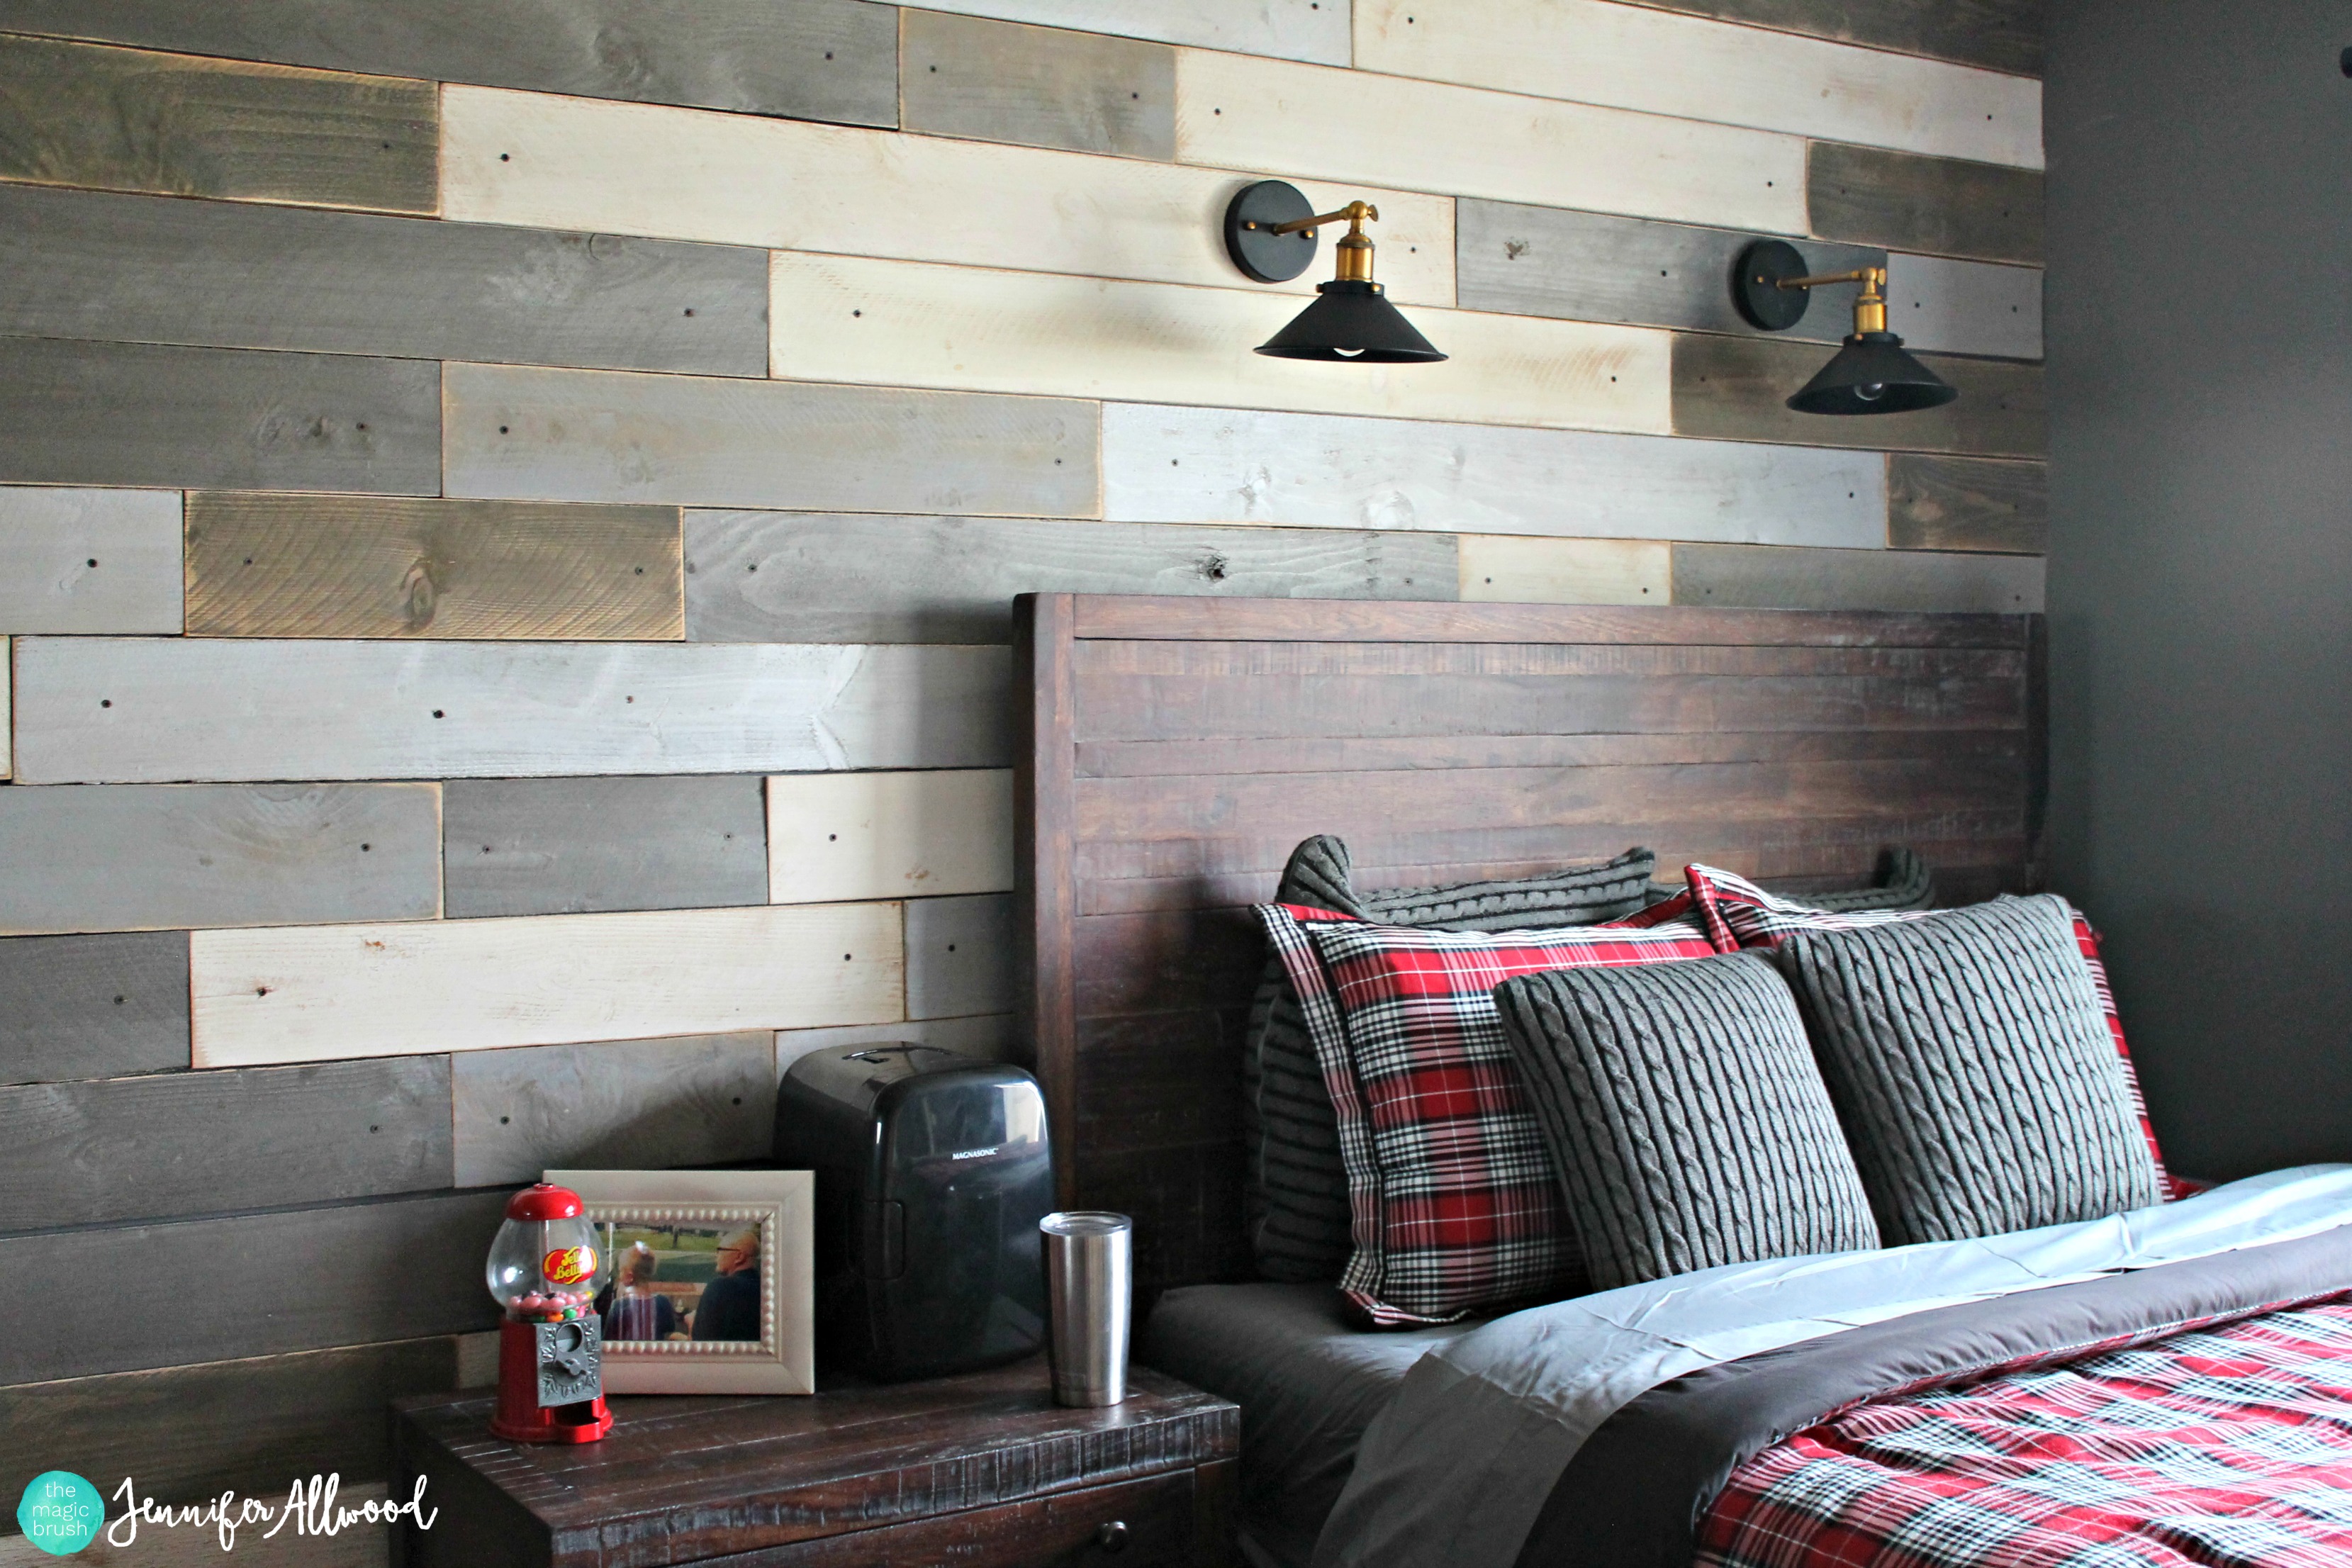
I cannot wait to show you all the new WOOD WALL we put up this weekend in our son’s bedroom! (and tell you how you can get one too!)

It is seriously my new favorite thing in our house. I know I say that about every project, but seriously….. how gorgeous is this???
We ordered a “wood wall kit” from my friend Tracey at Tracey’s Fancy. Many of you may already follow Tracey on social media and know that she is a painting genius. Well, her wall plank walls are nothing short of genius too!!!
When I saw this wall on her website I knew I wanted it for our son Easton’s room remodel.
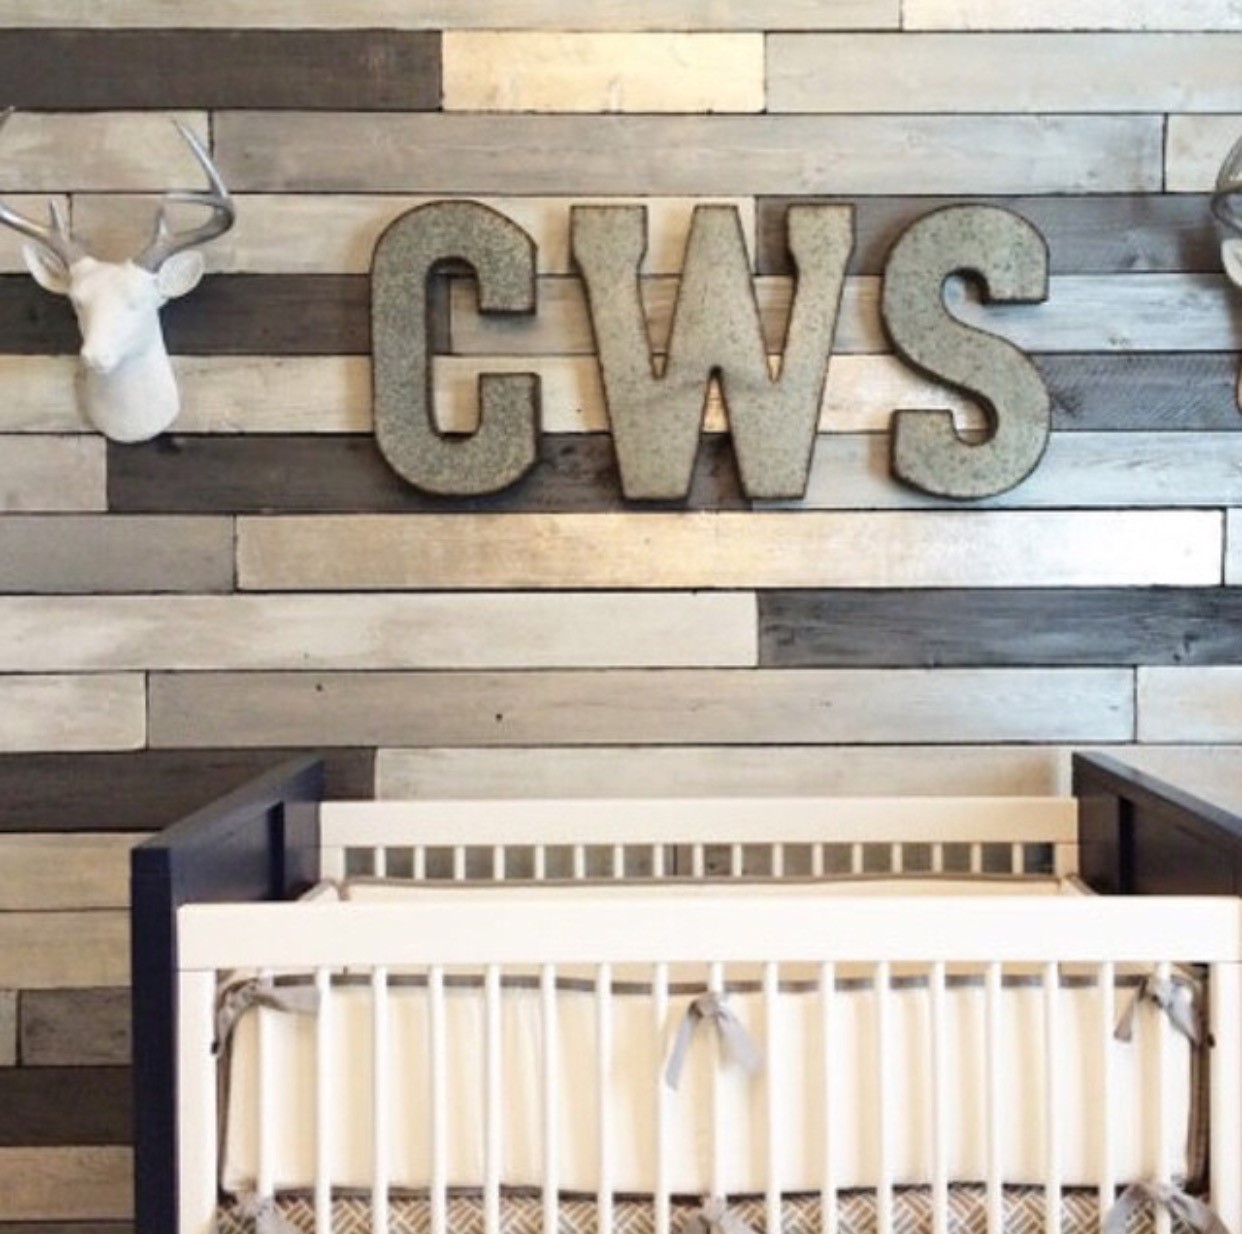
Her and I messaged many times back and forth about my vision for the room and what she thought would look good with it. Easton’s wall color is Sherwin Williams Gauntlet Gray. So Tracy came up with this color palette:
I was a smitten kitten. I loved all the different tones she used!!!!!

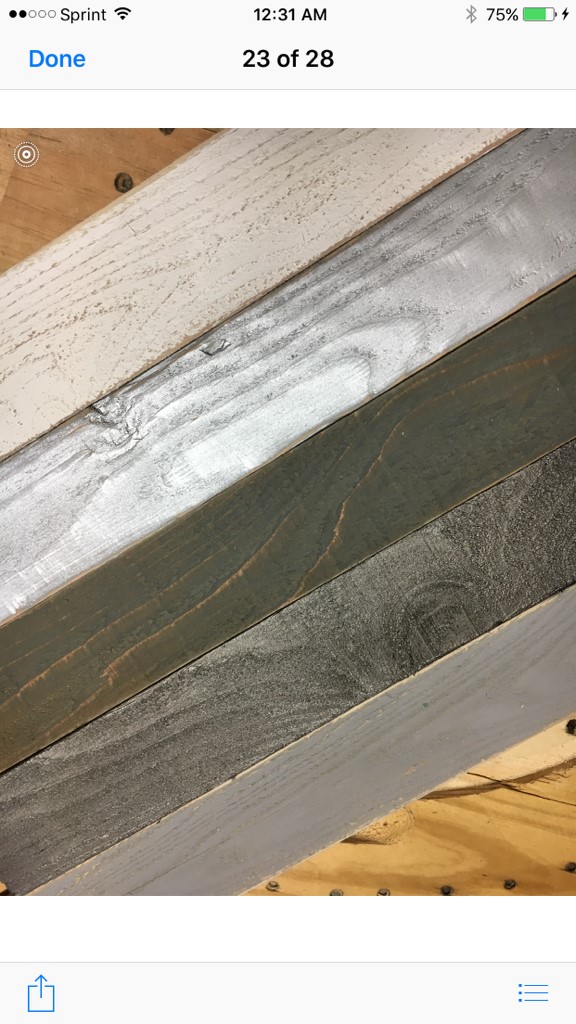
The wall came delivered in 3 boxes. I will warn you…. this is real cedar wood. So it’s heavy!

And look at how she wrapped it for me…. in my favorite buffalo check pattern!!!

The coolest thing is that the wood is already cut to our wall dimensions! And every piece is numbered on the back. So you start with piece #1 in the corner and totally screw it on with drywall screws from there! She made it so stinkin’ easy!!!! (ps… notice she named me “Glitter Jennifer” at the top of our instructions…. lol! I love it!)

This was a great project for Mr Magic and Easton to do together. And the wall went up super fast! They had it up in 2 evenings!

The only challenge was when we had to cut holes in the wood for the outlet covers and for the lights that we put over the bed.
Mr Magic of course did all of that. He used THIS SAW and altho tricky, he totally did it!
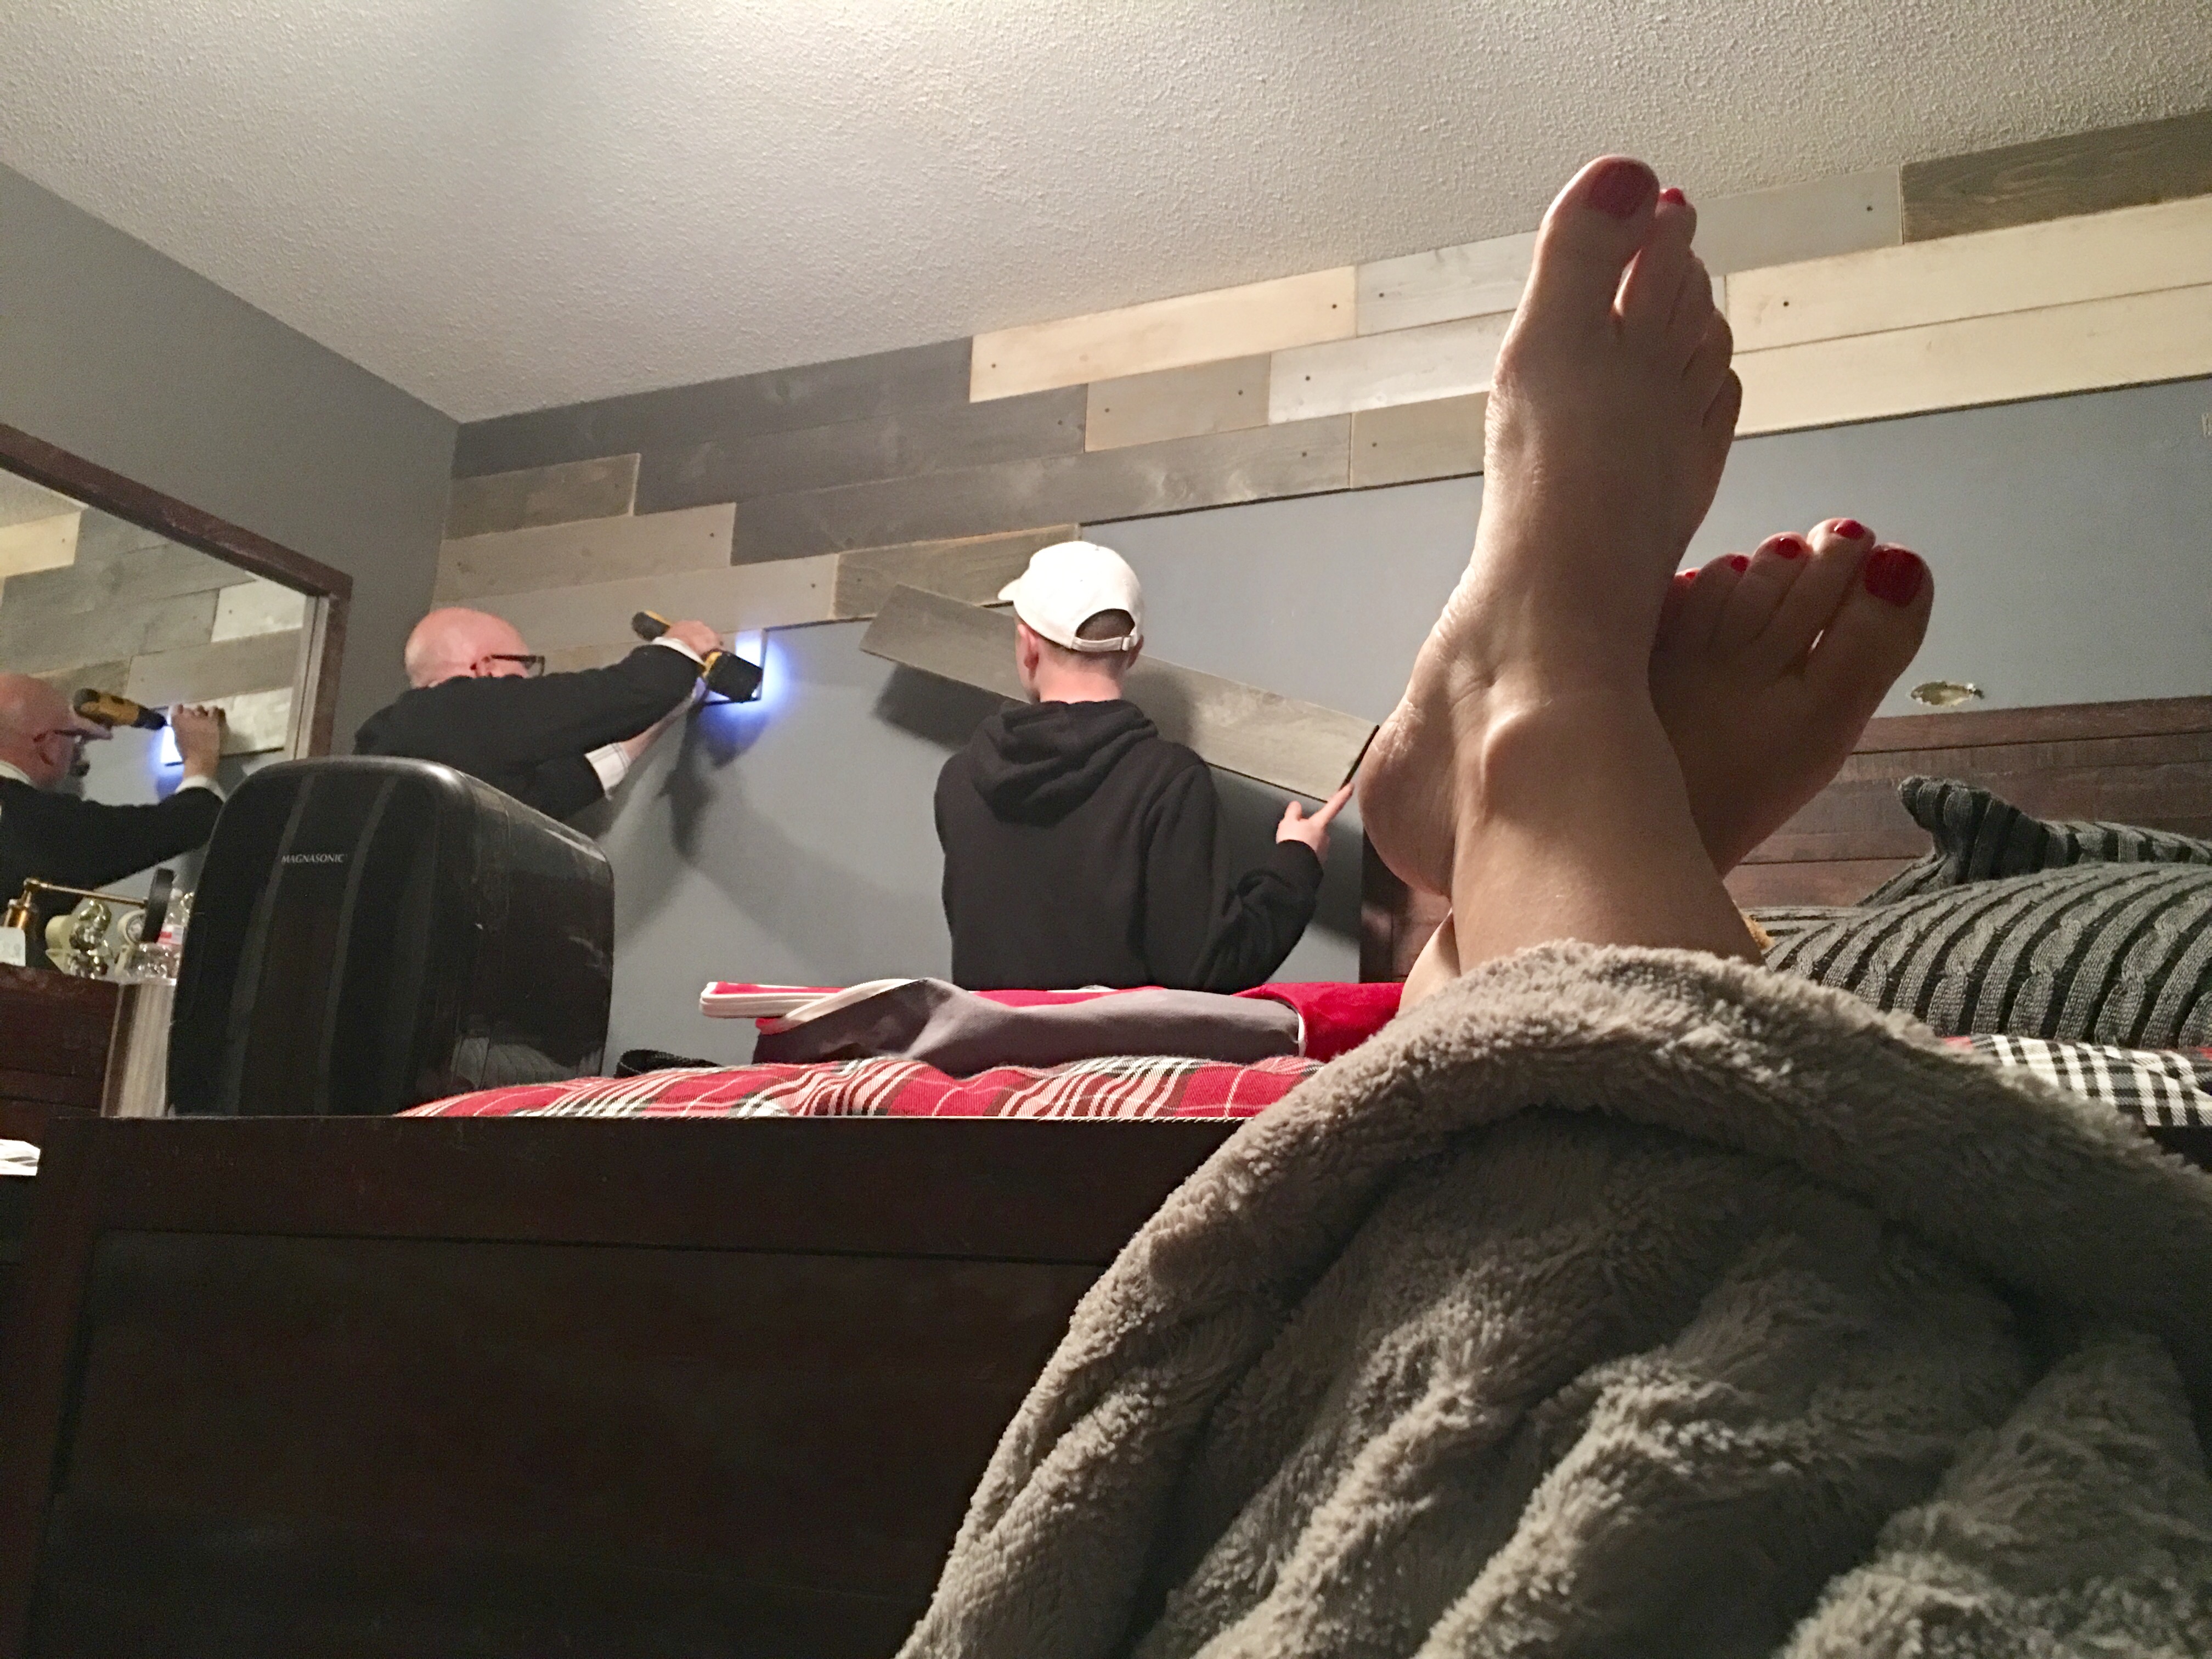
But thankfully he had an ammmmmmazing supervisor. Lol. (I joke that when HGTV calls and asks for my skillsets…. I am telling them hair, glitter and “overseeing”. Lol.)

We had to have the outlets come forward if that makes sense? We had our electrician friend Scott do that! And my hubby did an outstanding job of cutting around them!

Here is a good picture of the numbering on the backs of the boards. Genius, isn’t it? (the big holes in the sheetrock are for wiring that we had ran to a switch next to the bed for Easton to turn his lights on and off with.)
You can expect roughly $11 a square foot in cost but totally worth it to not have to buy the wood, paint the wood and cut the wood yourself!

There is no way for Tracey to make the boards fit tightly up against the baseboards at the bottom of your wall. So this little 1/2 inch strip where you could see the wall color was bugging me at the end.

So I painted it! And if you have never laid on a drop-cloth-less floor, in your jammies, on a Saturday to do some small painting project….. well, you just ain’t livin’ right. Not every project needs prep and dropclothes and taping and all that nonsense. Sometimes you just gotta get crap done.
I added the TRIM COLOR to the wall so that it looked like the trim was thicker and came right up under the bottom board. Brilliant if I do say so myself.

Also, the wall was put up with sheetrock screws. 2 screws to every board. And we decided we LOVED the screws showing.

However, because Tracy is GENIUS….. she sent touch up paint so that you can dot paint right over the screws if you want!
And there you go! The wall is all up!

We have a few after pics of the entire room for you here.

I am obsessed with the lights and the hanging shelves! (links are below)

And his new ceiling fan. We put the same fan in our other’s son’s bedroom last summer because it is so stinkin’ cool. (Hint: they are outdoor fans and sometimes those are cooler than the indoor ones. And…. more boyish looking!)

We still have some work to do on the decorating. And I have a full post coming out about his new bedroom furniture. It’s just the loveliest ever. So stay tuned for that.
But in the meantime and to make it easy on you, I have listed some affiliate links for products in the room for your convenience:
- Bedding is super inexpensive HERE.
- Curtains you can order HERE.
- Over-sized beanbag is HERE. These are great for sleepovers….we’ve had many kids sleep in it already!
- Lights above the bed are HERE. These are ridiculously cheap but they look sooooooo expensive!
- Pillows that look like a sweater material are HERE.
- Hanging shelves were on clearance at Hobby Lobby. You can find similar ones online HERE and HERE.
- Euro sham pillow cases are HERE.
- Ceiling fan is from Lowe’s.
- The bedroom set is compliments of Nebraska Furniture Mart and found HERE.
Hope you love the wall as much as I do. The room is MADE because of it. If you would like to talk to Tracey about a wood plank wall for YOUR house, contact her by going HERE.
XOXO,
Jen
If you’re feeling inspired for home decorating ideas – check out my free video – 10 Things You Can Do To Update Your Home Before Dinner. I’ll give you some easy paint projects and ideas to spruce up your space into modern times!
Please pin my Wood Plank Wall and get more DIY ideas from my Pinterest Board: Accent & Focal Walls.


15 comments
Hi Jennifer, I follow you on FB and love your daily posts and live videos. The wood plank wall is so goregous and I have decided to do this in my studio in my home, my hubby is going to purchase & cut the wood himself. Question, can you tell me how thick are the boards? Thank you & have a wonderful day!
Karla
This is absolutely fabulous! What a beautiful accent wall. Thanks for sharing your makeover with us at Merry Monday!
Great look for the room. I bet your son loves it!
you have a great eye for decorating–thinking outside the box–and a great and entertaining way of explaining it. Thanks!