

I shared my newly made boxwood wreath with you all on my Facebook page. I wanted to order 3 of these online but I just could not justify the steep cost (almost $100 each) especially when I have boxwood bushes growing in the front of my house!!! I needed to make my own boxwood wreath.
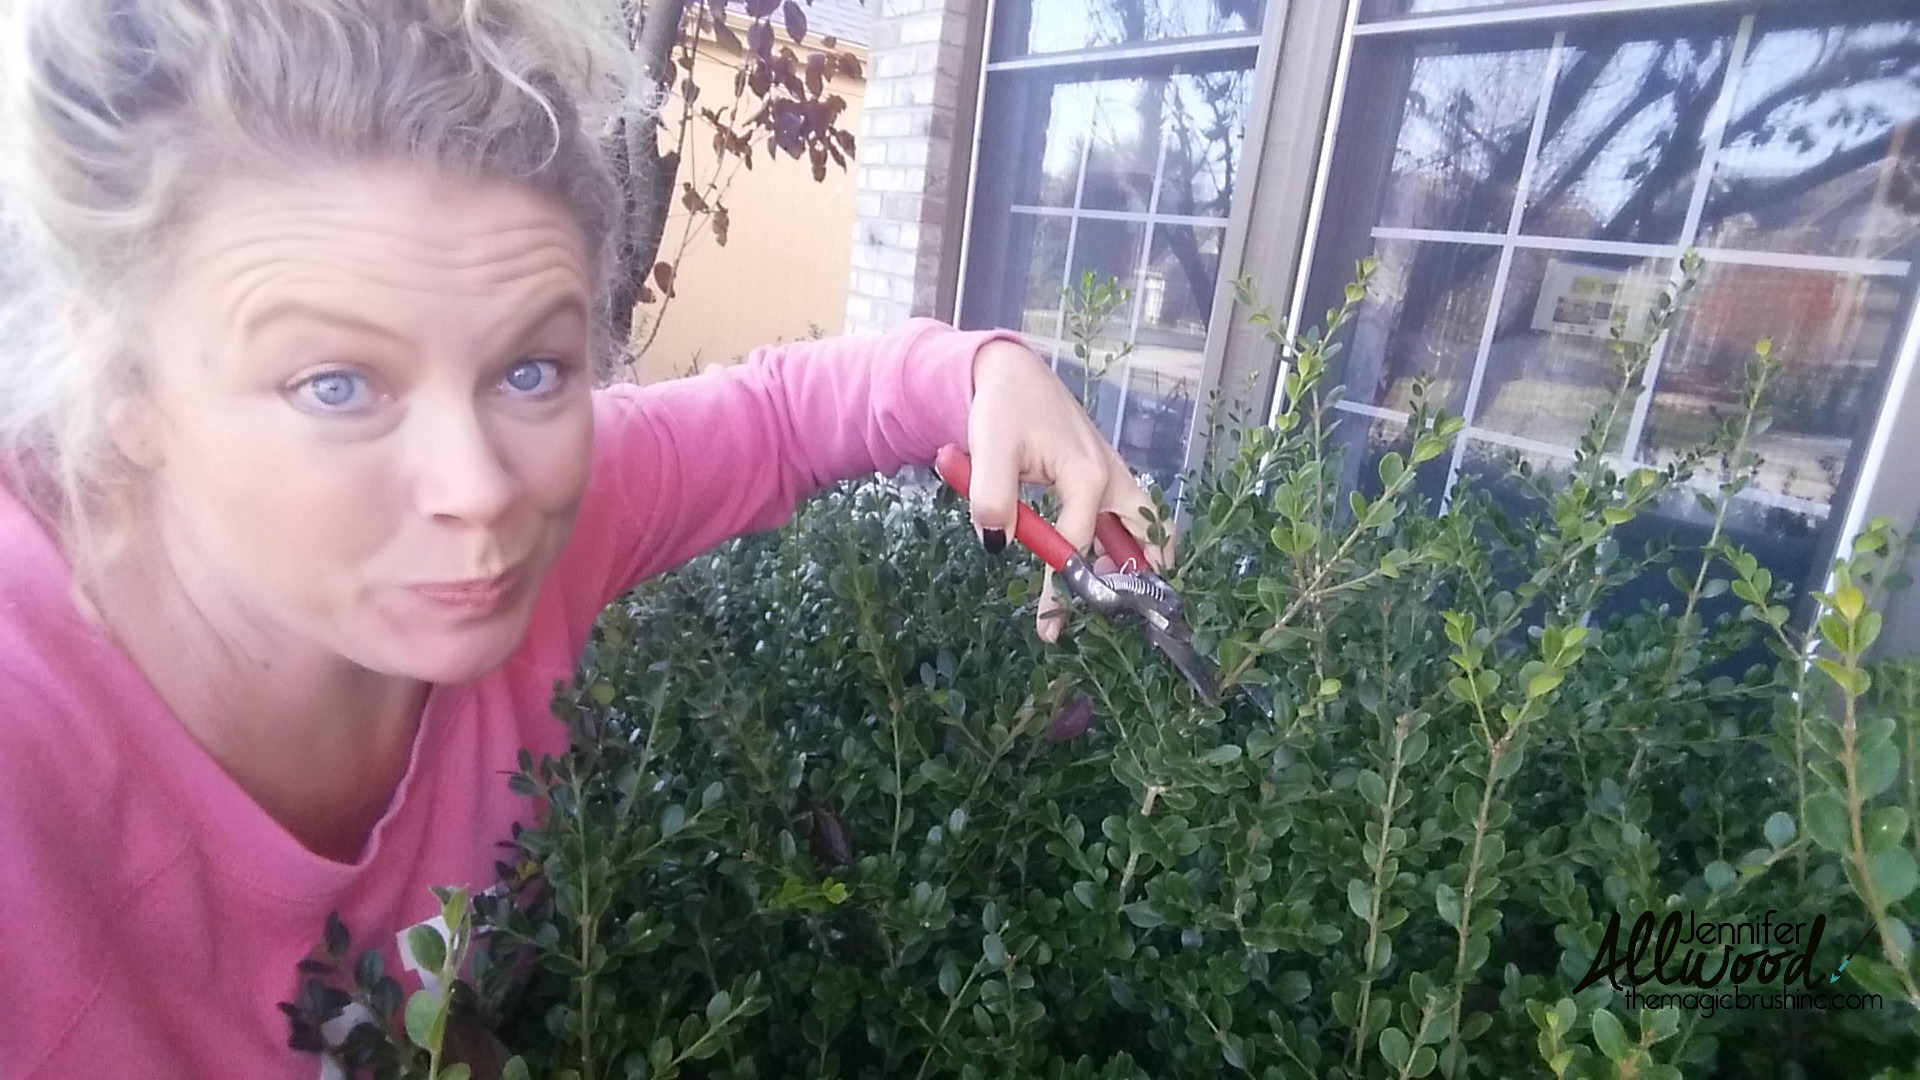
My bushes all looked a little mangy and wild and needed trimmed anyway, so I was curious if I could make one and if it would last through the season?? I literally went out and trimmed off like 25 twigs all about 8 inch – 14 long. I thought this would be enough, but it wasn’t. Trim waayyyyyyyy more twigs than you think you need for your boxwood wreath.
And this project just went downhill from there. Lol. I’m going to give you my honest, honest DIY experience. It was a quick project, but it went awry many, many times in the process.
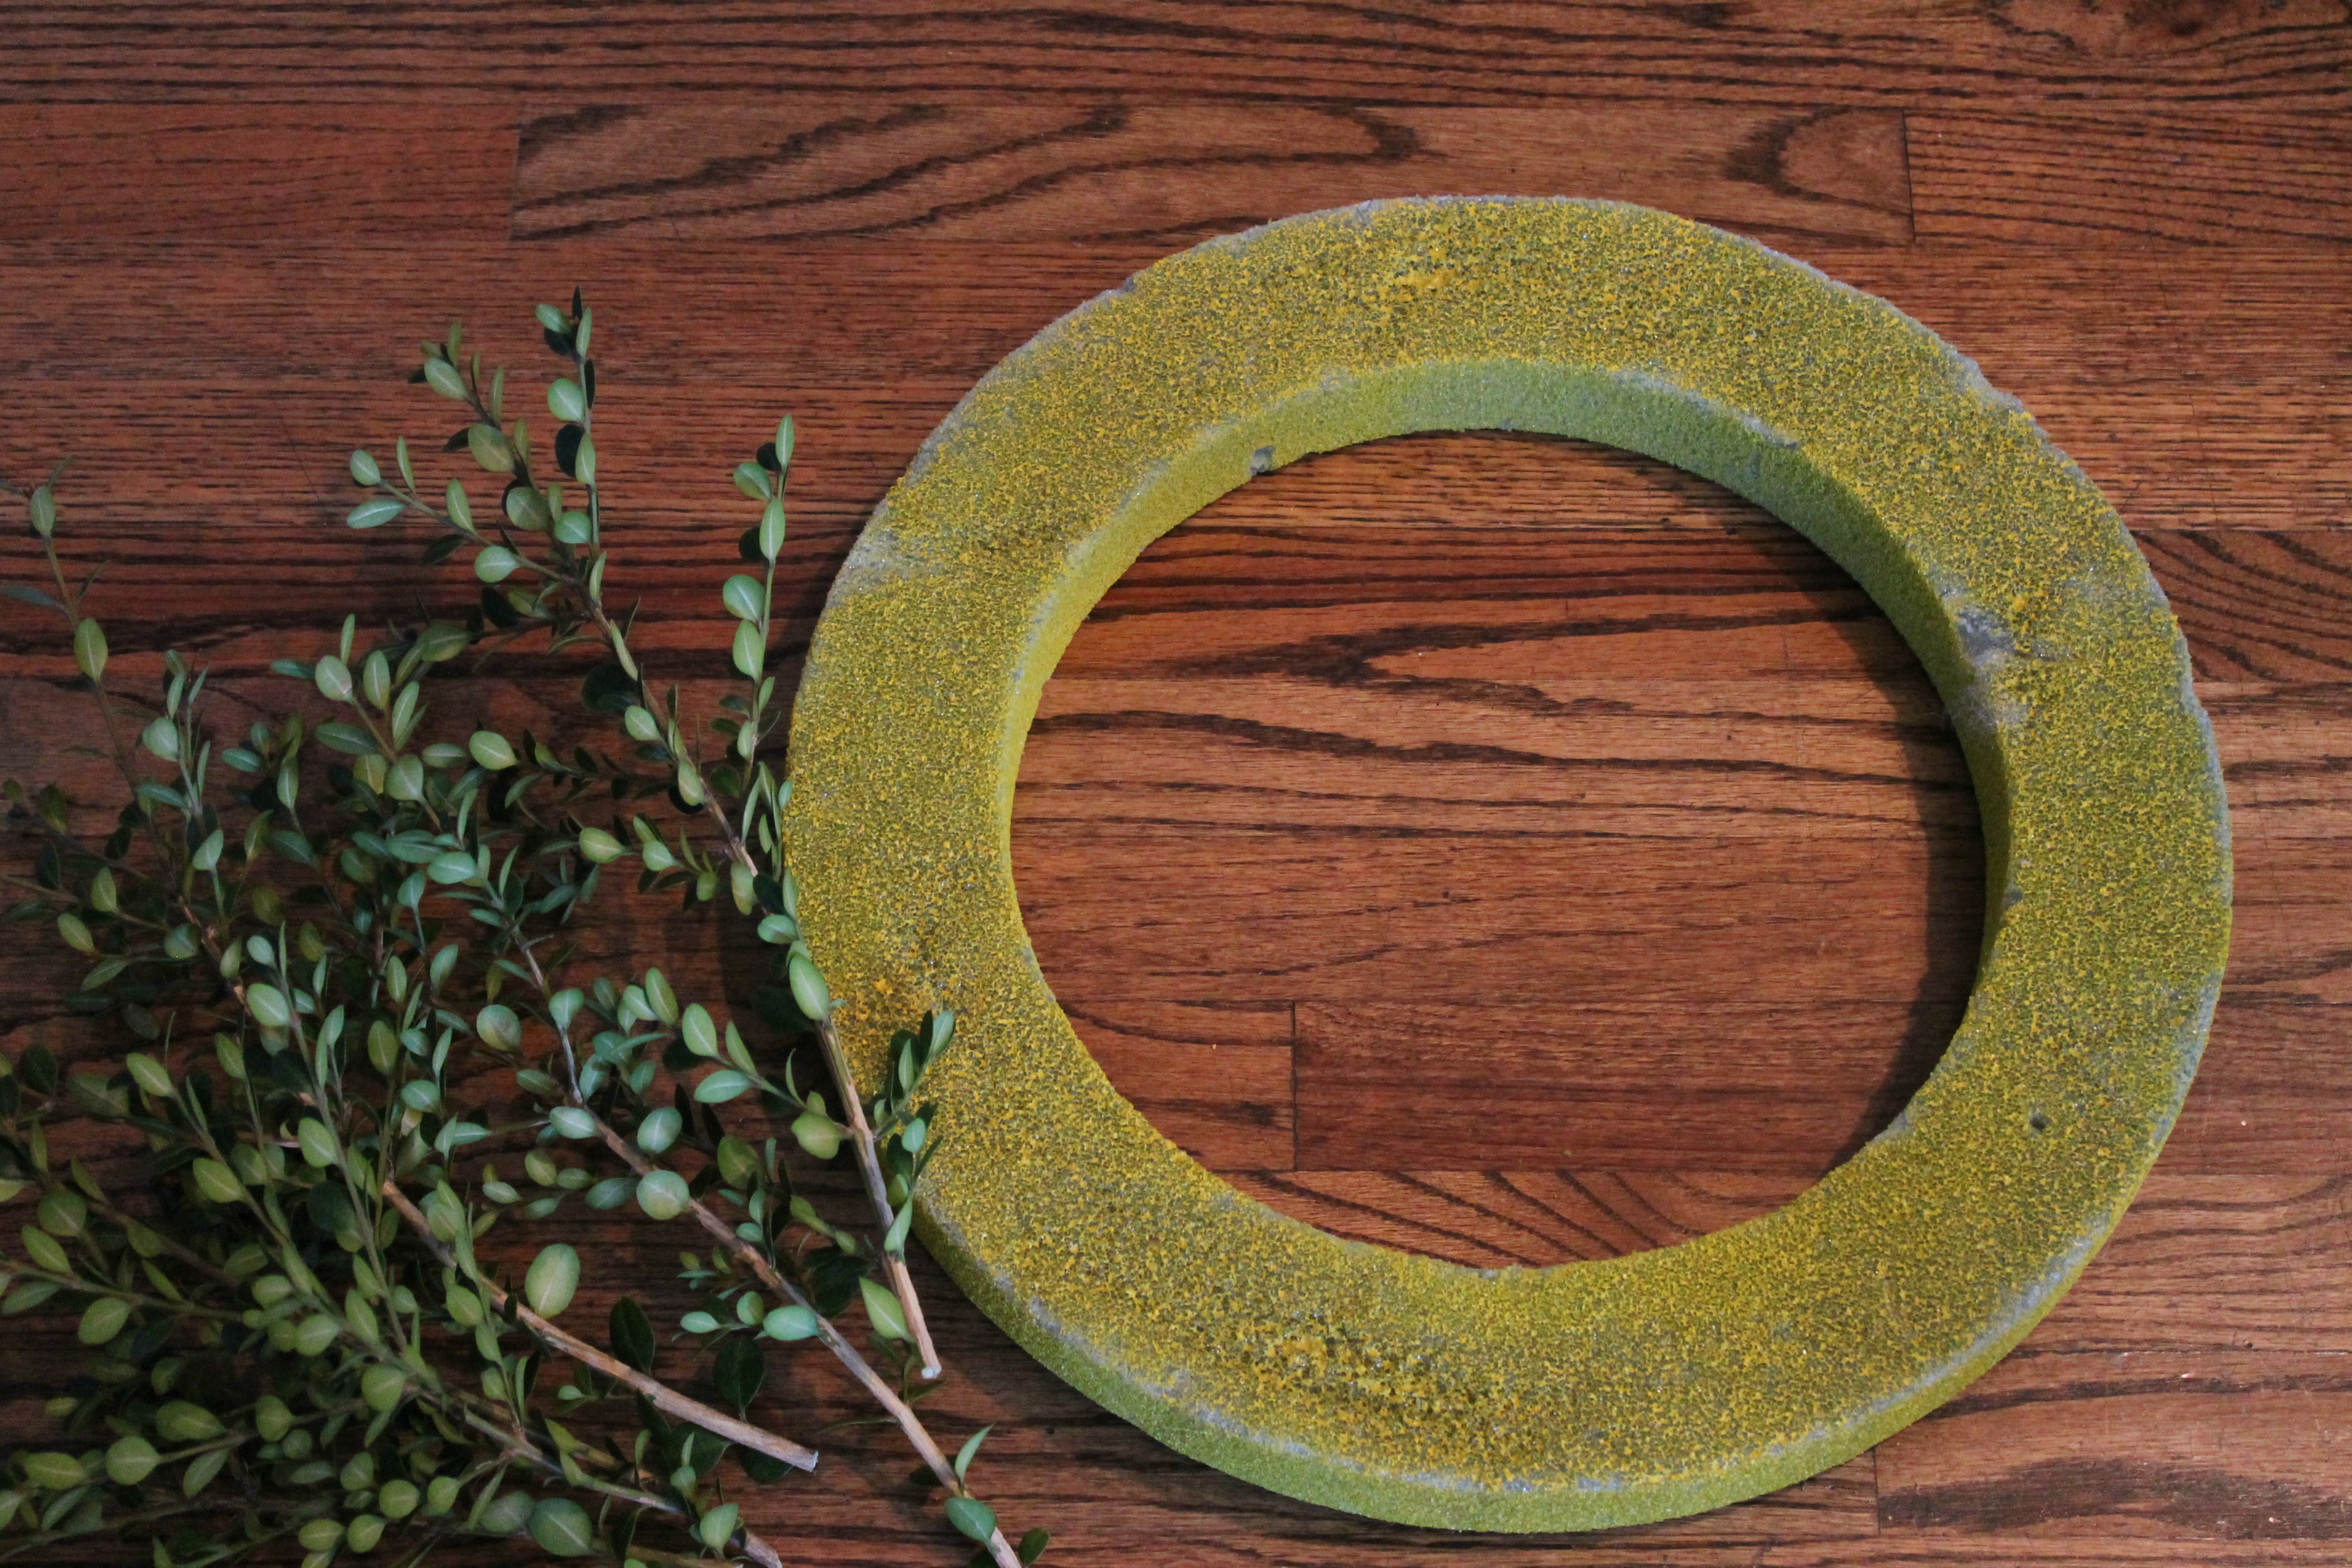
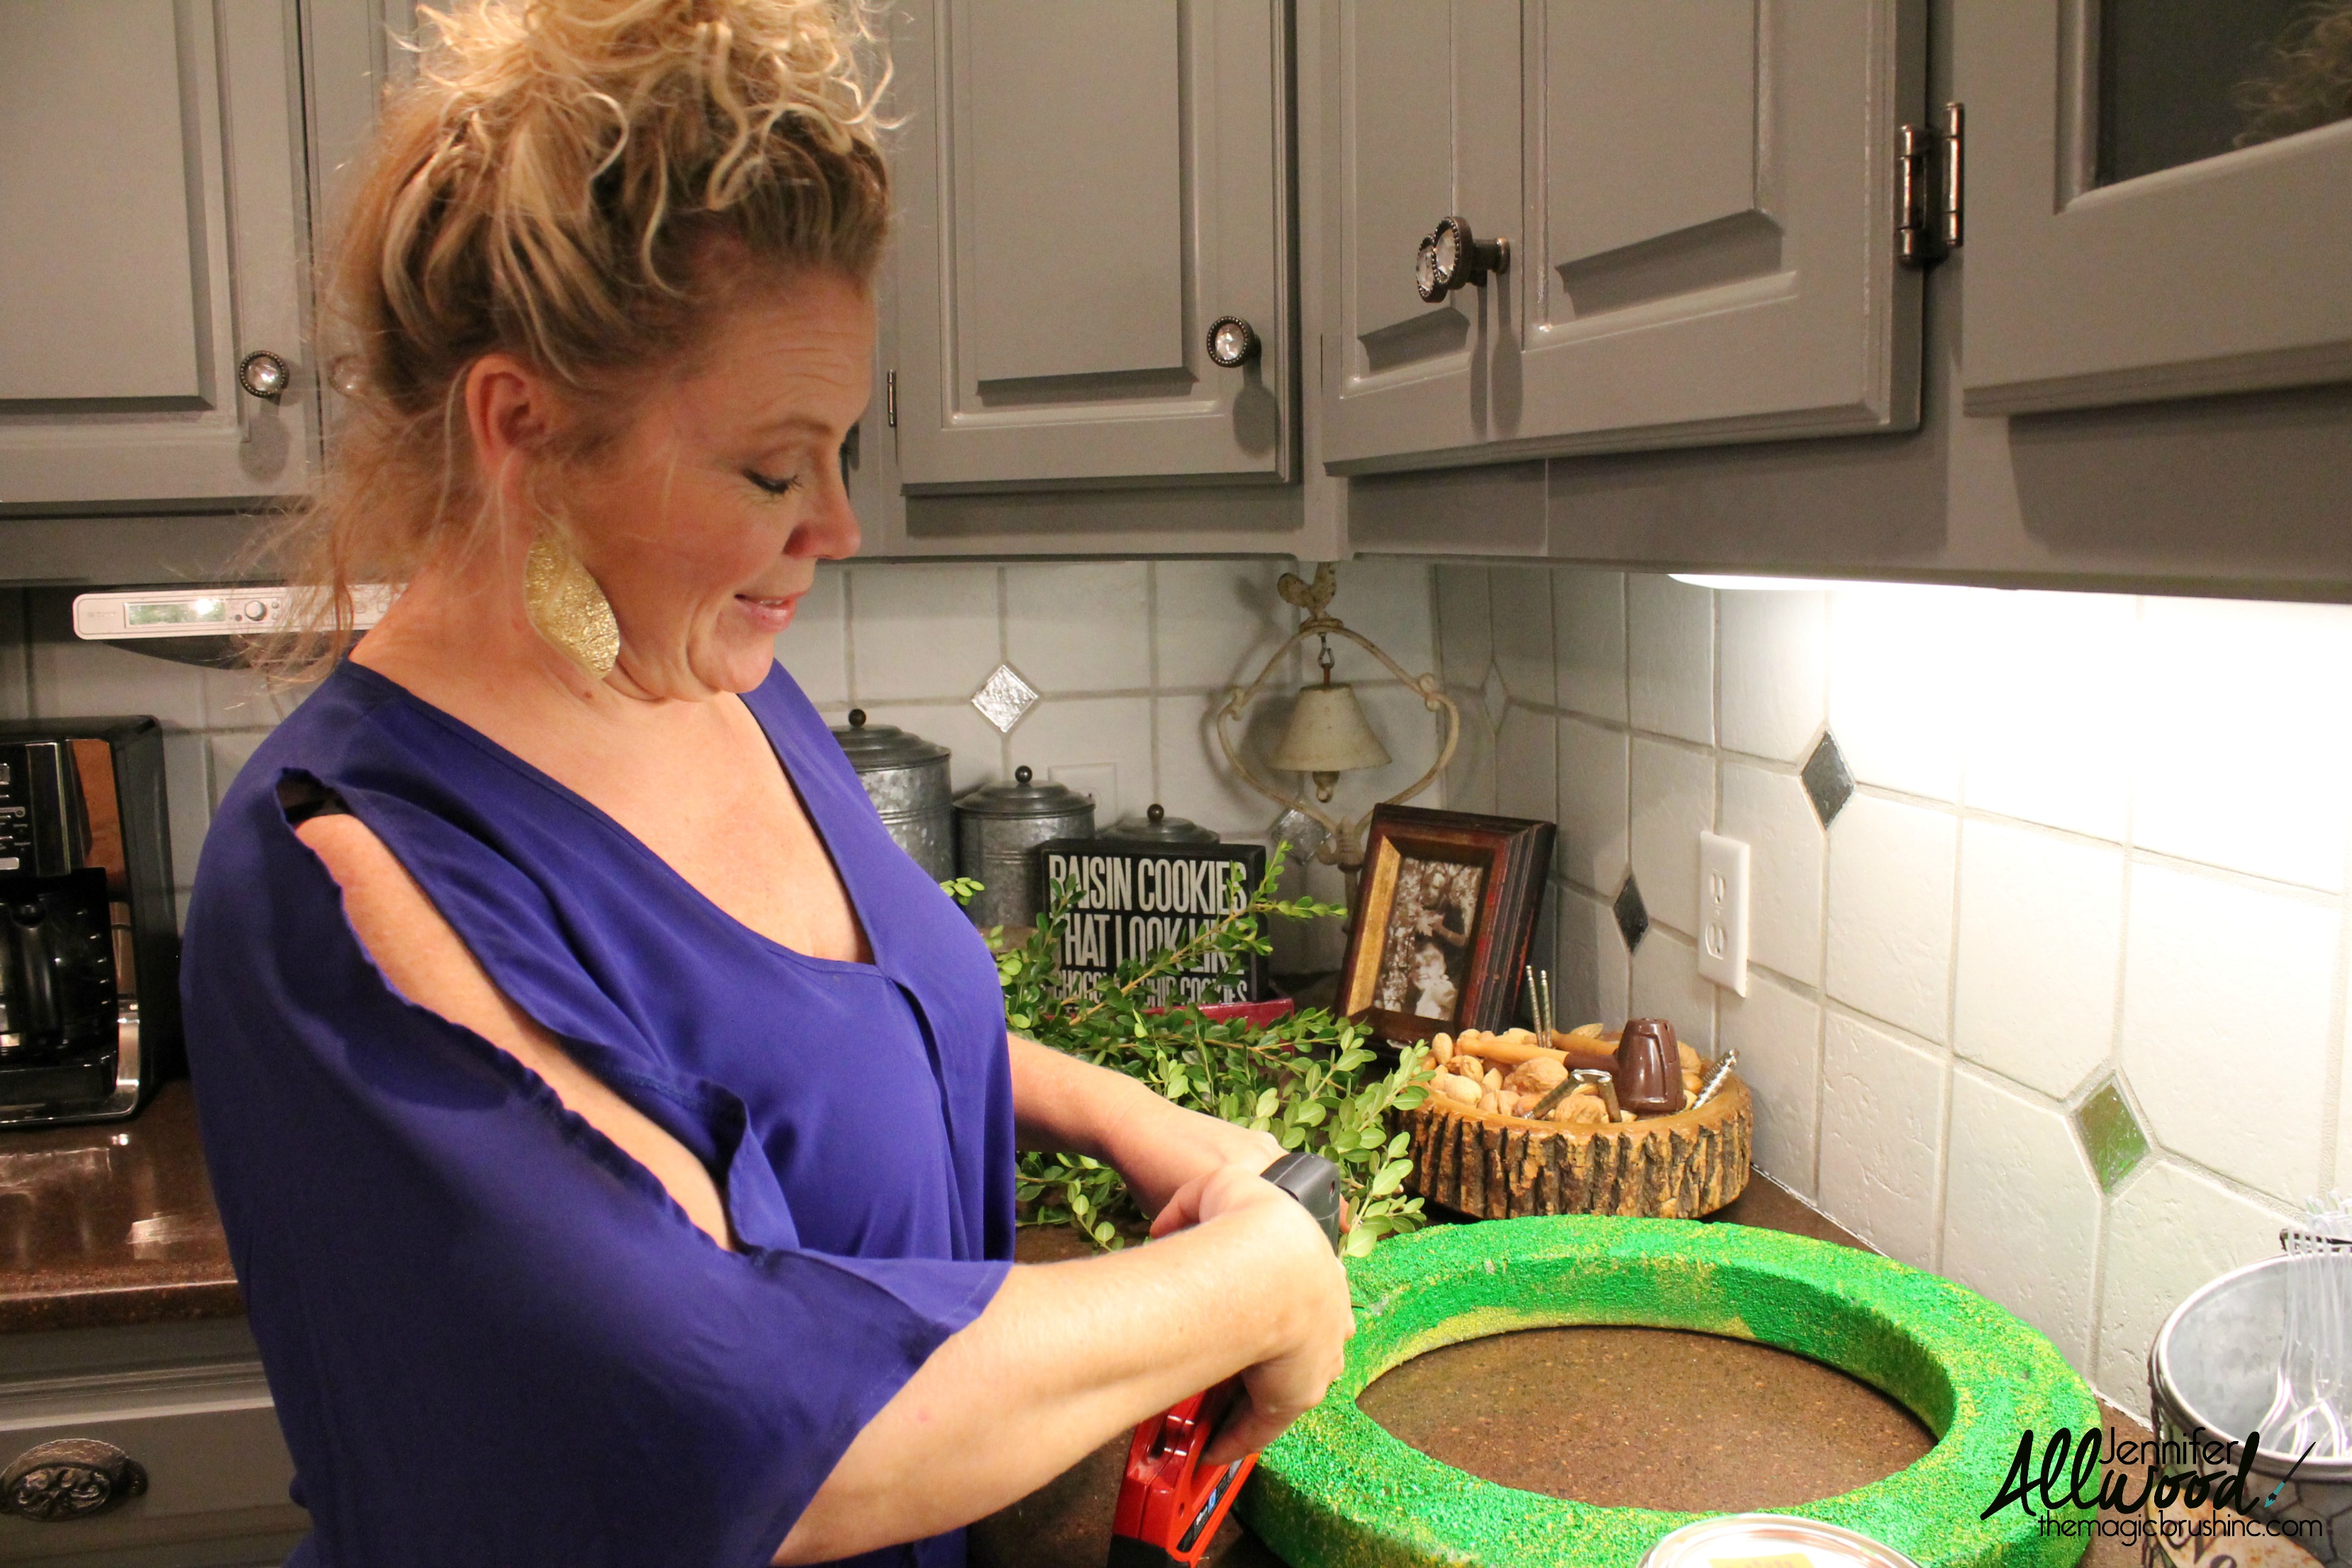
I had this Styrofoam wreath form in my basement that I know I originally got at Hobby Lobby. I have no idea why it was putrid yellow/green? I must have spray painted it for another project at one point???
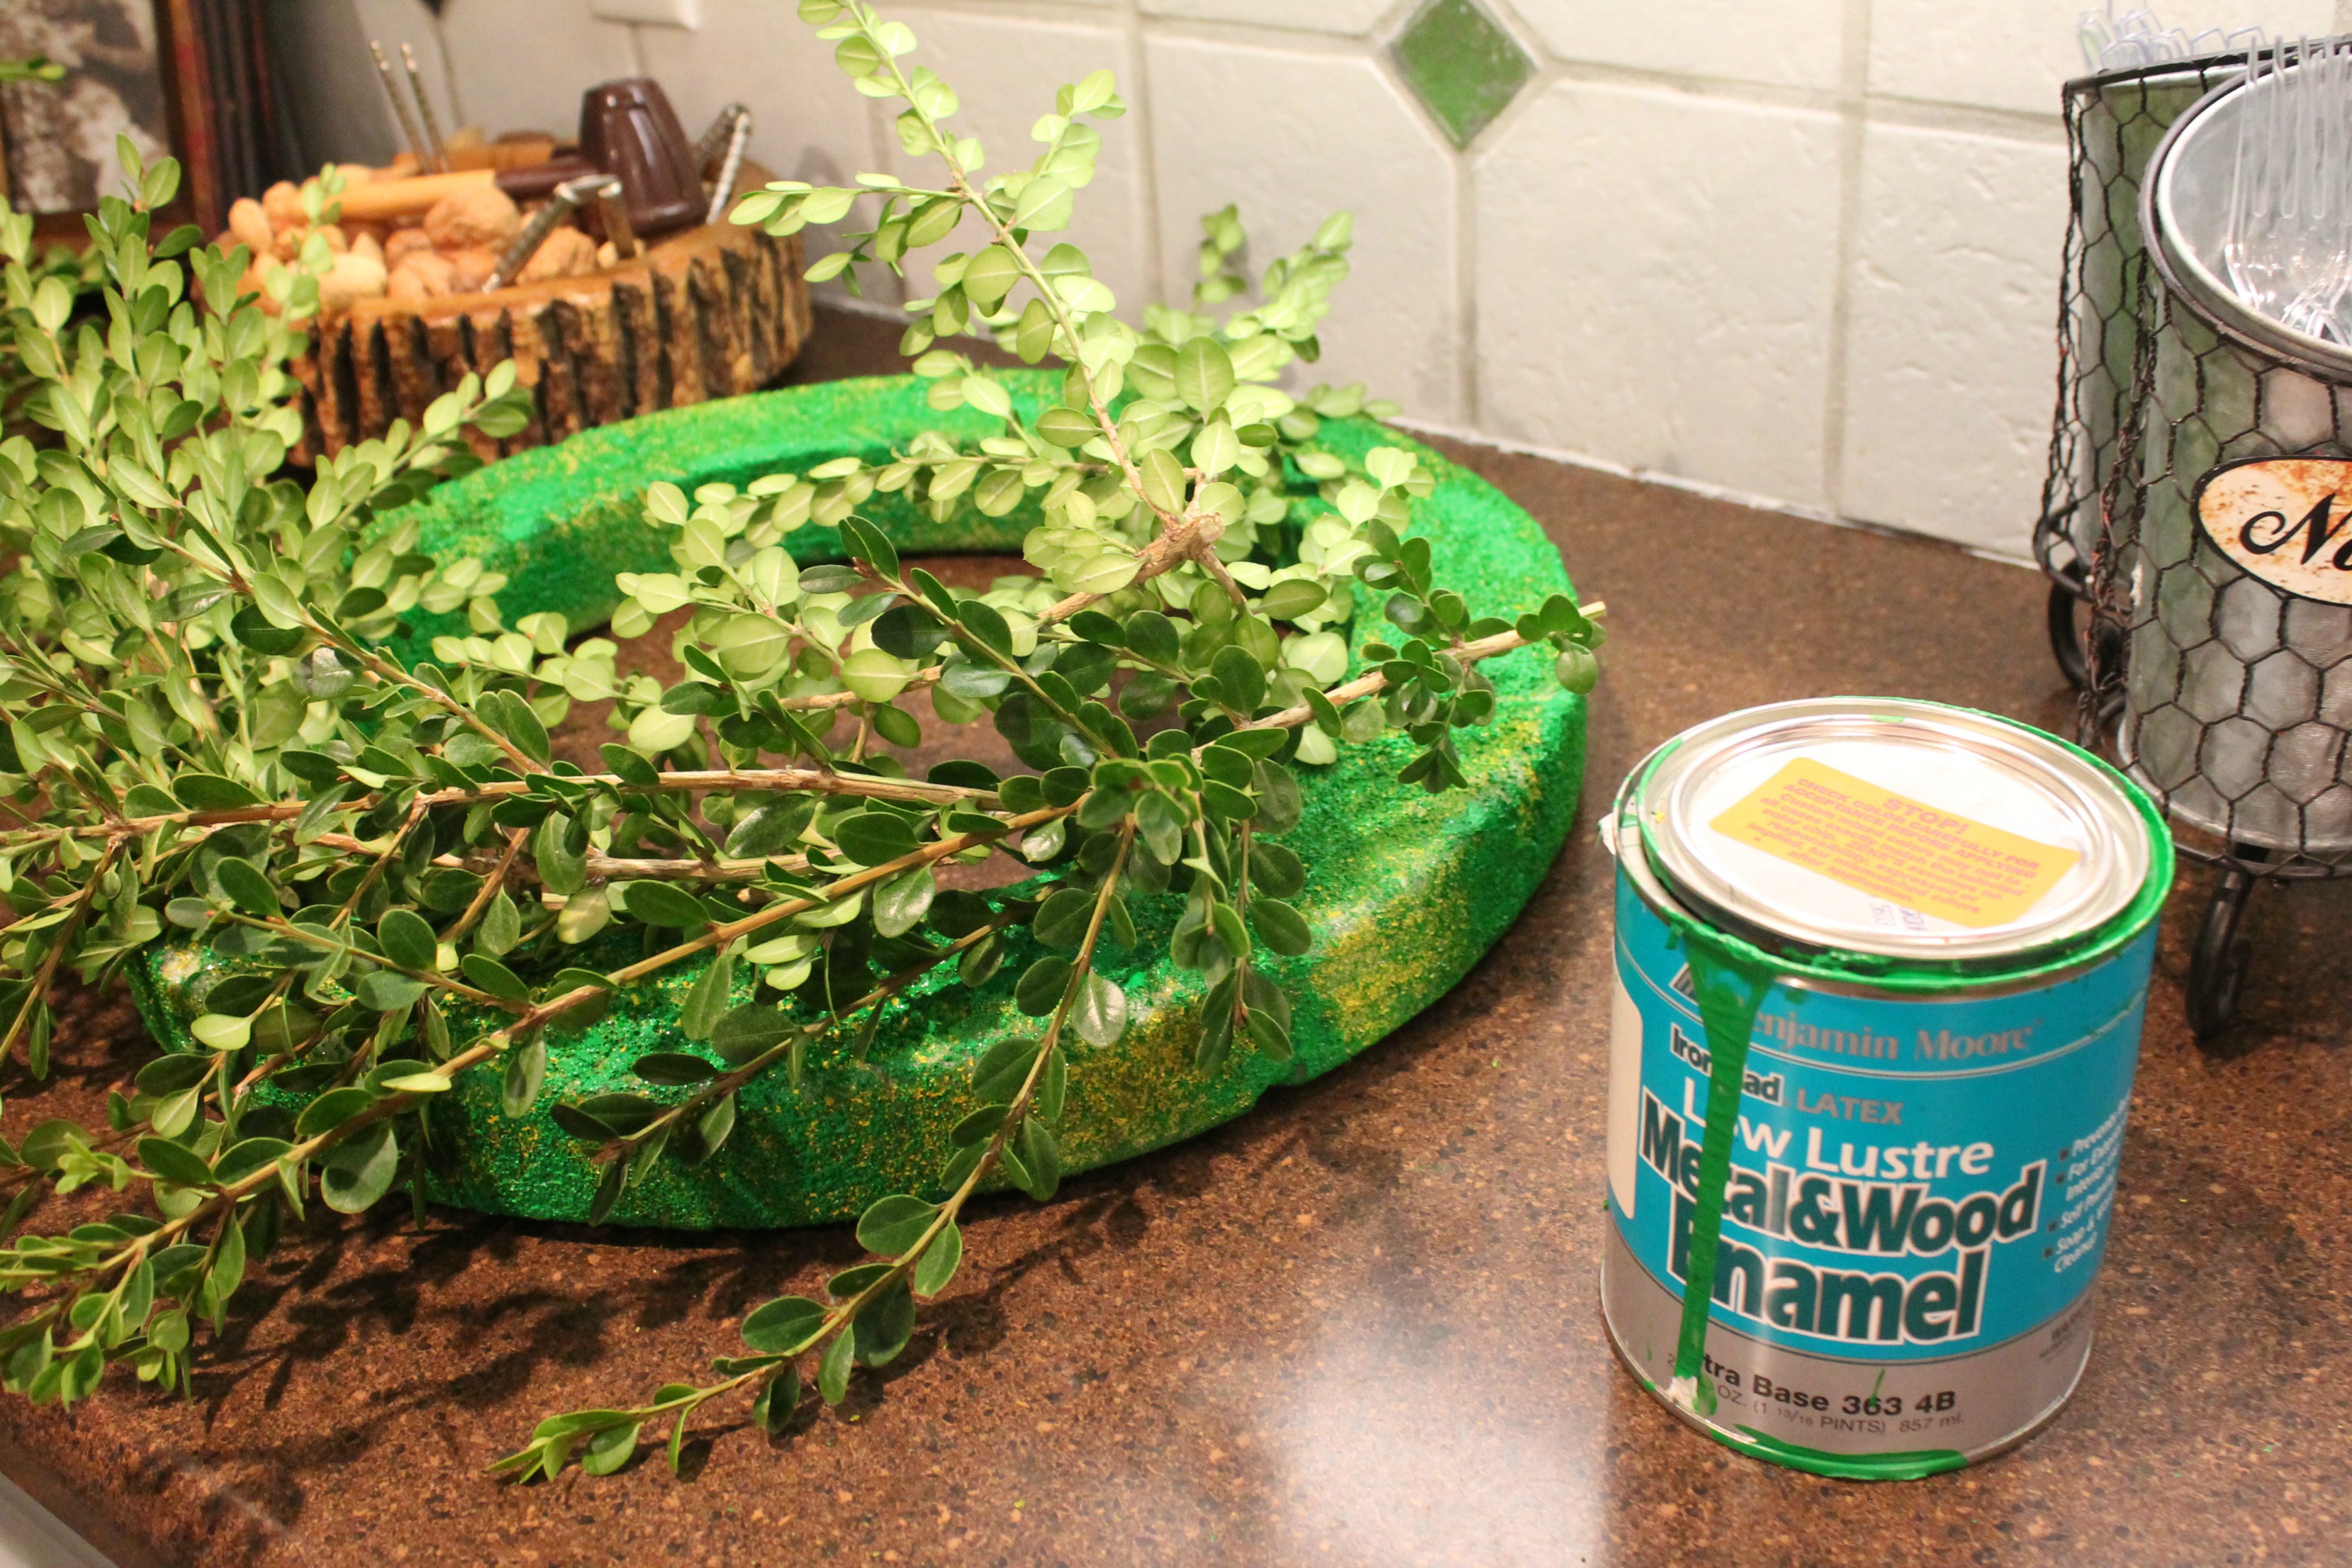
I thought the putrid yellow may show up, so I used an old can of green paint on the Styrofoam. It was messy and Styrofoam doesn’t like to be painted, so basically it was just a hotmess. In my kitchen. On the counter.
The boxwood wreath project just continued to go downhill. My first incredible idea was to STAPLE the branches to the styrofoam. Ummmmmmmmm no. Staples do not stay in Styrofoam. Who knew?

My 2nd idea for the boxwood wreath was using a metal wreath form and my really nice looking spool of greenery wire (that’s sarcasm). I thought I could shove the stems in the form and then wire it on. Fail #2. But thank goodness I am relentless in my project pursuit…..
I eventually just started shoving branches into the stryofoam in roughly a 45 degree angle. Don’t make me whip out my algebra on you, just slant them. Don’t shove them in straight up and down or it will poke your eye out.
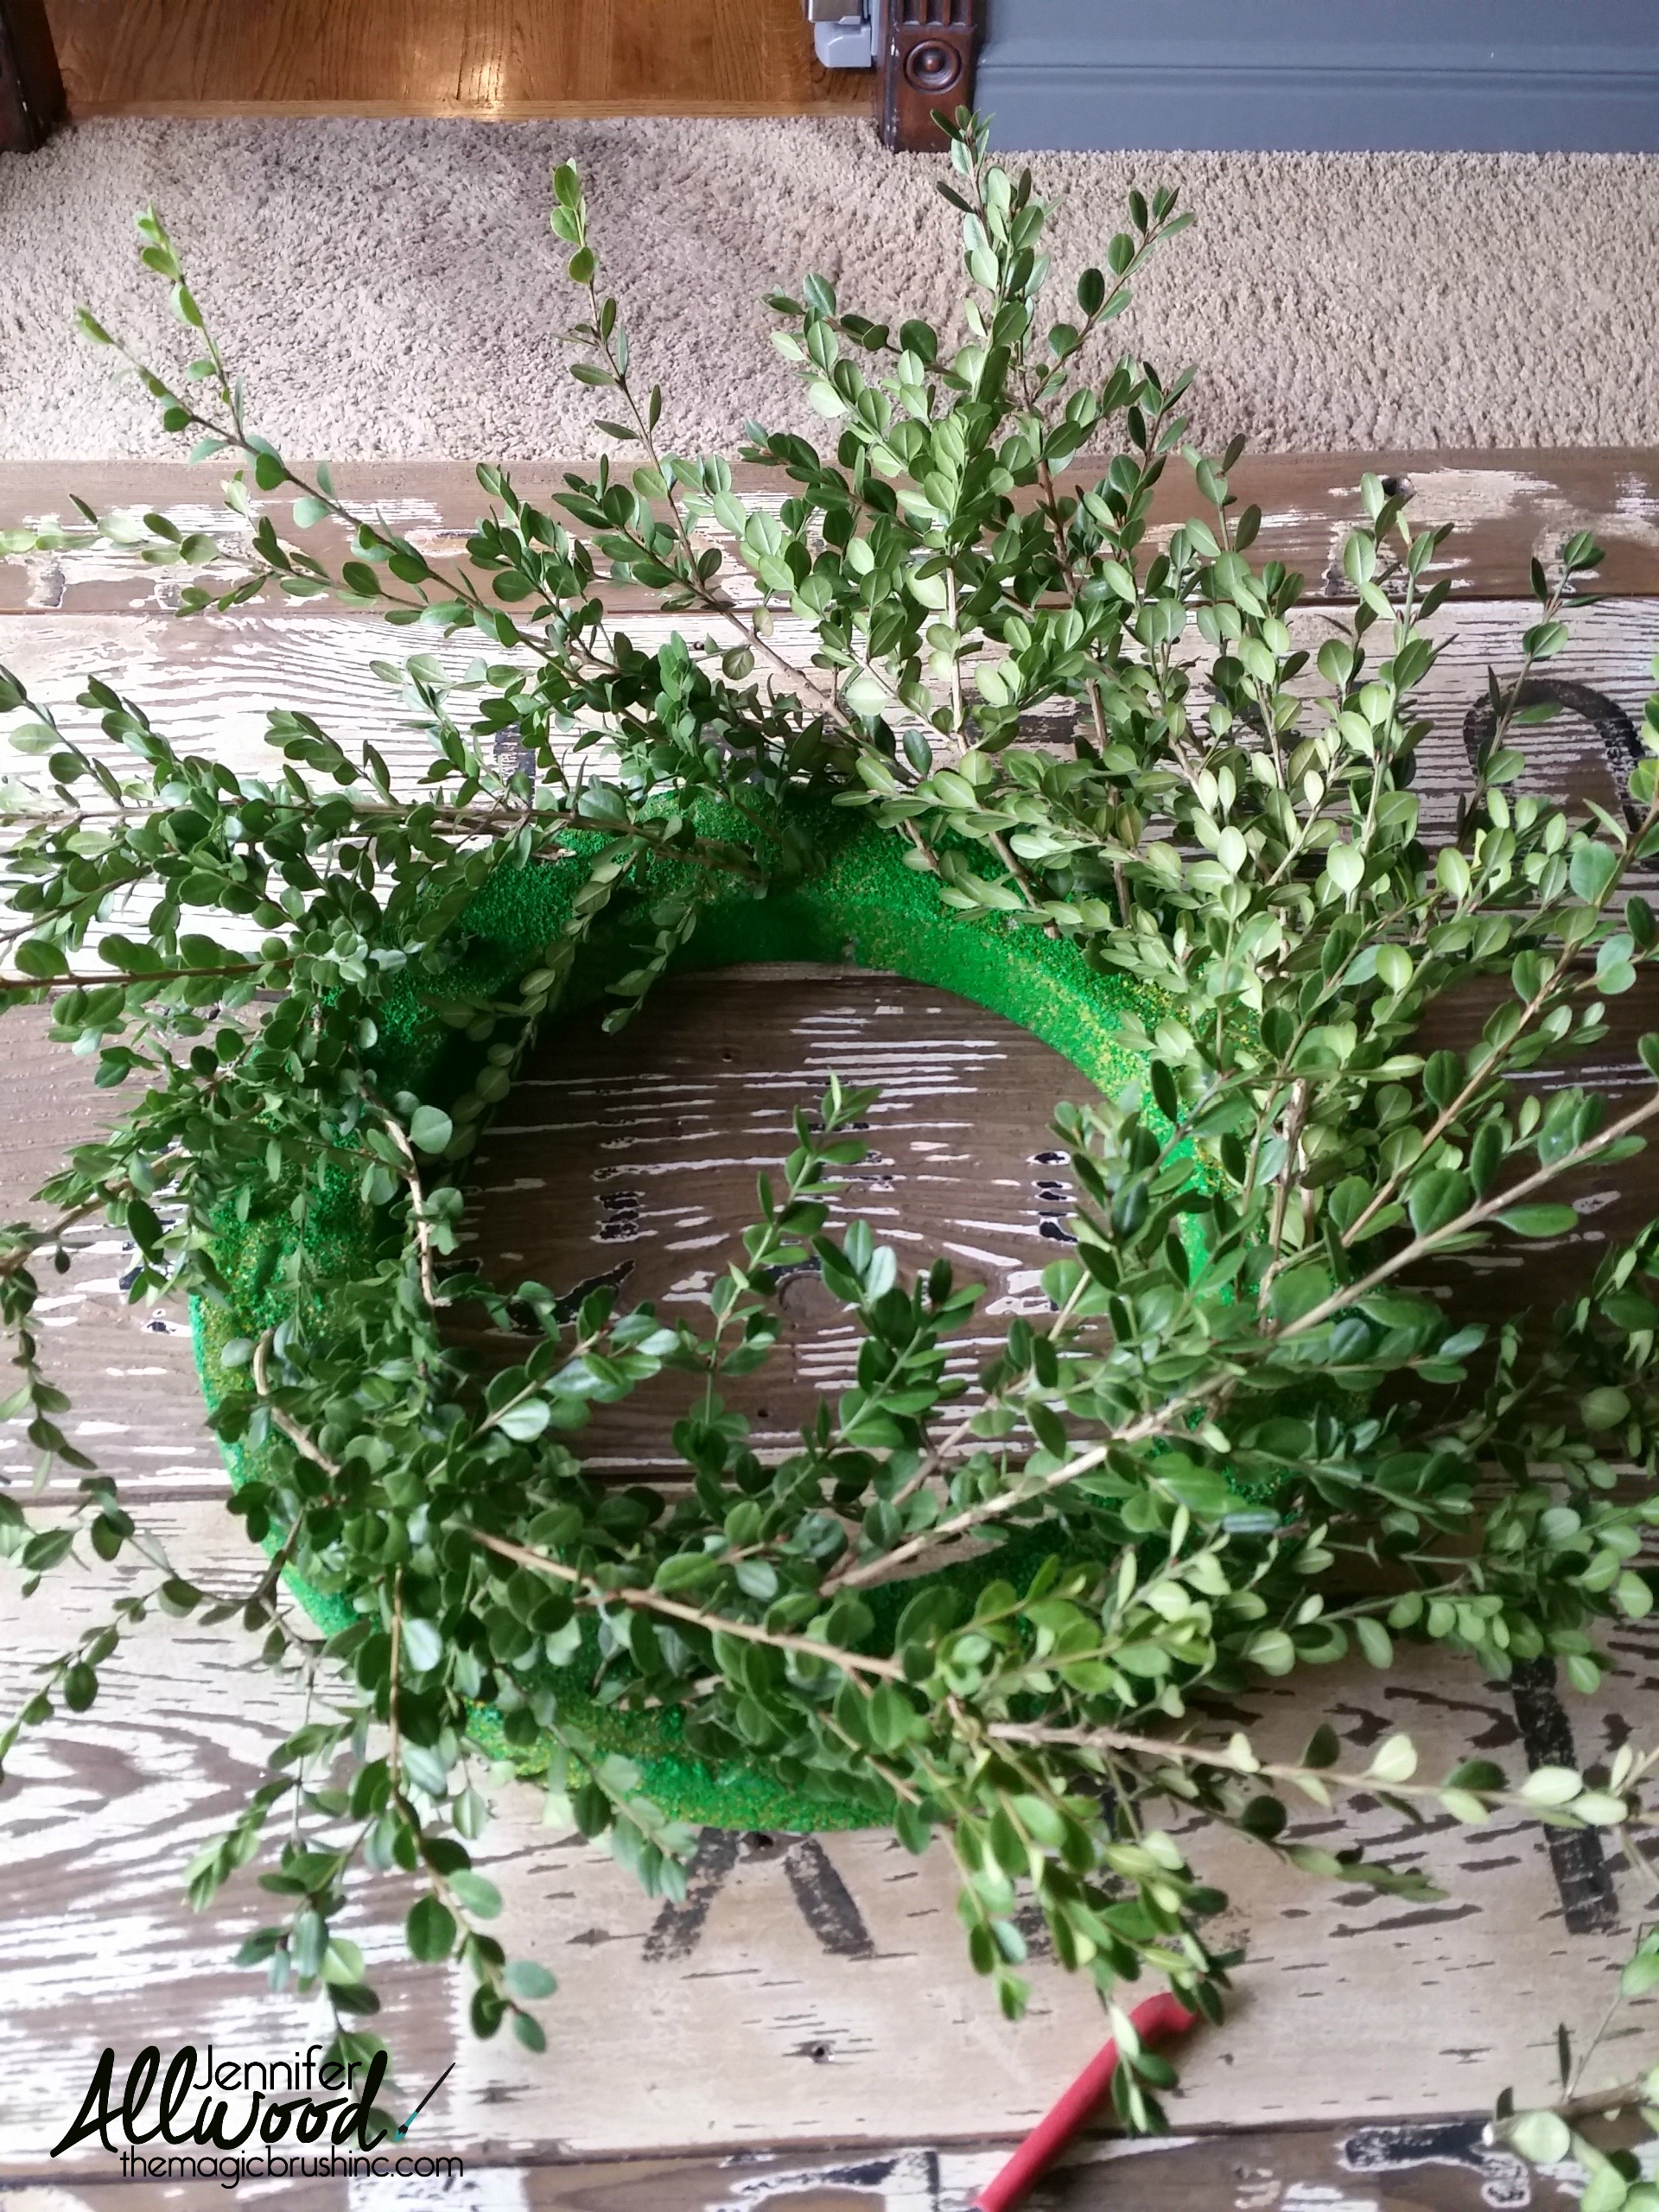
Here are my tips on this step:
- You will need way more twigs/branches than you think.
- You will need to put them on way closer than you think in order to hide the Styrofoam.
- You will need to shove them in deeper than you think.
https://www.facebook.com/themagicbrushinc/videos/10154460780478747/?theater
I show you how to shove the branches in the styrofoam on THIS VIDEO. We also talk about the potential for wilting and how boxwoods smell like cat pee. It’s a fun video with some awkward pee talk.
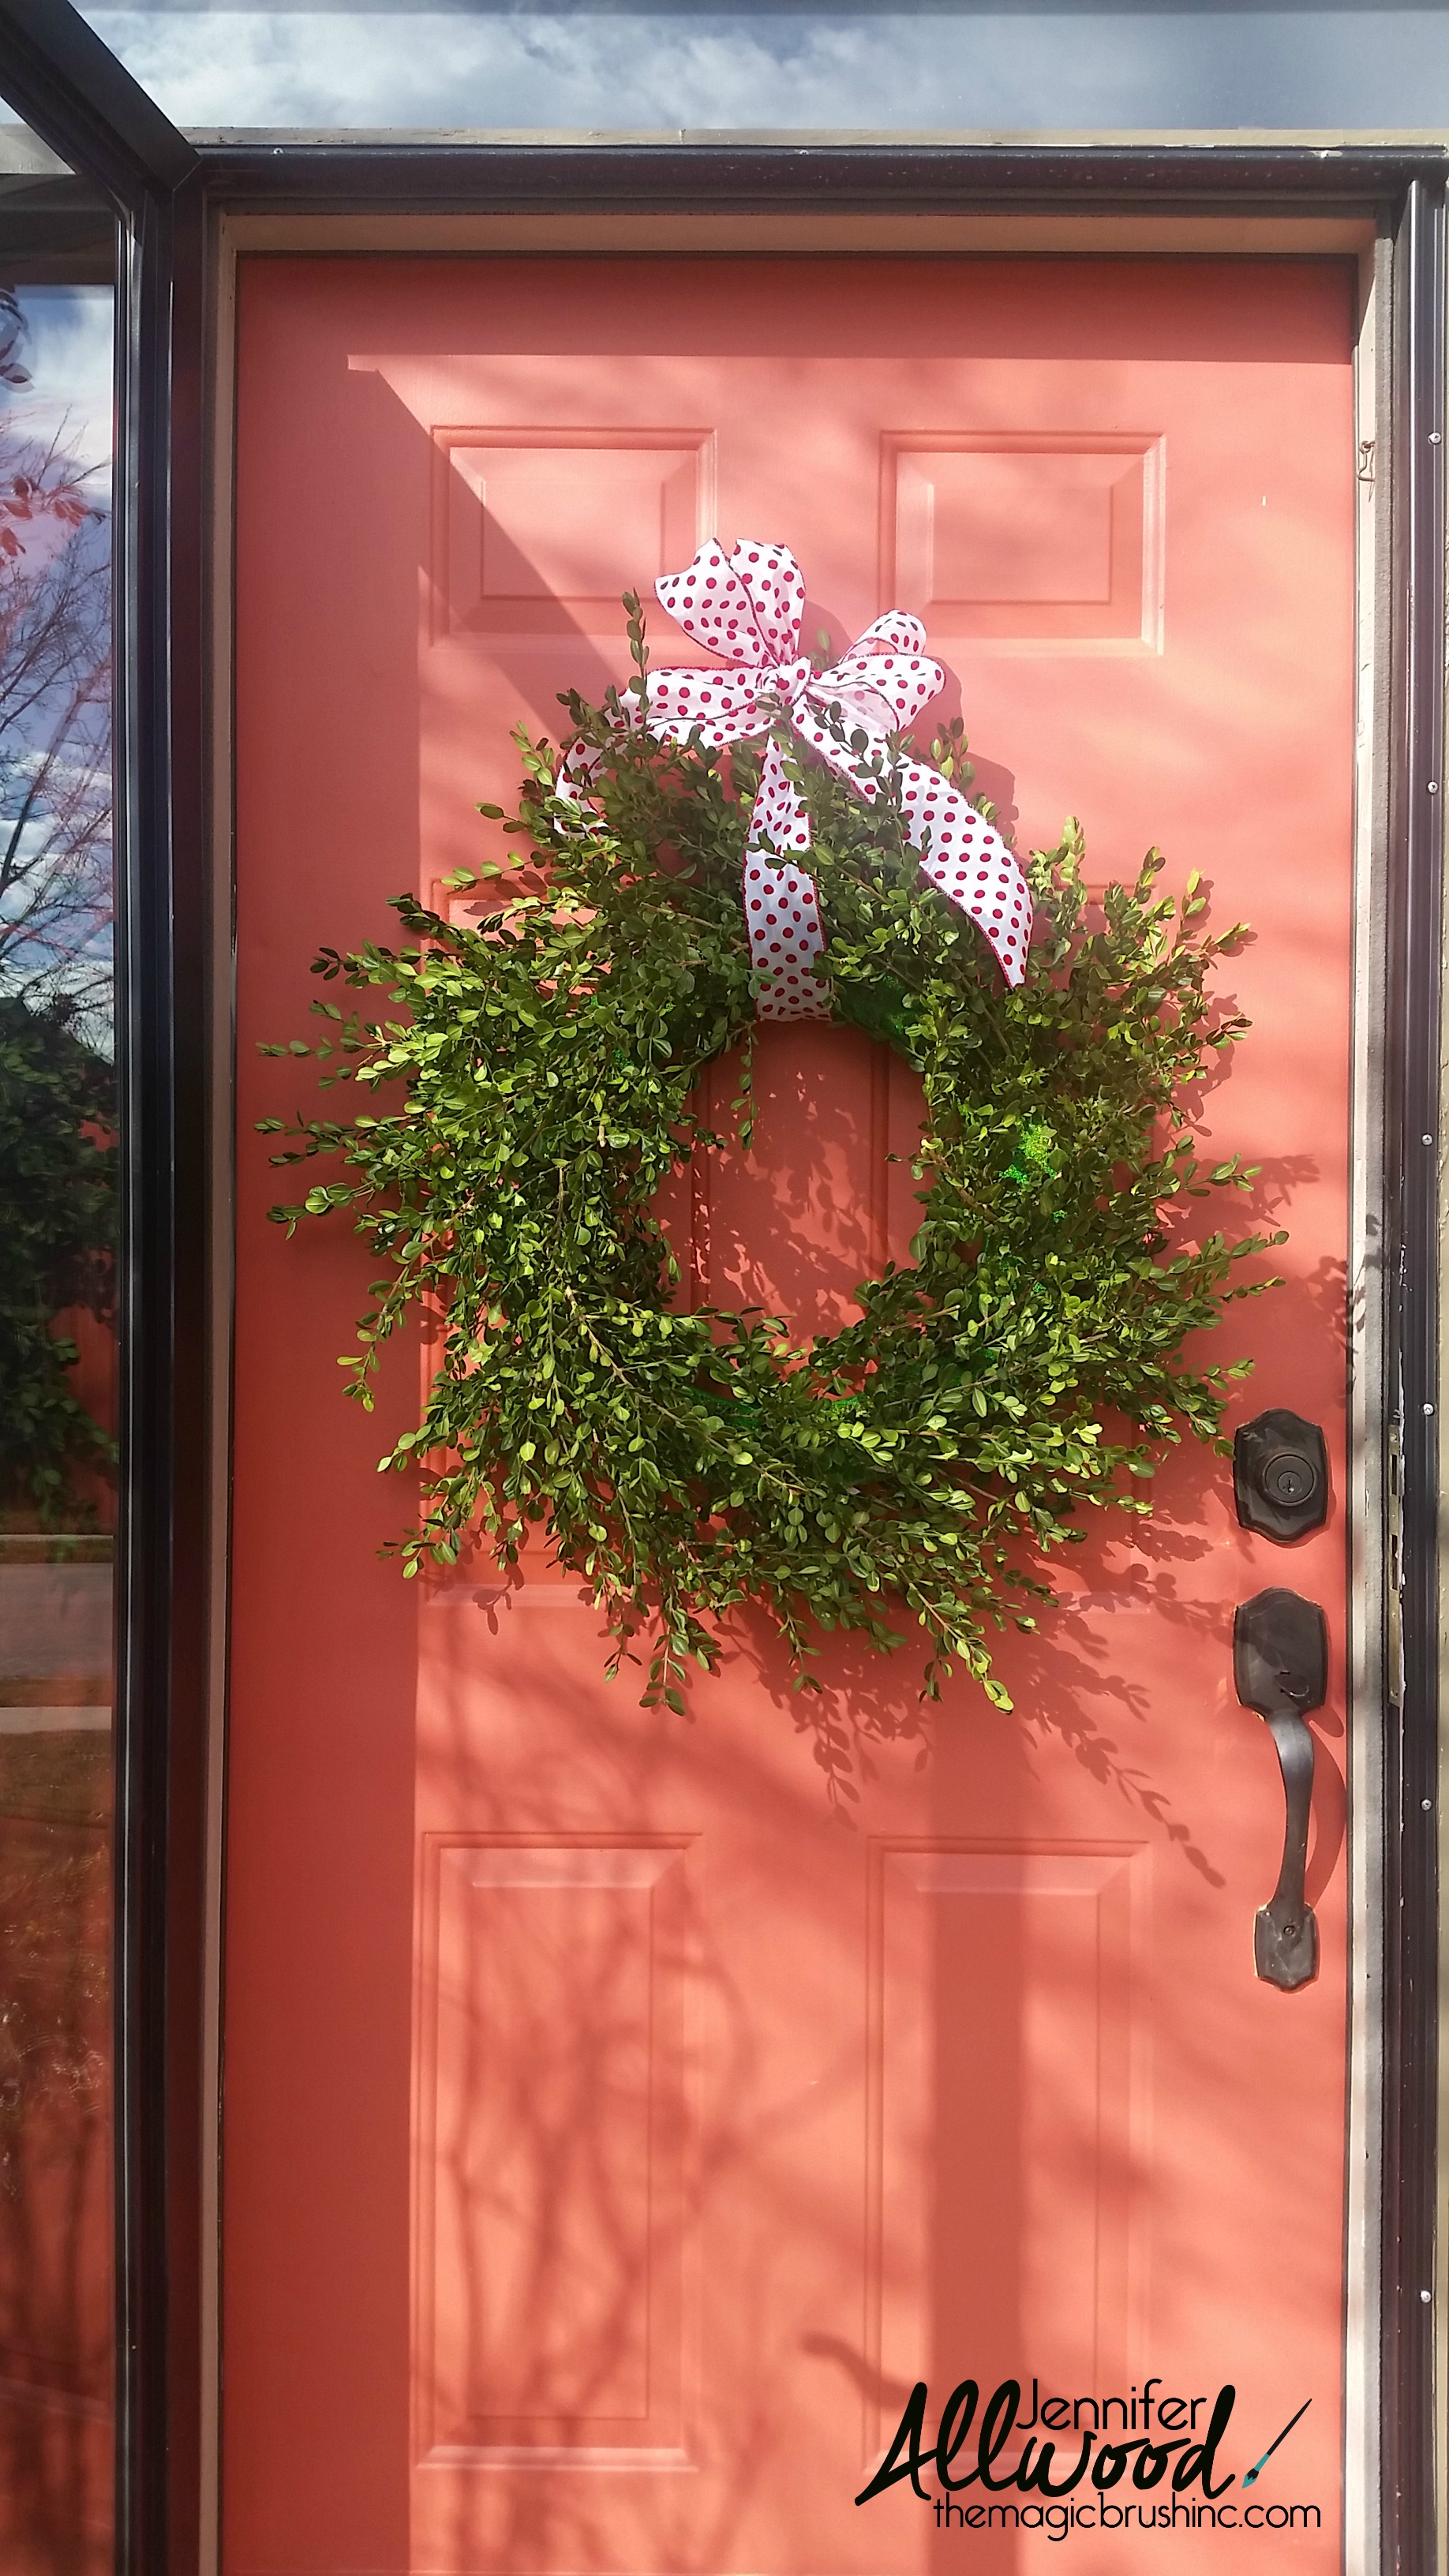
I finished the boxwood wreath with some holiday ribbon from Hobby Lobby so I could hang it on my front door. And I was feeling all fancy.
And I think the boxwood wreath was up for all of 47.2 minutes when THIS happened:
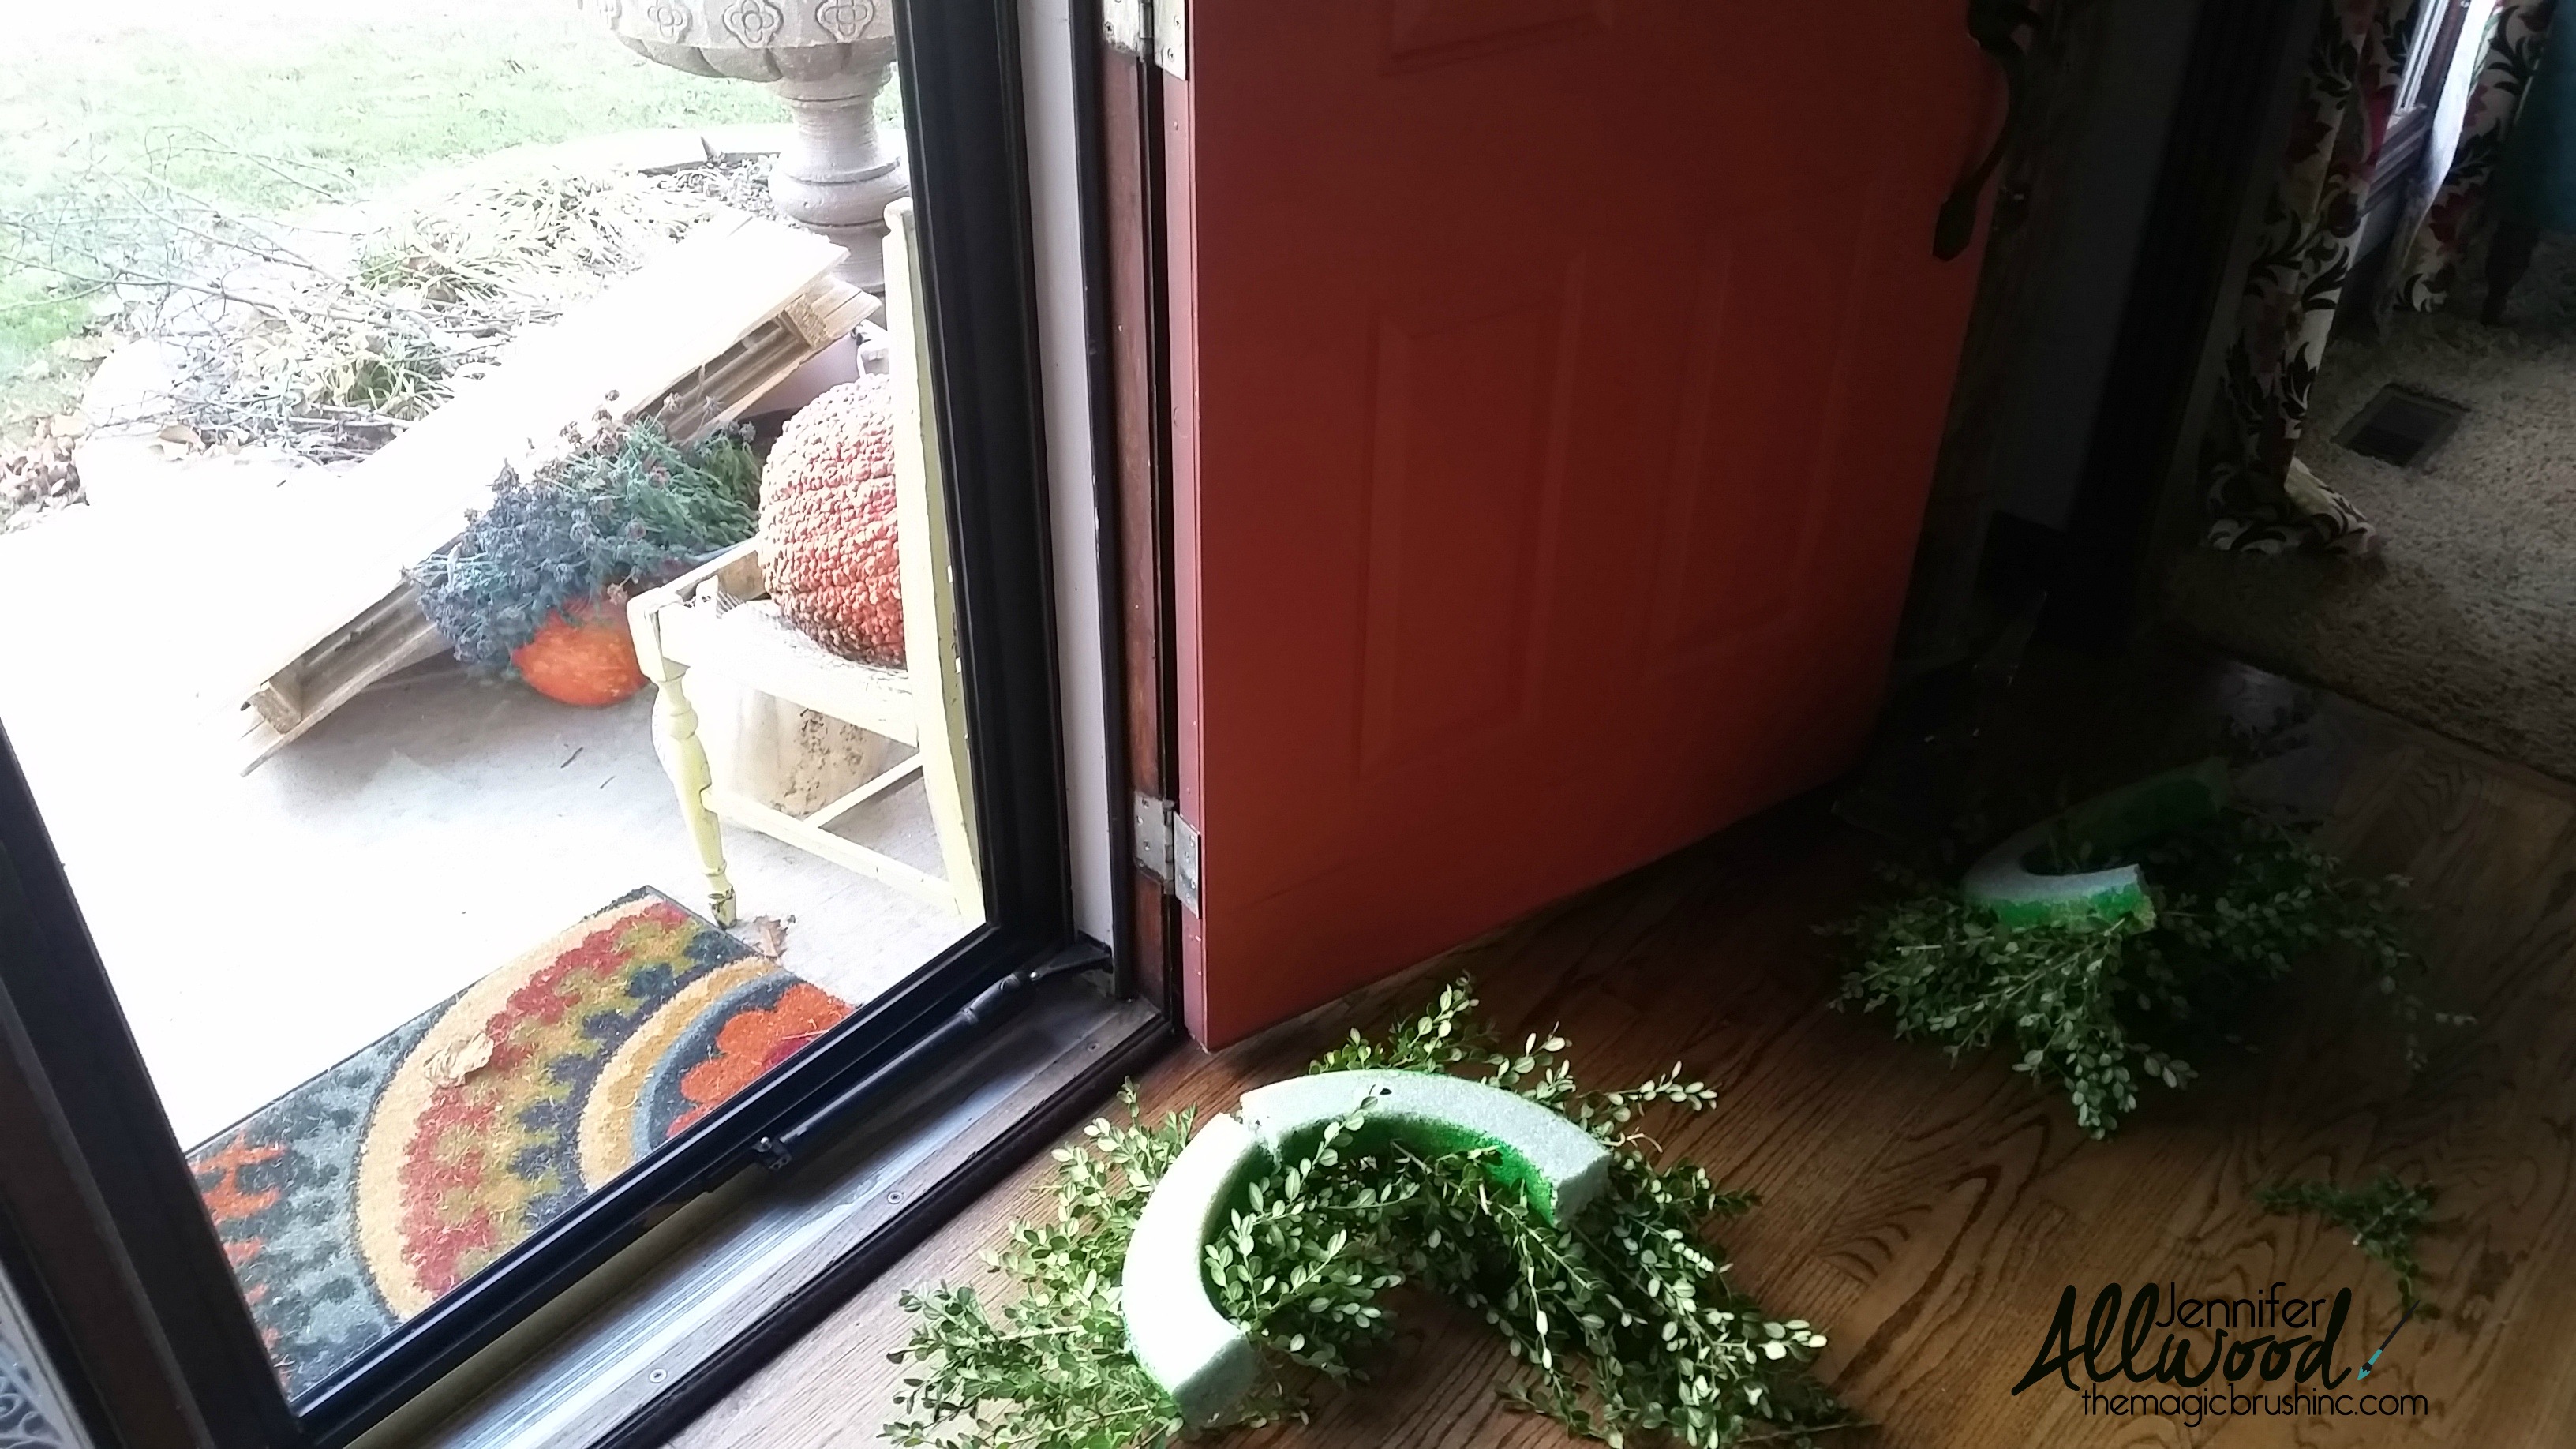
It fell off my door and shattered on my floor. We had an incredibly windy day in Kansas City (look outside… my fall pallet even blew over). WHAT ON EARTH? I’m still mad about it on the inside.
So then I had a little DIY pity party. And I put it on my Facebook page where pity parties should NEVER go. But thank goodness I did because several of you suggested that I shove popsicle sticks into the styrofoam pieces to make it into a circle again.
OMGosh it worked. What would I do without you all? No one even knows except for the 200K of you that I’ve told. Ha!
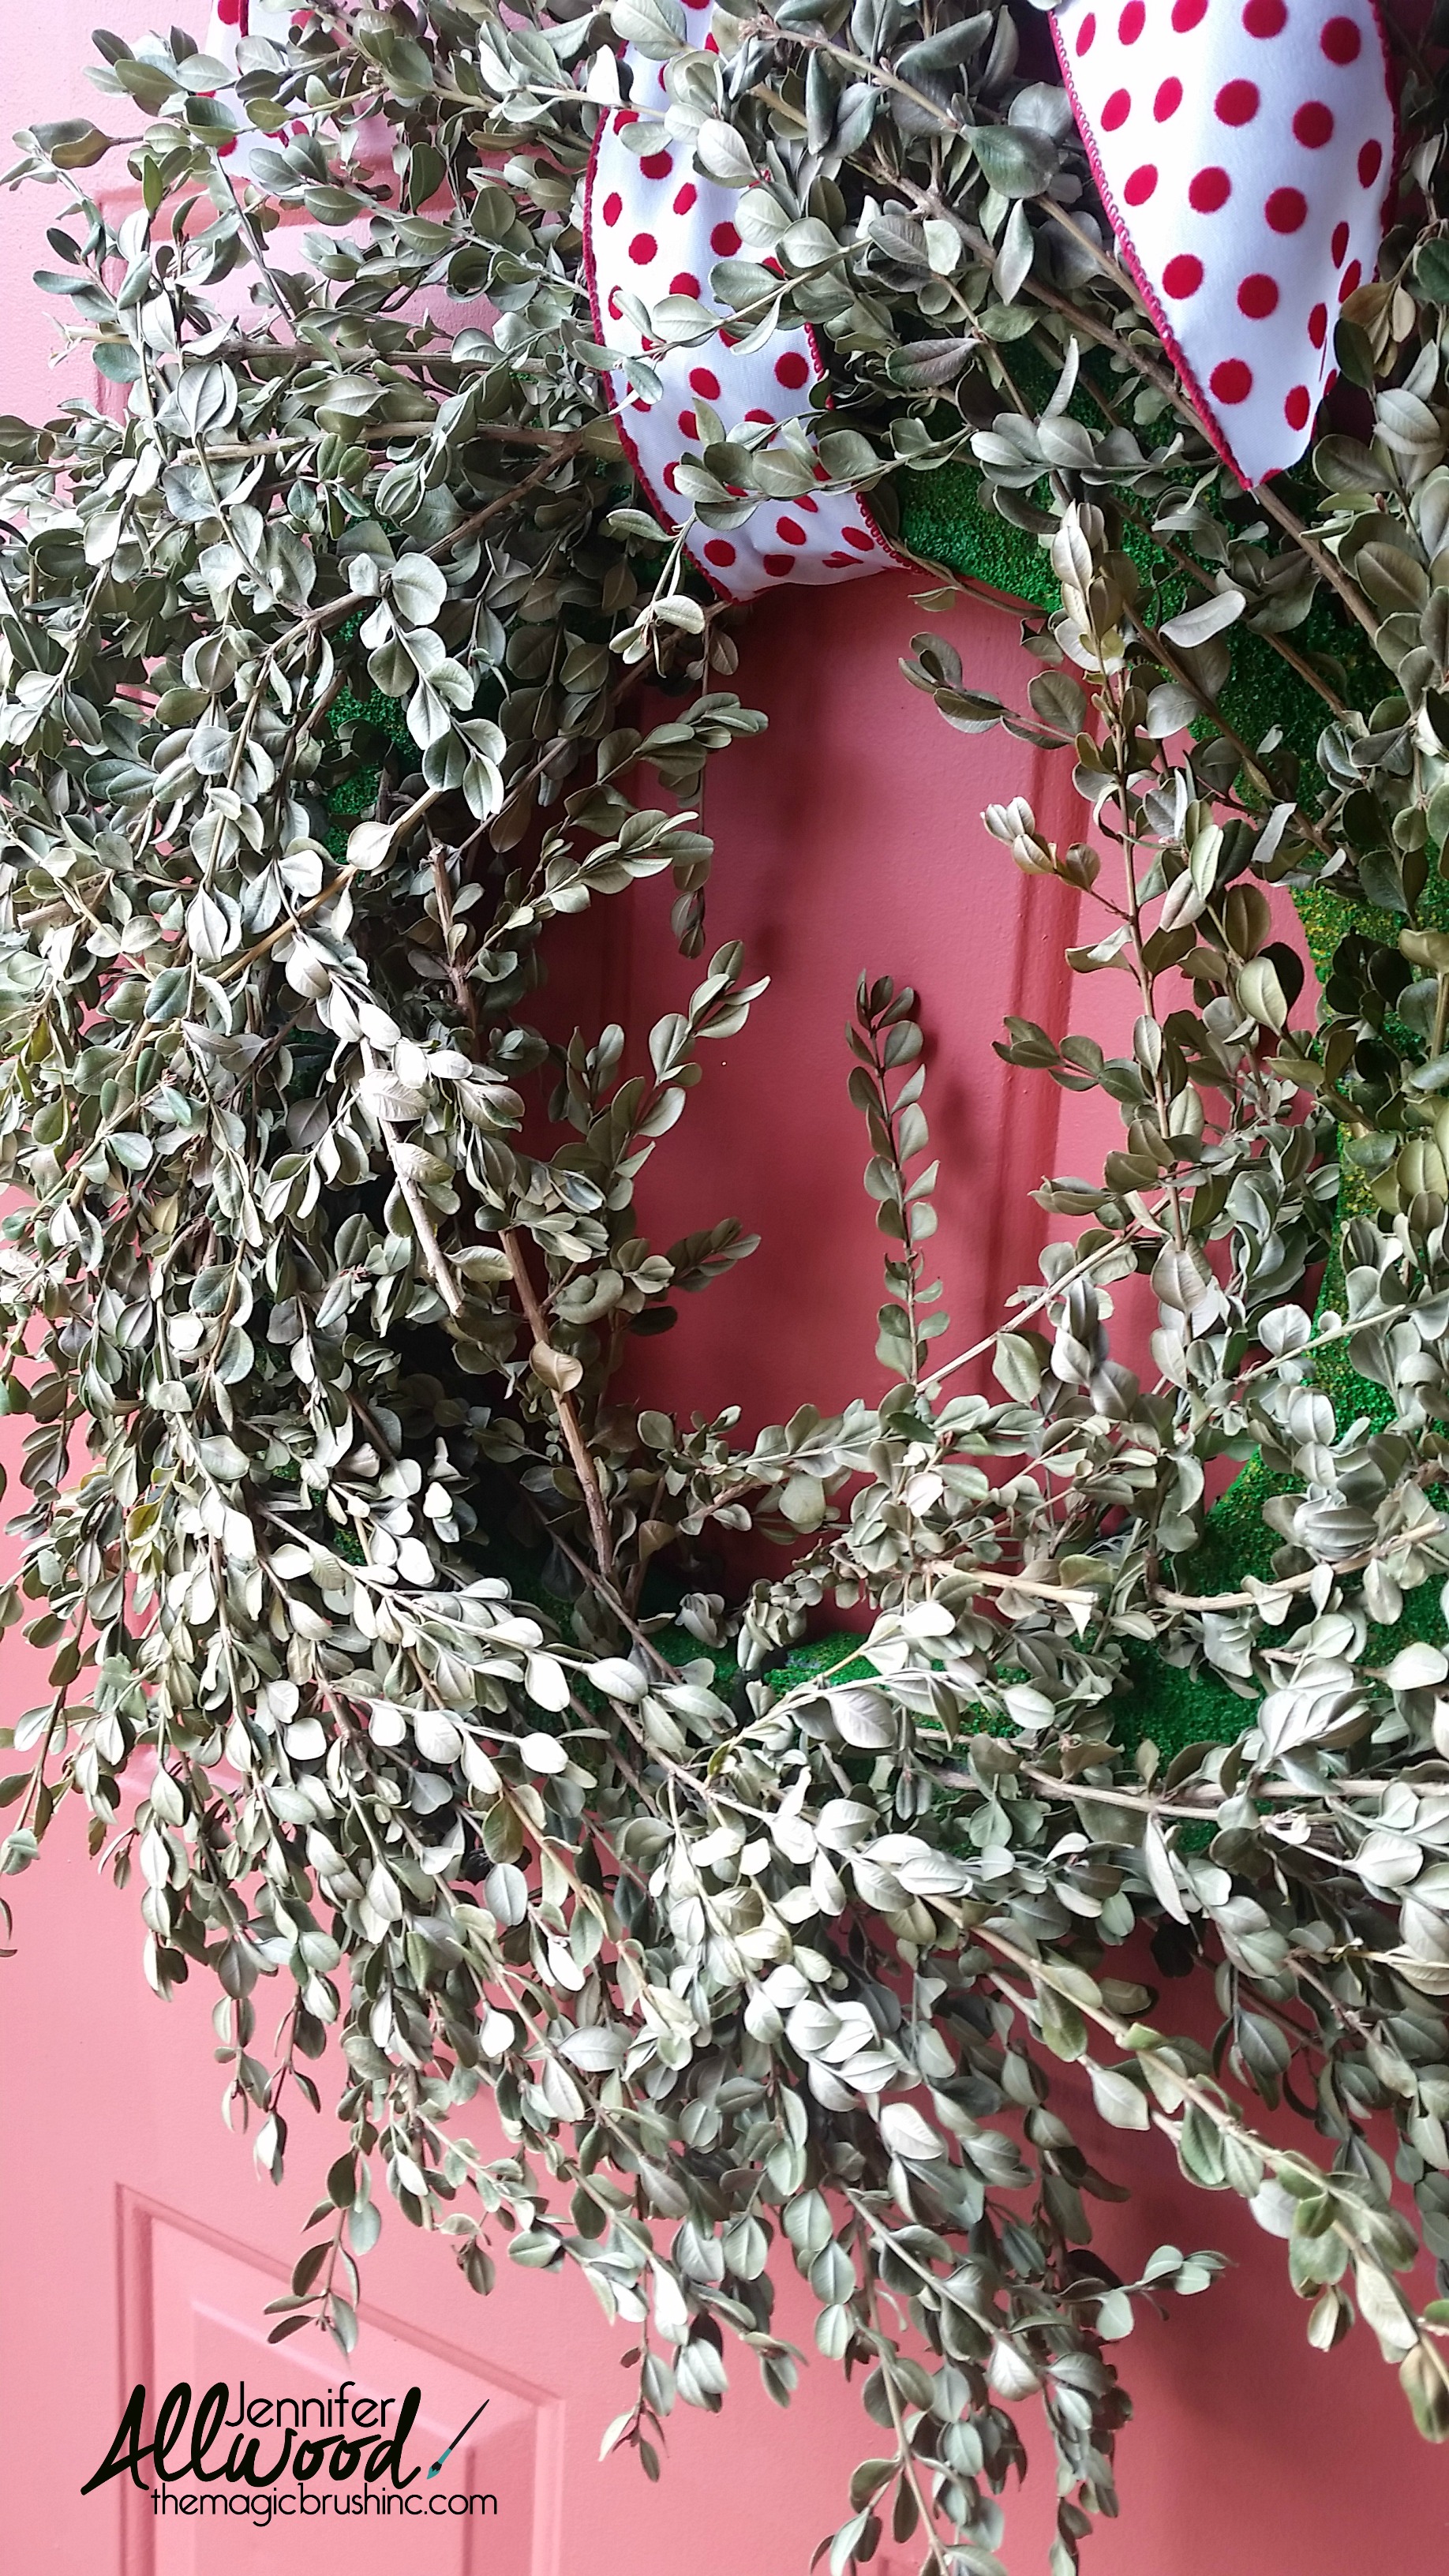
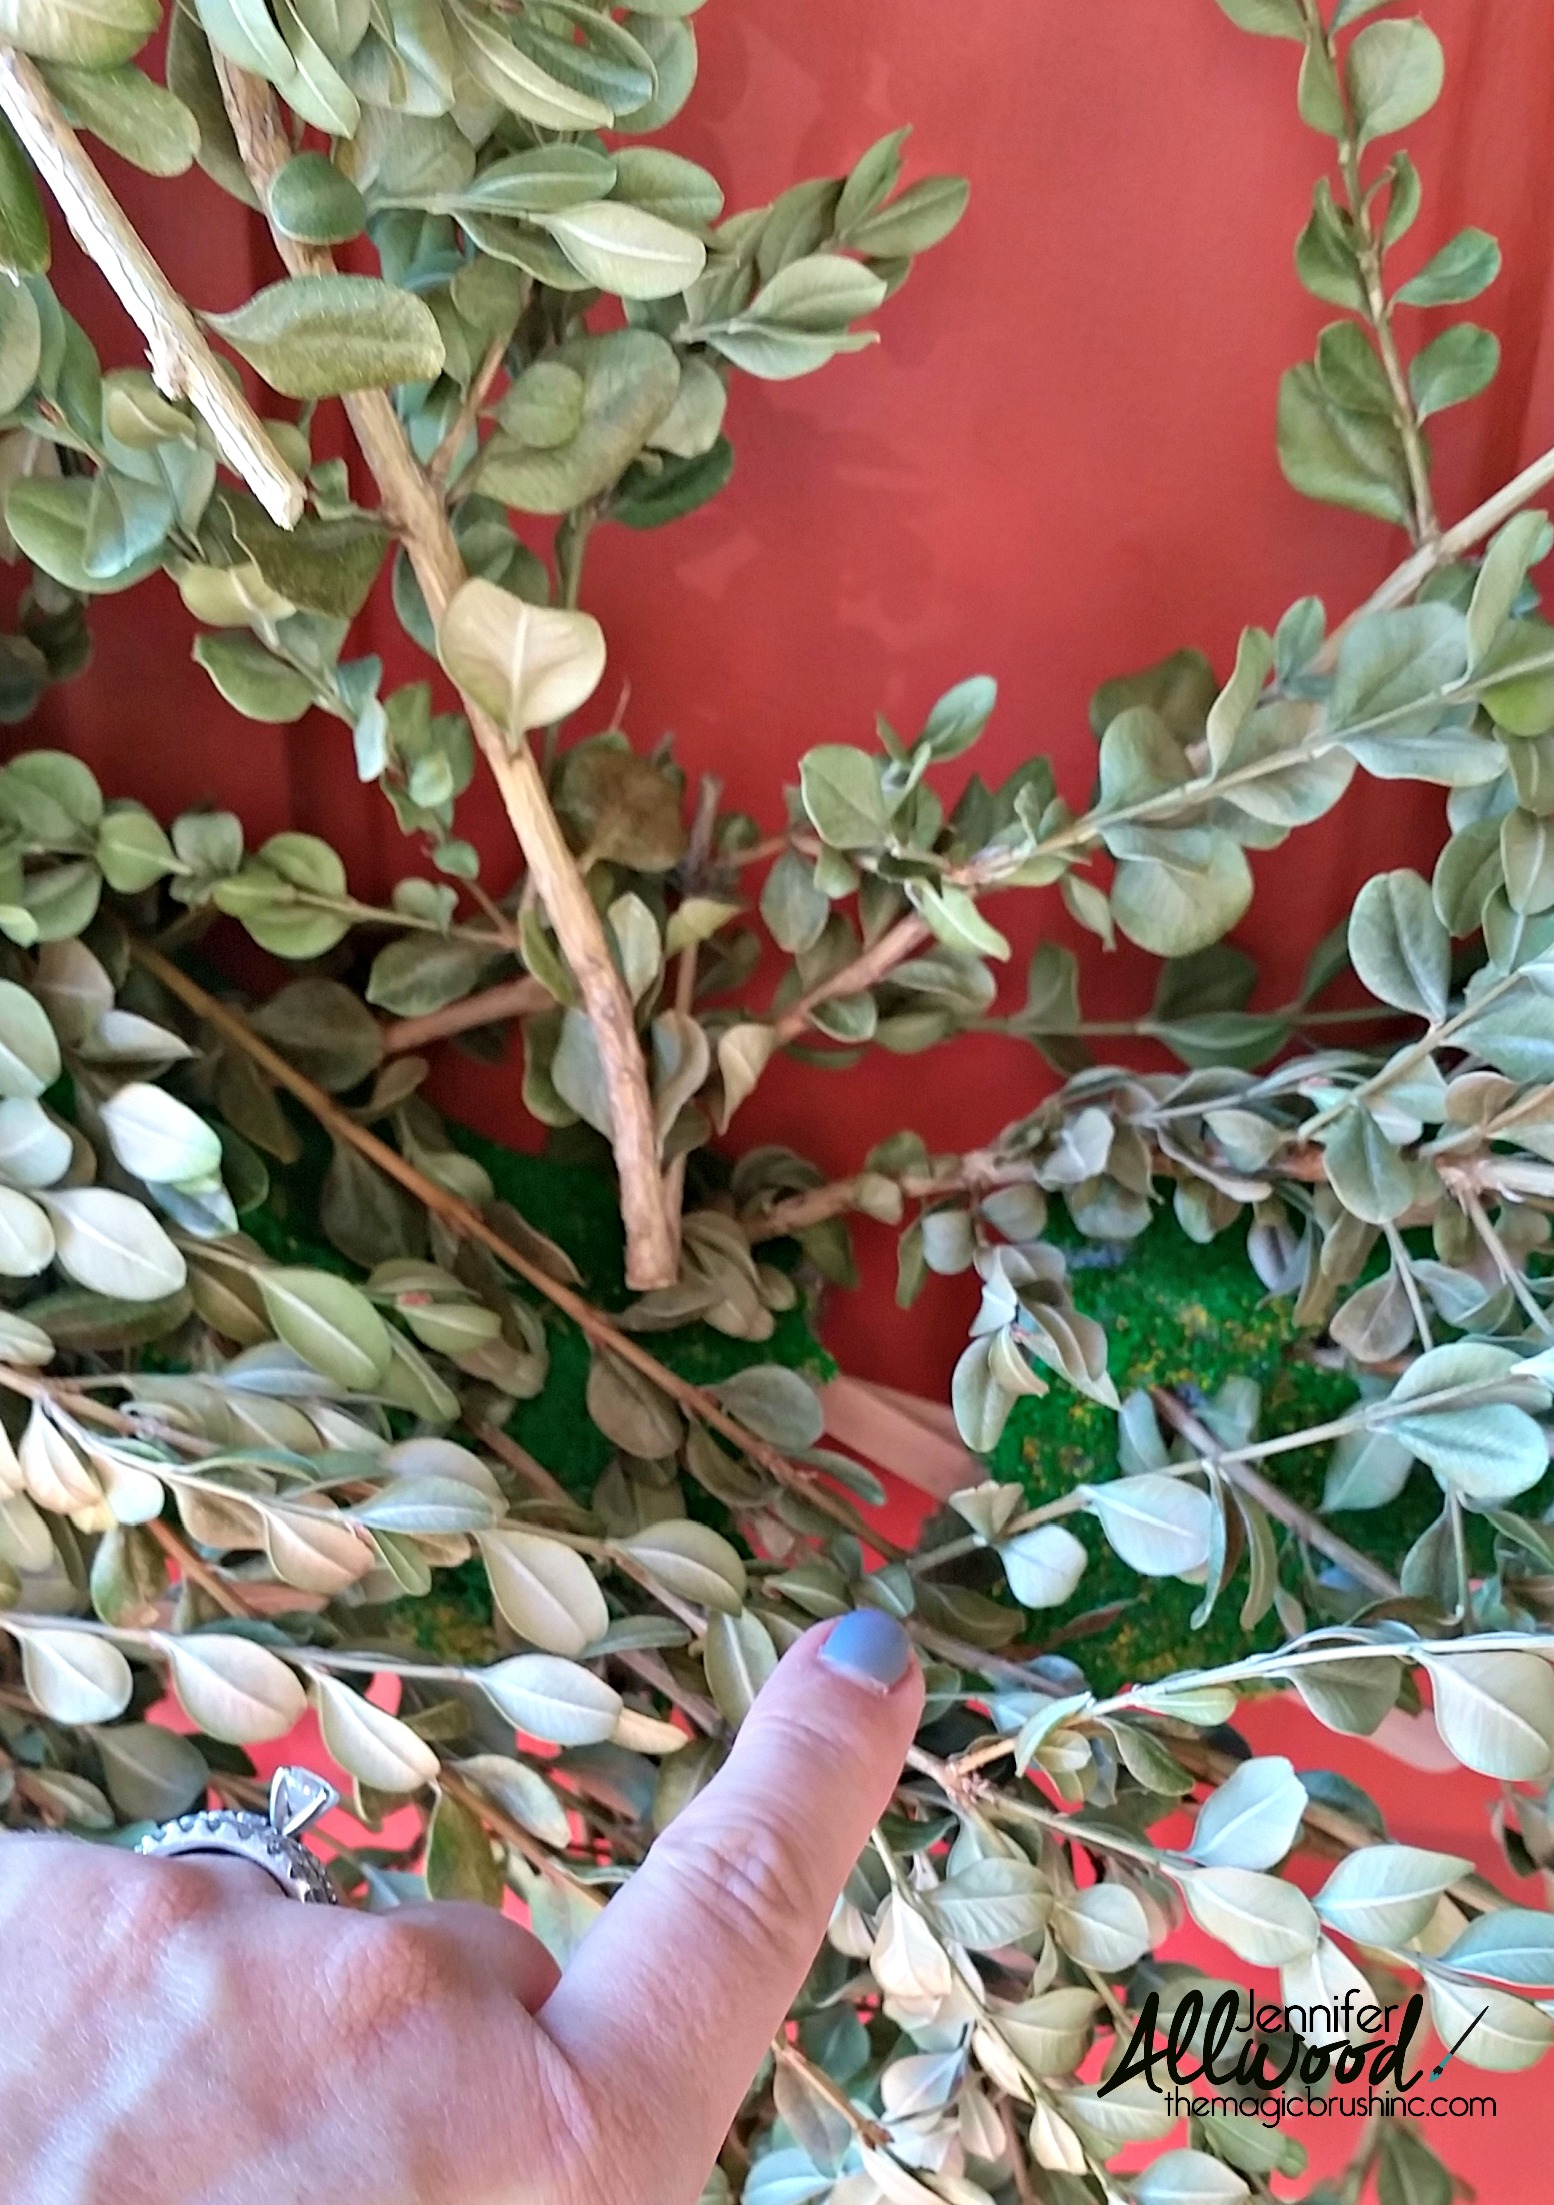
I did want to also show you an “after” picture. This my boxwood wreath 3 weeks later. I have sprayed the boxwood with my boy’s hair bottle of water (for the love. What is it with tween boys and their hair?) like 3-4 times. I started out strong and then I’ve forgotten for the last 10 day….. so it’s dried out a bit. ADVICE: spray your boxwood wreath every day with water. My front door has a glass door on the front of it so that has smashed it a bit. But, it’s never smelled like cat pee. And only like 3 twigs have fallen out (you can see my green styrofoam from the side where they are missing).

So all in all, I’m soooooooooo glad I made this. Next year I will start earlier and make more! I will not attempt a stapler and I will insist the wind avoid Kansas City during the holidays as not to have another broken one. I think I will also attach it to my glass door instead of the pretty coral one! Then it won’t be smashed, but it could blow off. #diyproblems
If you attempt making a boxwood wreath, I’d love to hear about it.
This project will be up on my Pinterest for you HERE today!
Blessings,
Jennifer
I have EVEN MORE DIY front door decor ideas for spring and summer, for baseball fans, one is a baseball wreath and another is a home plate sign. Be sure to check those out!!
I also have a FREE video of my favorite paint colors – this professional advice will help you make some important painting decisions!


3 comments
Hope you read this Jennifer. A florist tip! If you take 1/4″ green waterproof tape ( I know this is regular styrofoam but the waterproof is stronger tape) and wrap your wreath securely before you insert tips, it will help support the tips inside the wreath. Also, cut your tips at an angle so they are pointed. And remove any extra greenery or branches below insertion point. Styrofoam is not forgiving. Once a hole is made its there. The insertion tip is thicker going in but tapers smaller as branch gets smaller, however hole is made with initial insertion. Angle that tip and you reduce the size of the hole for better grip!!! Now, for such a good tip, I win your dining room table and bench and chairs. ?
The end result is beautiful! Ahhh, the struggles we endure making our house a home. 😉
Boxwoods can be preserved using glycerine, and it works amazingly well, but it takes a few weeks. You need to add some colorant, or they turn a golden brown, which can be pretty too, depending on your desired outcome.